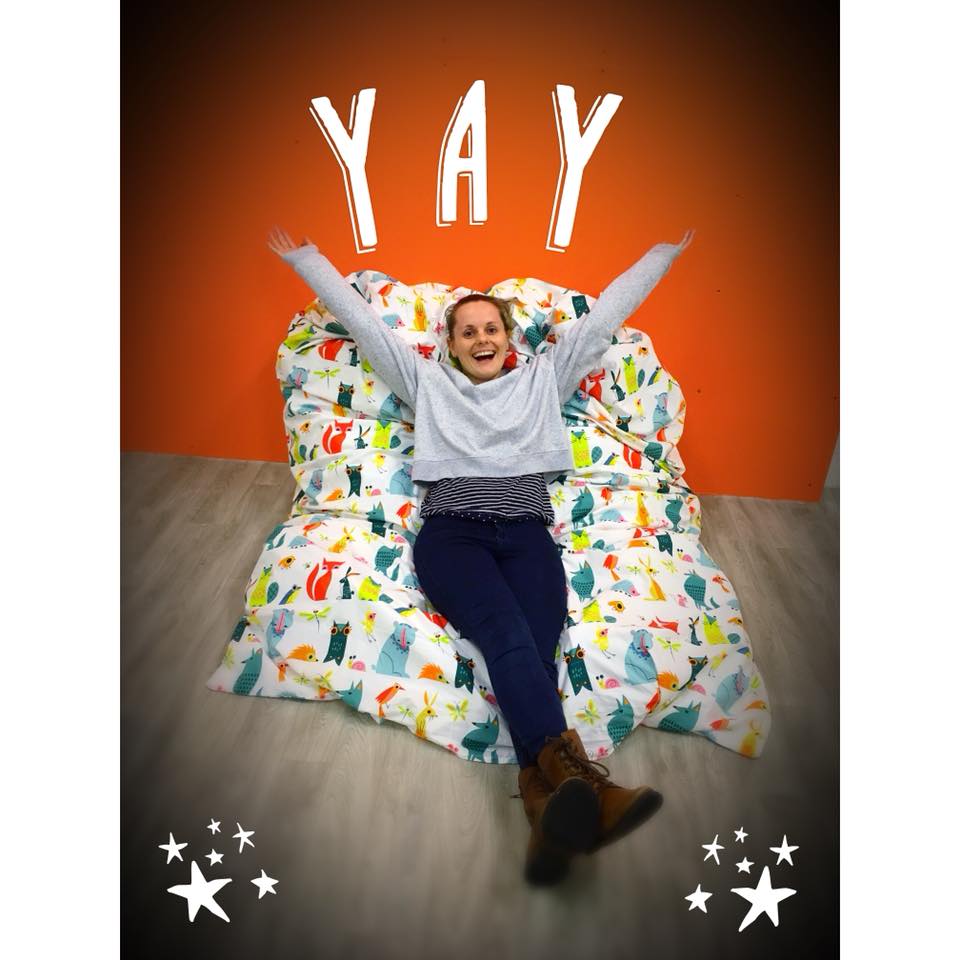
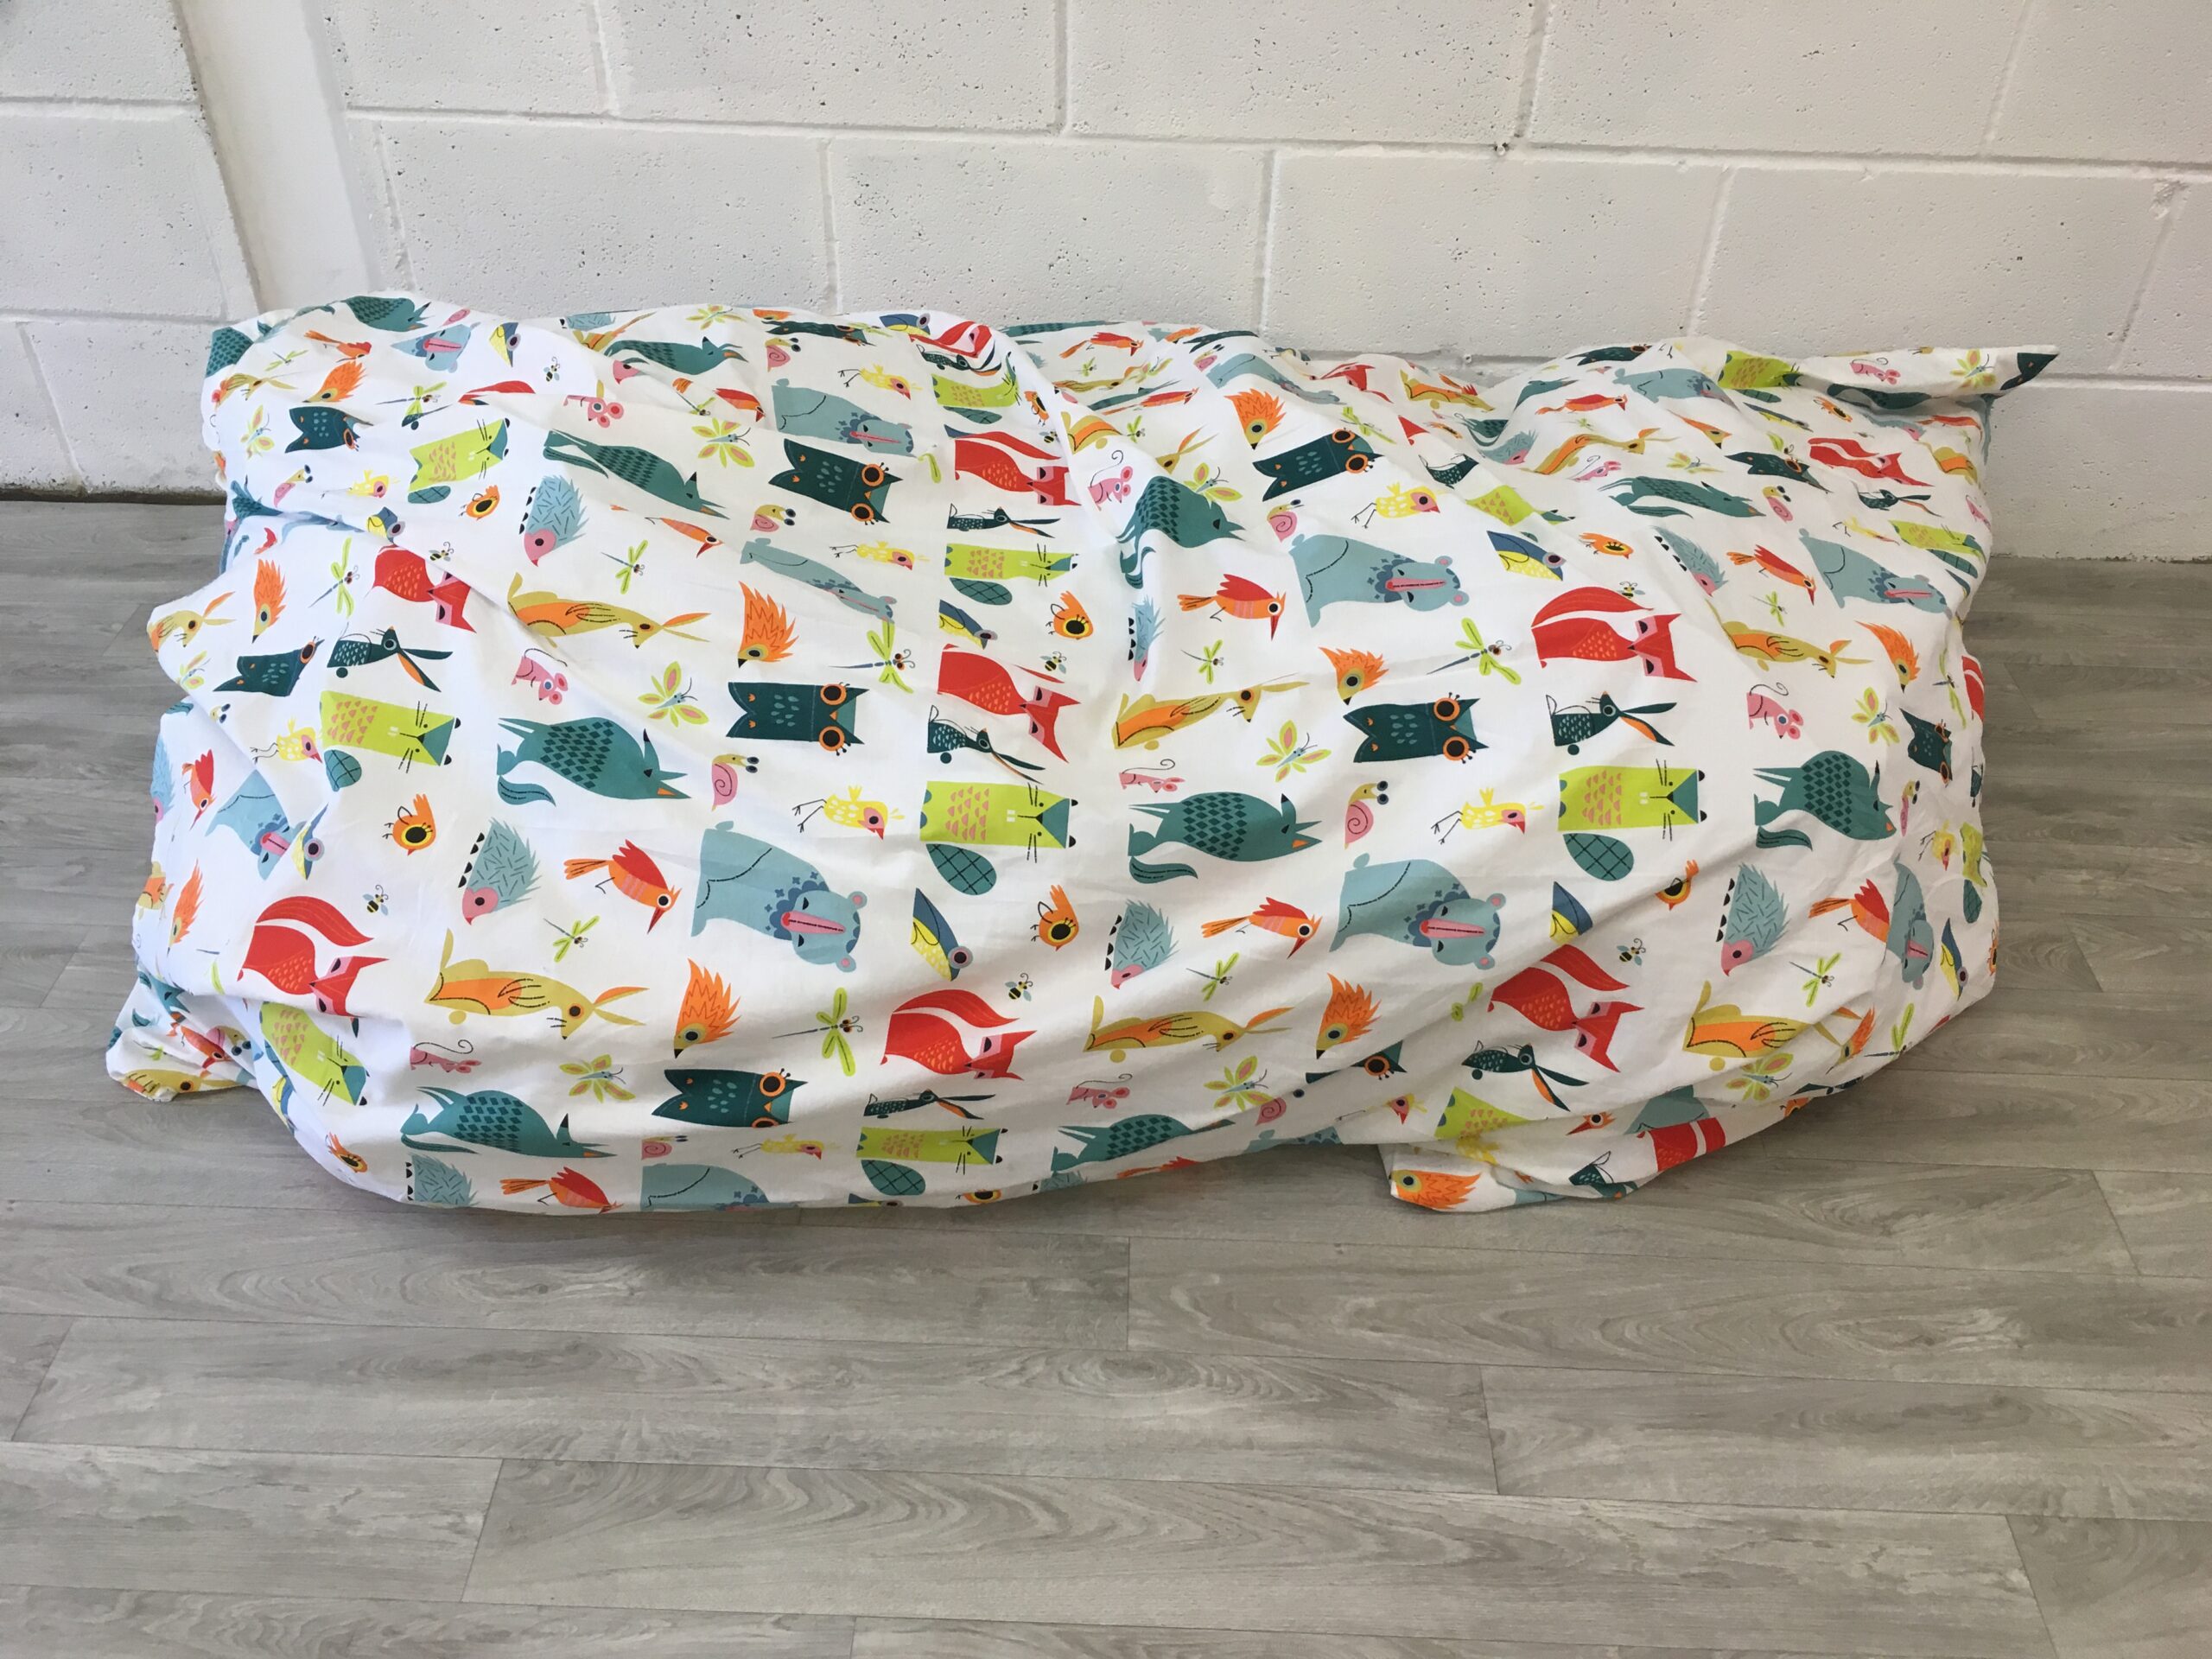
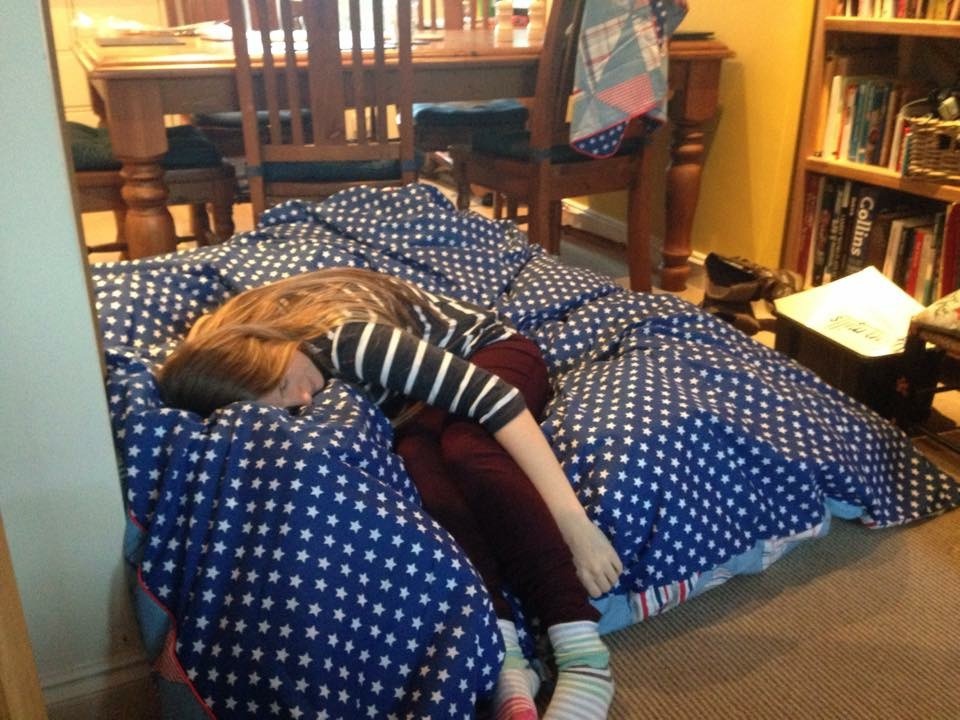
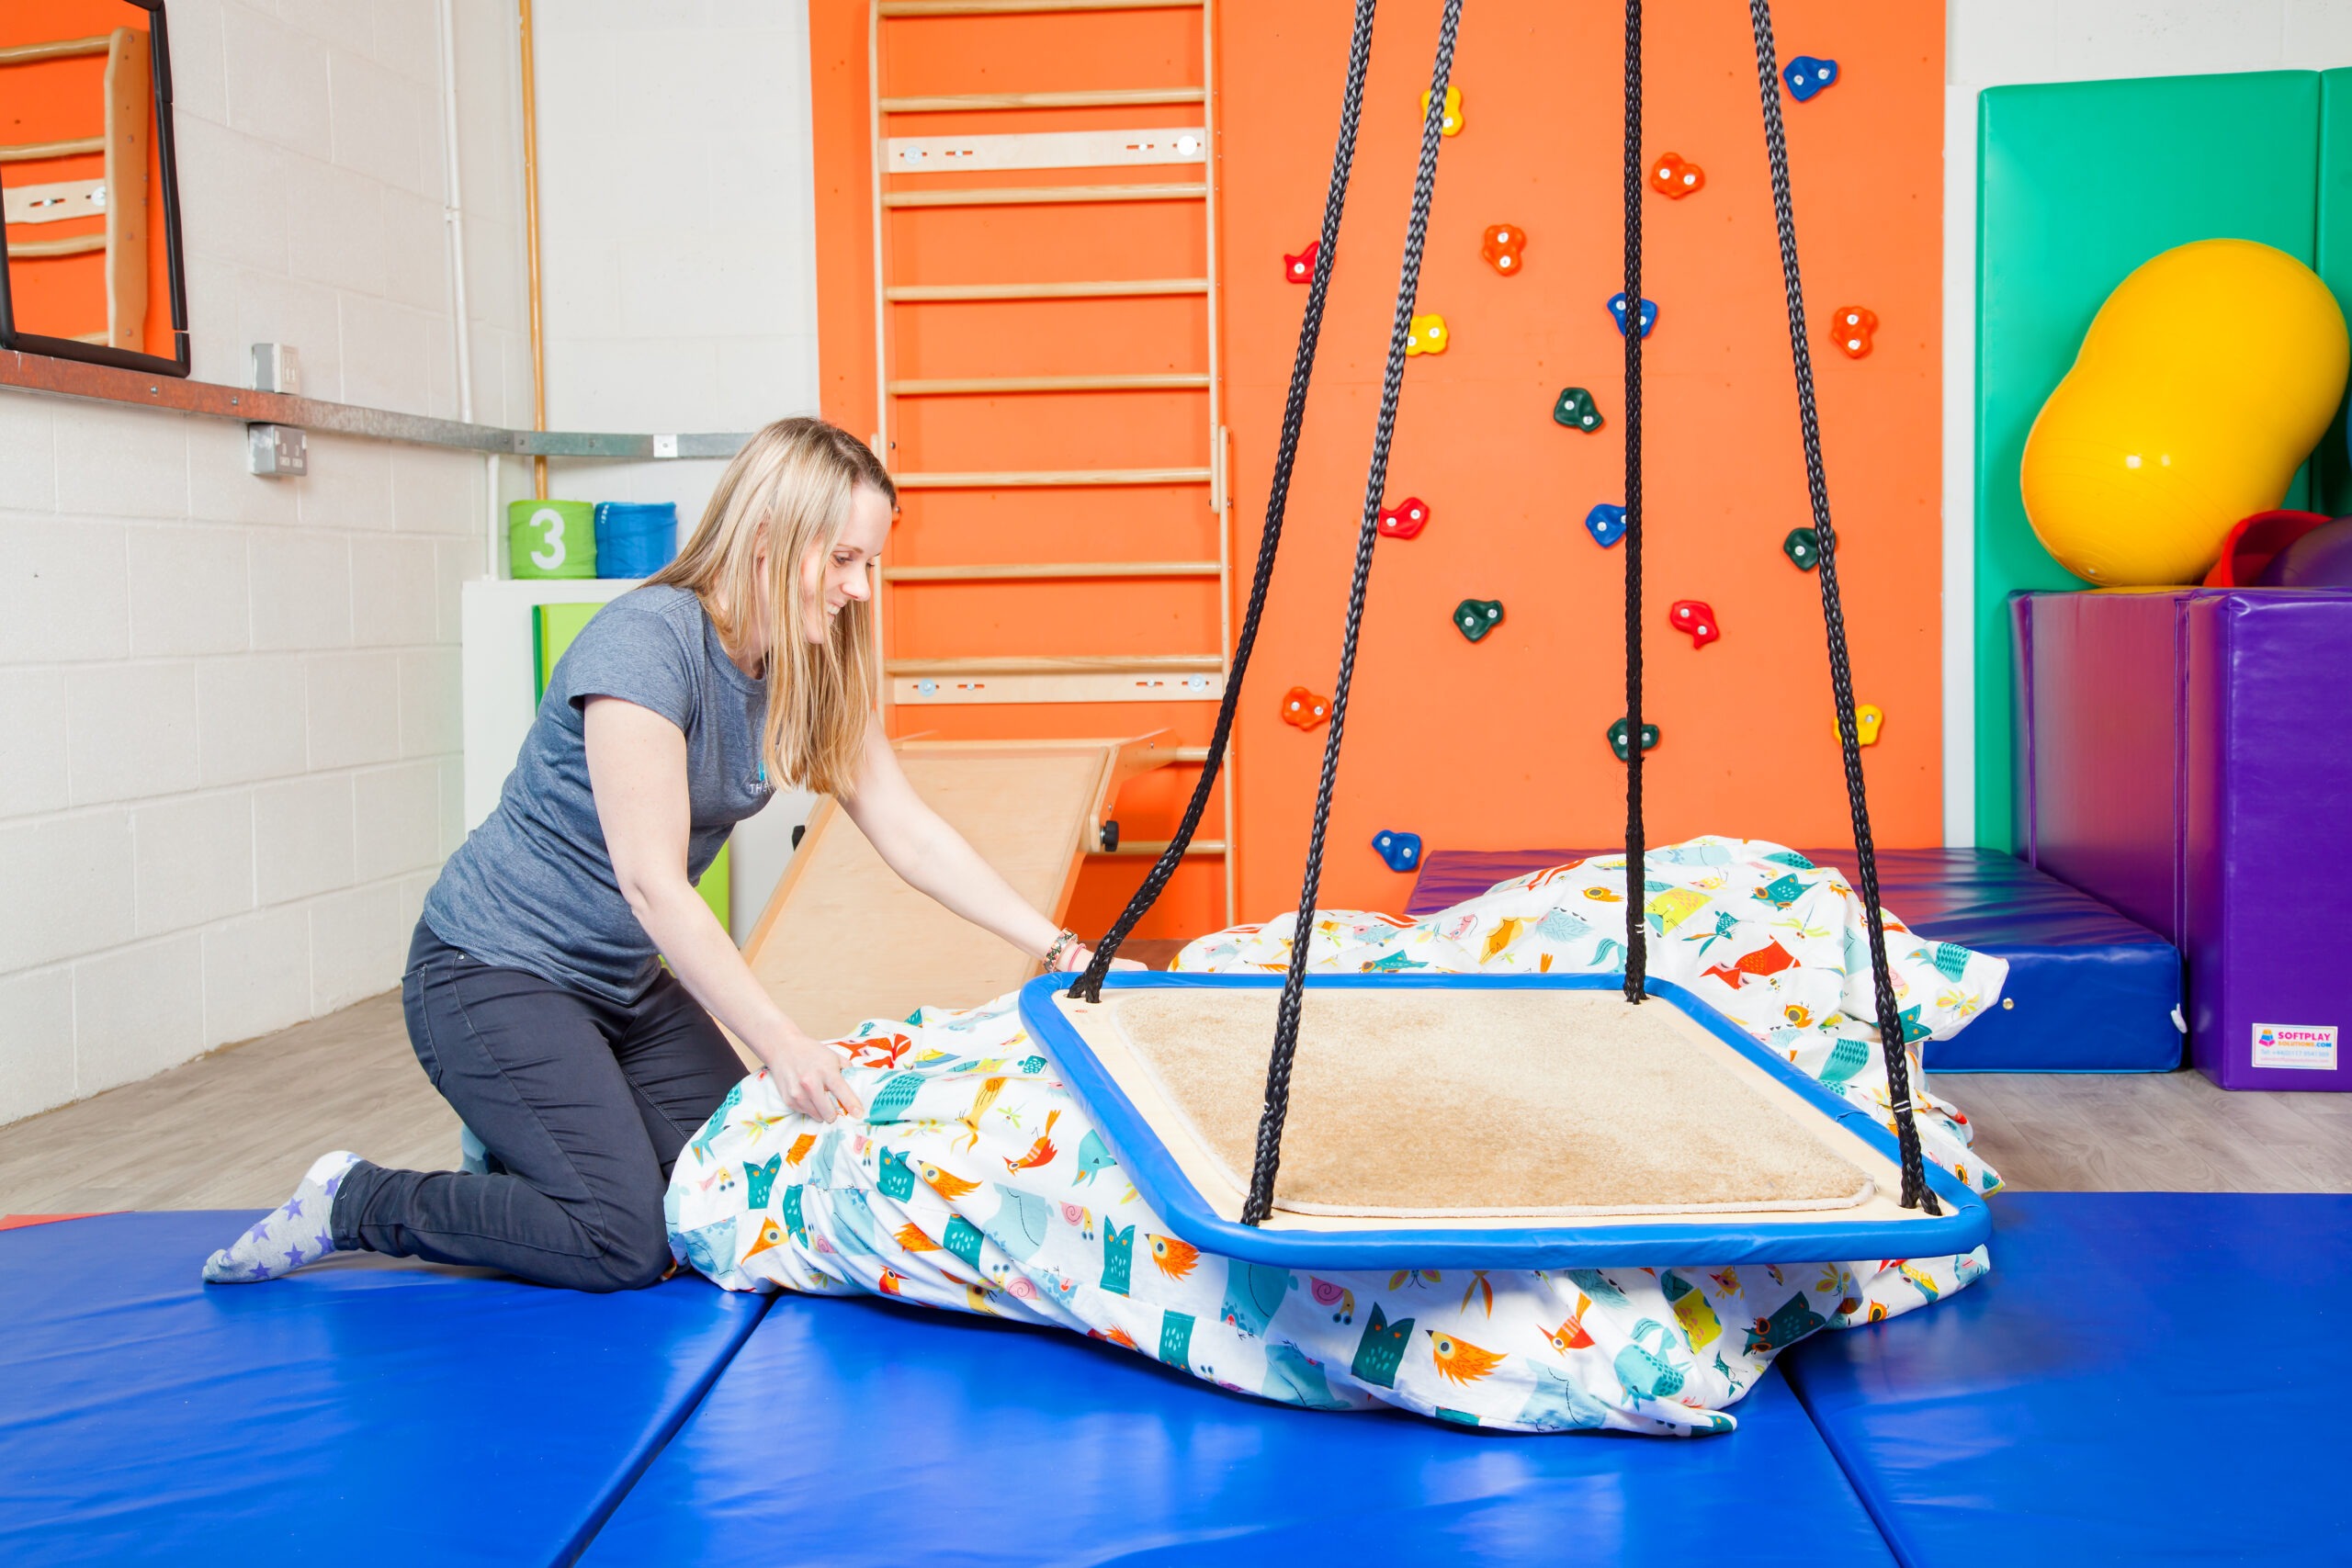
DIY Crash Pad
This soft, lumpy crash pad is an absolute hero of rough and tumble play. Got a little one who likes to leap off high places? The crash pad is here to help. It helps challenge balance, it’s an interesting tactile experience and it provides a rustle-free crash landing (unlike beanbags that tend to make quite a noise! As well as not being that soft to land on when the fabric is at it’s maximum stretch).
So… To make the crash pad you will need:
- Zippable allergy duvet protector (single duvet is fine but double if you want to go giant!) (Link as an example) Zipped is key! Don’t get one with buttons or poppers – you need the zip to hold all the foam in.
- Duvet cover (in whatever colours and patterns you/ your little person likes) – in whatever size your duvet protector is.
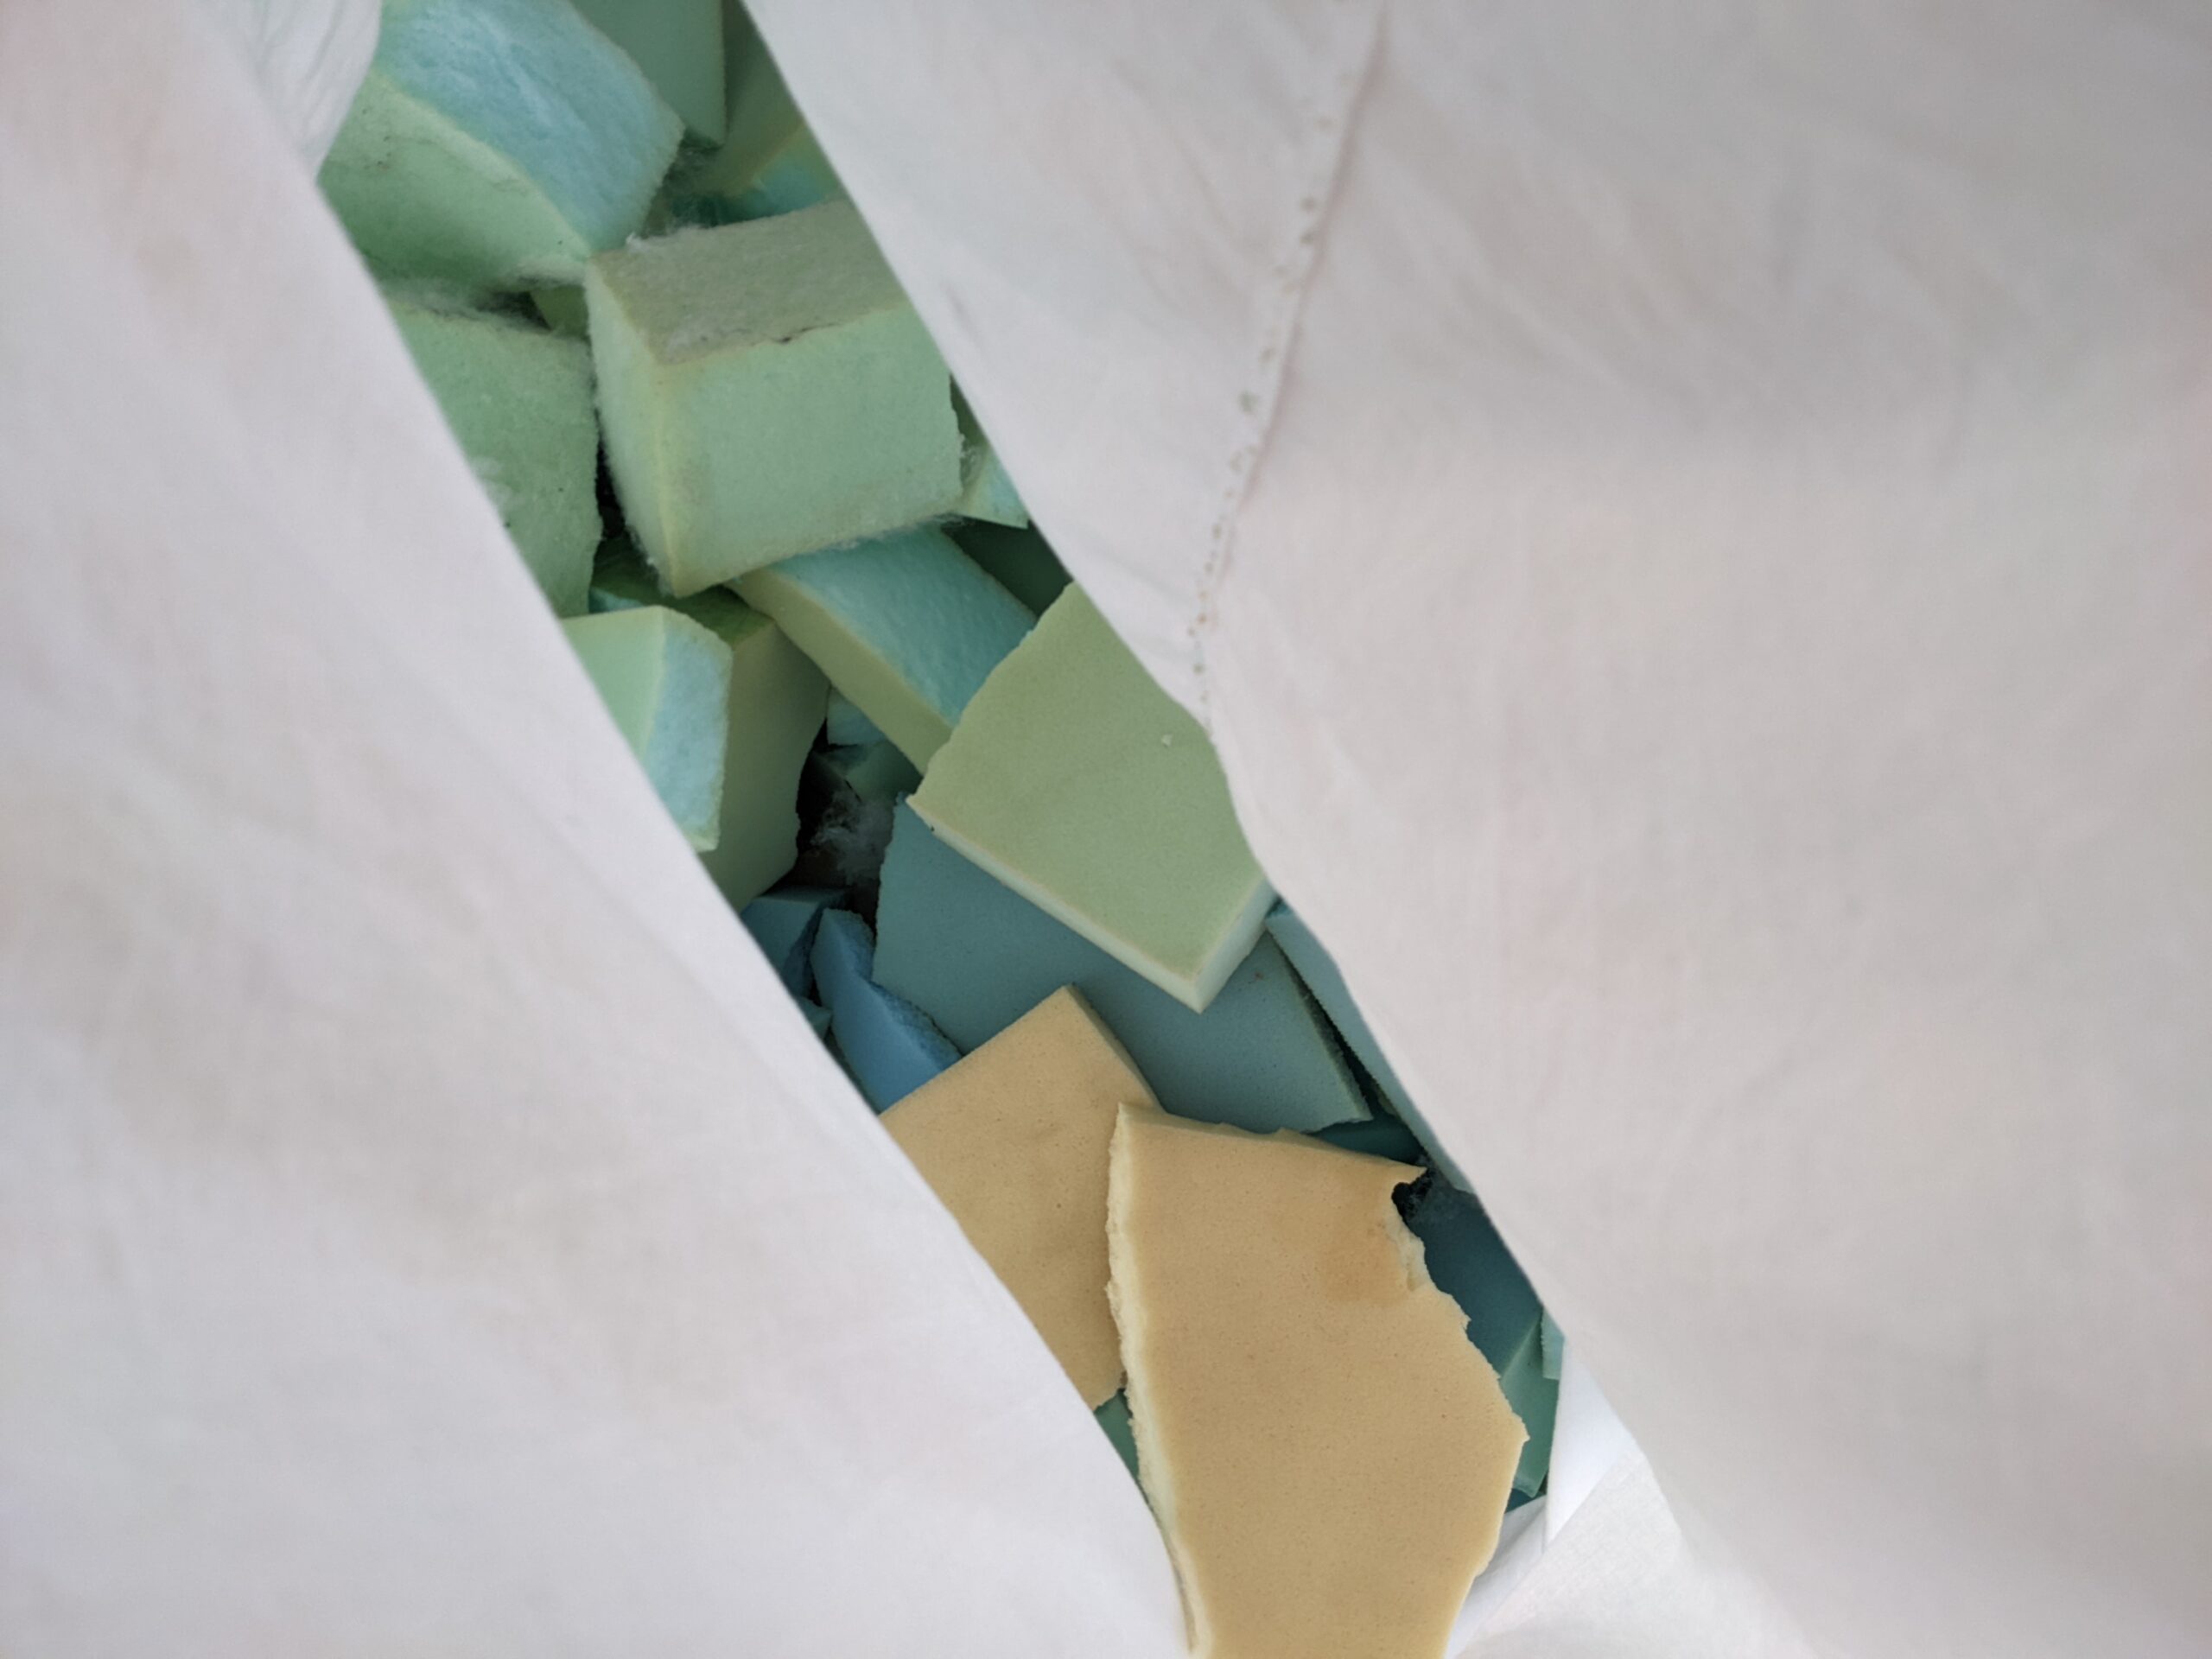
- Lots of foam offcuts (I sourced some for free from a local Upholstery business – they often have offcuts they would like to go to use)
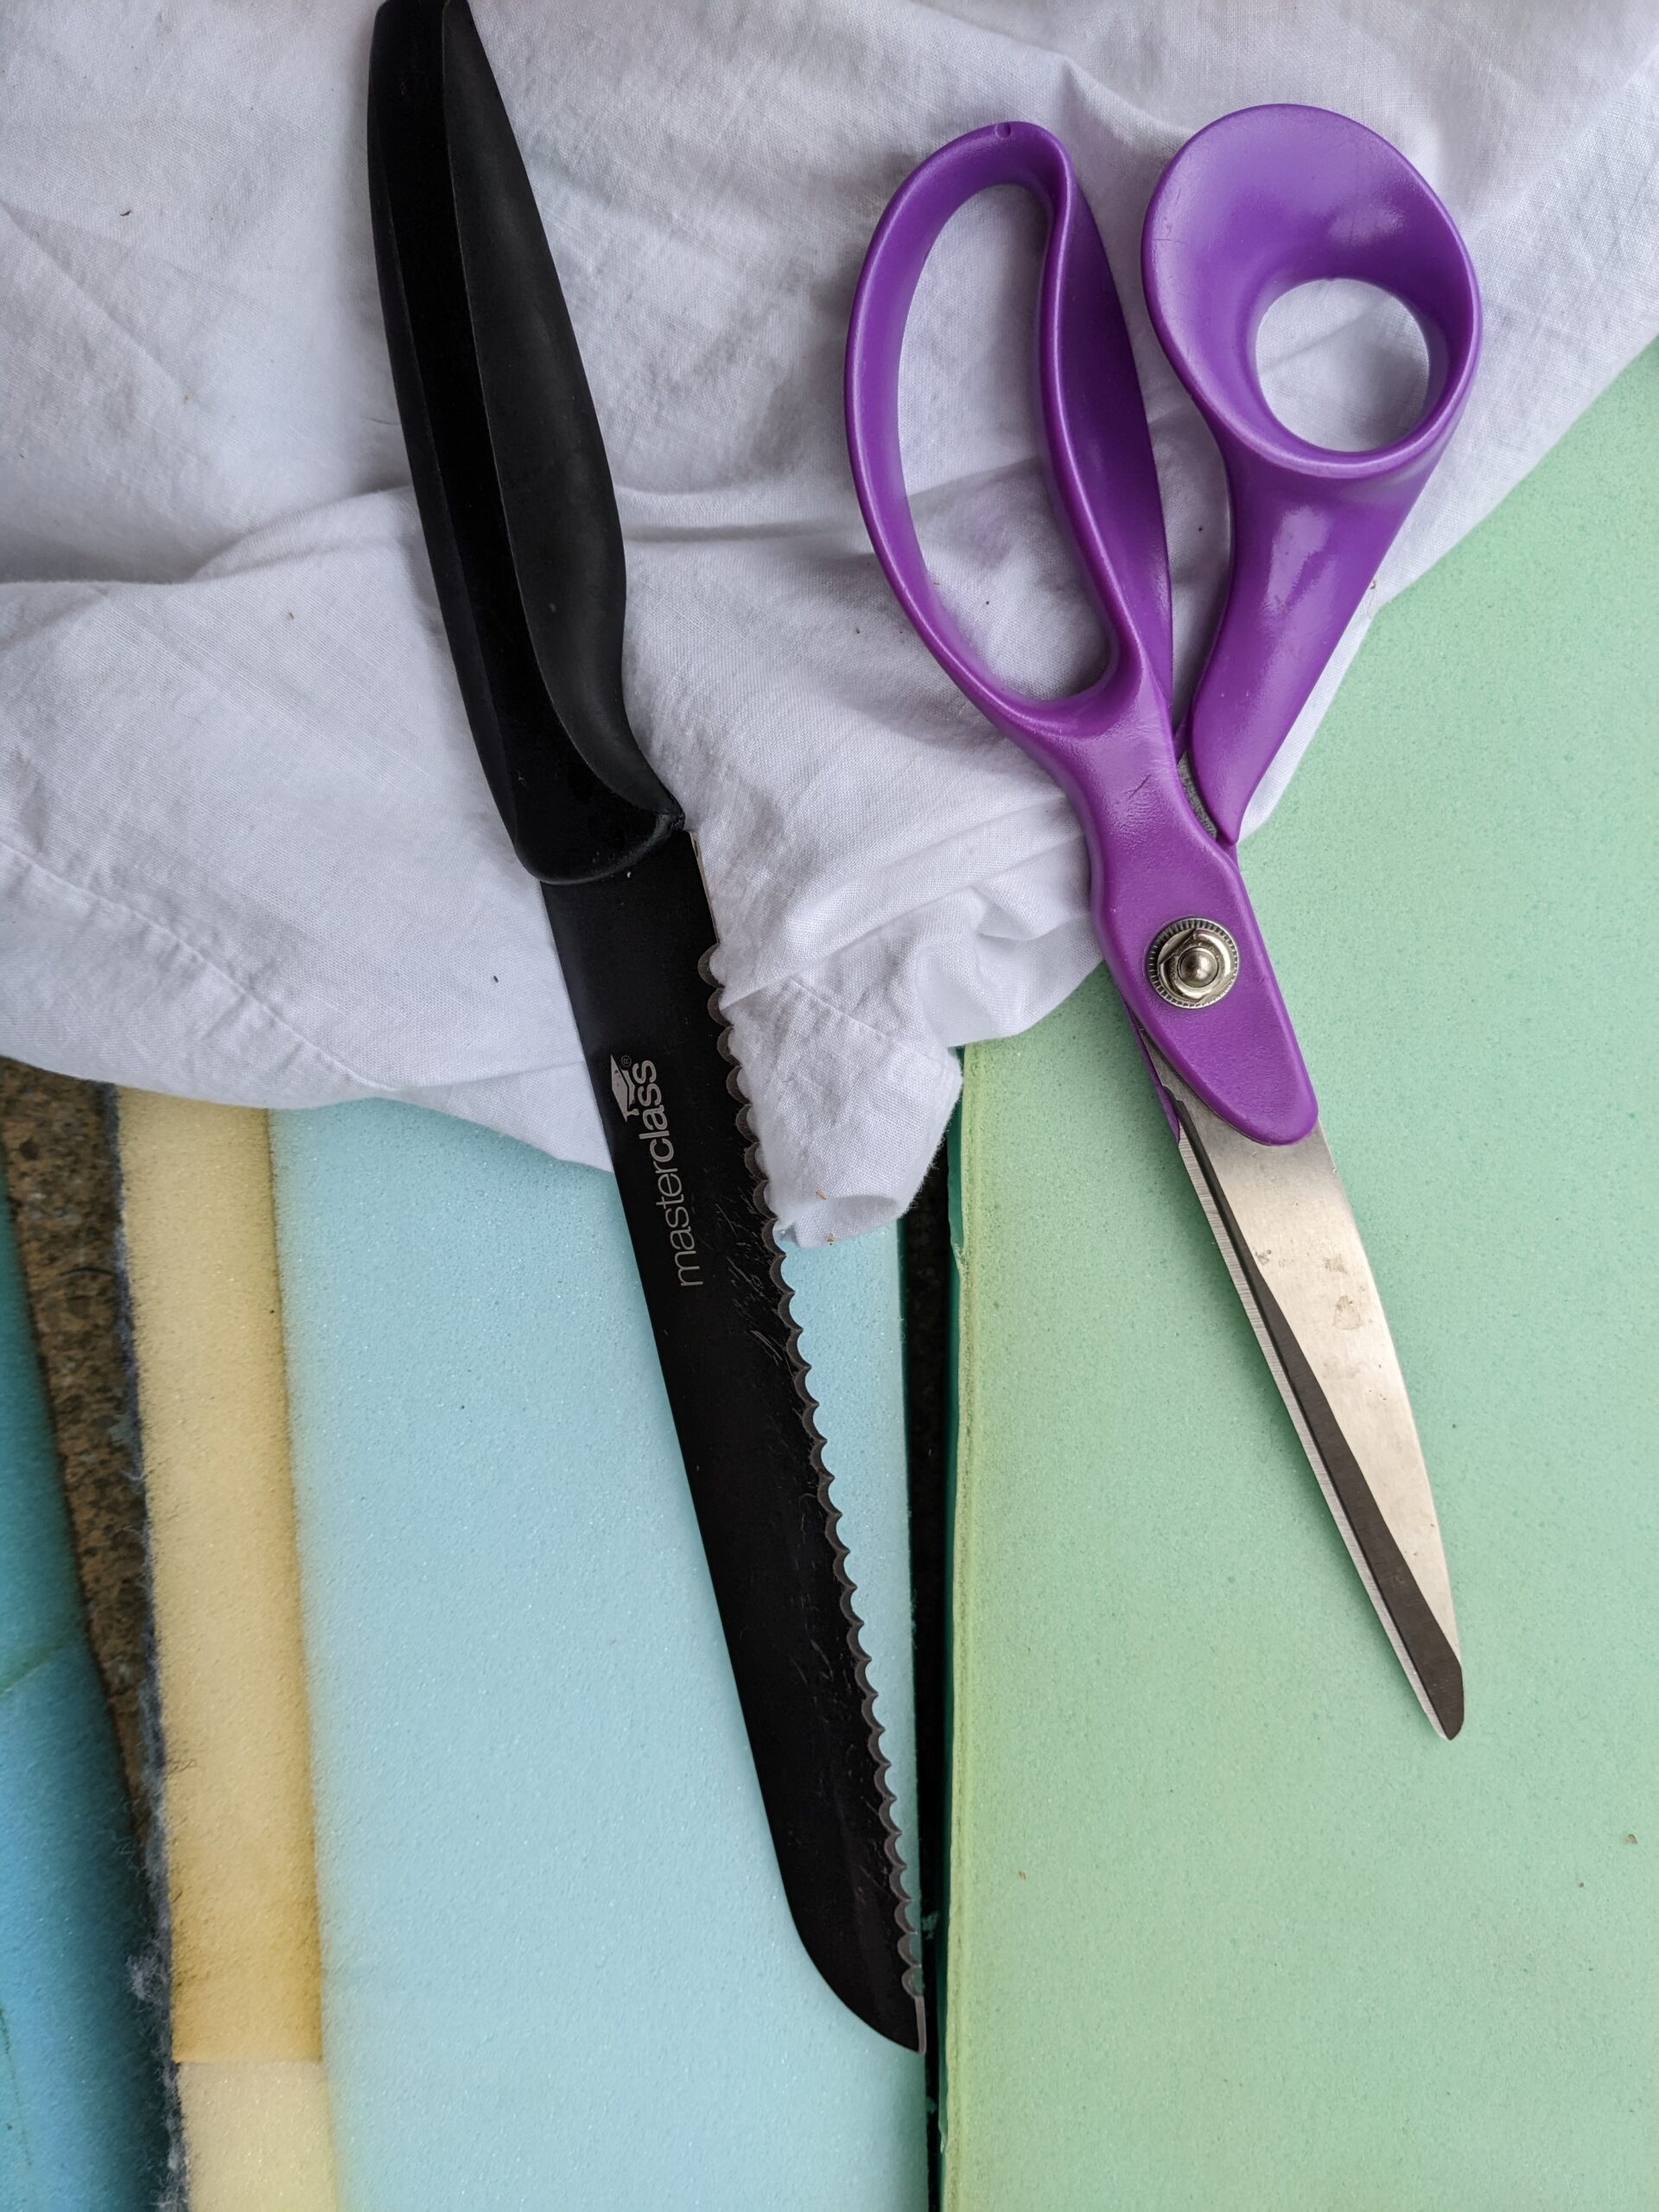
- Bread knife
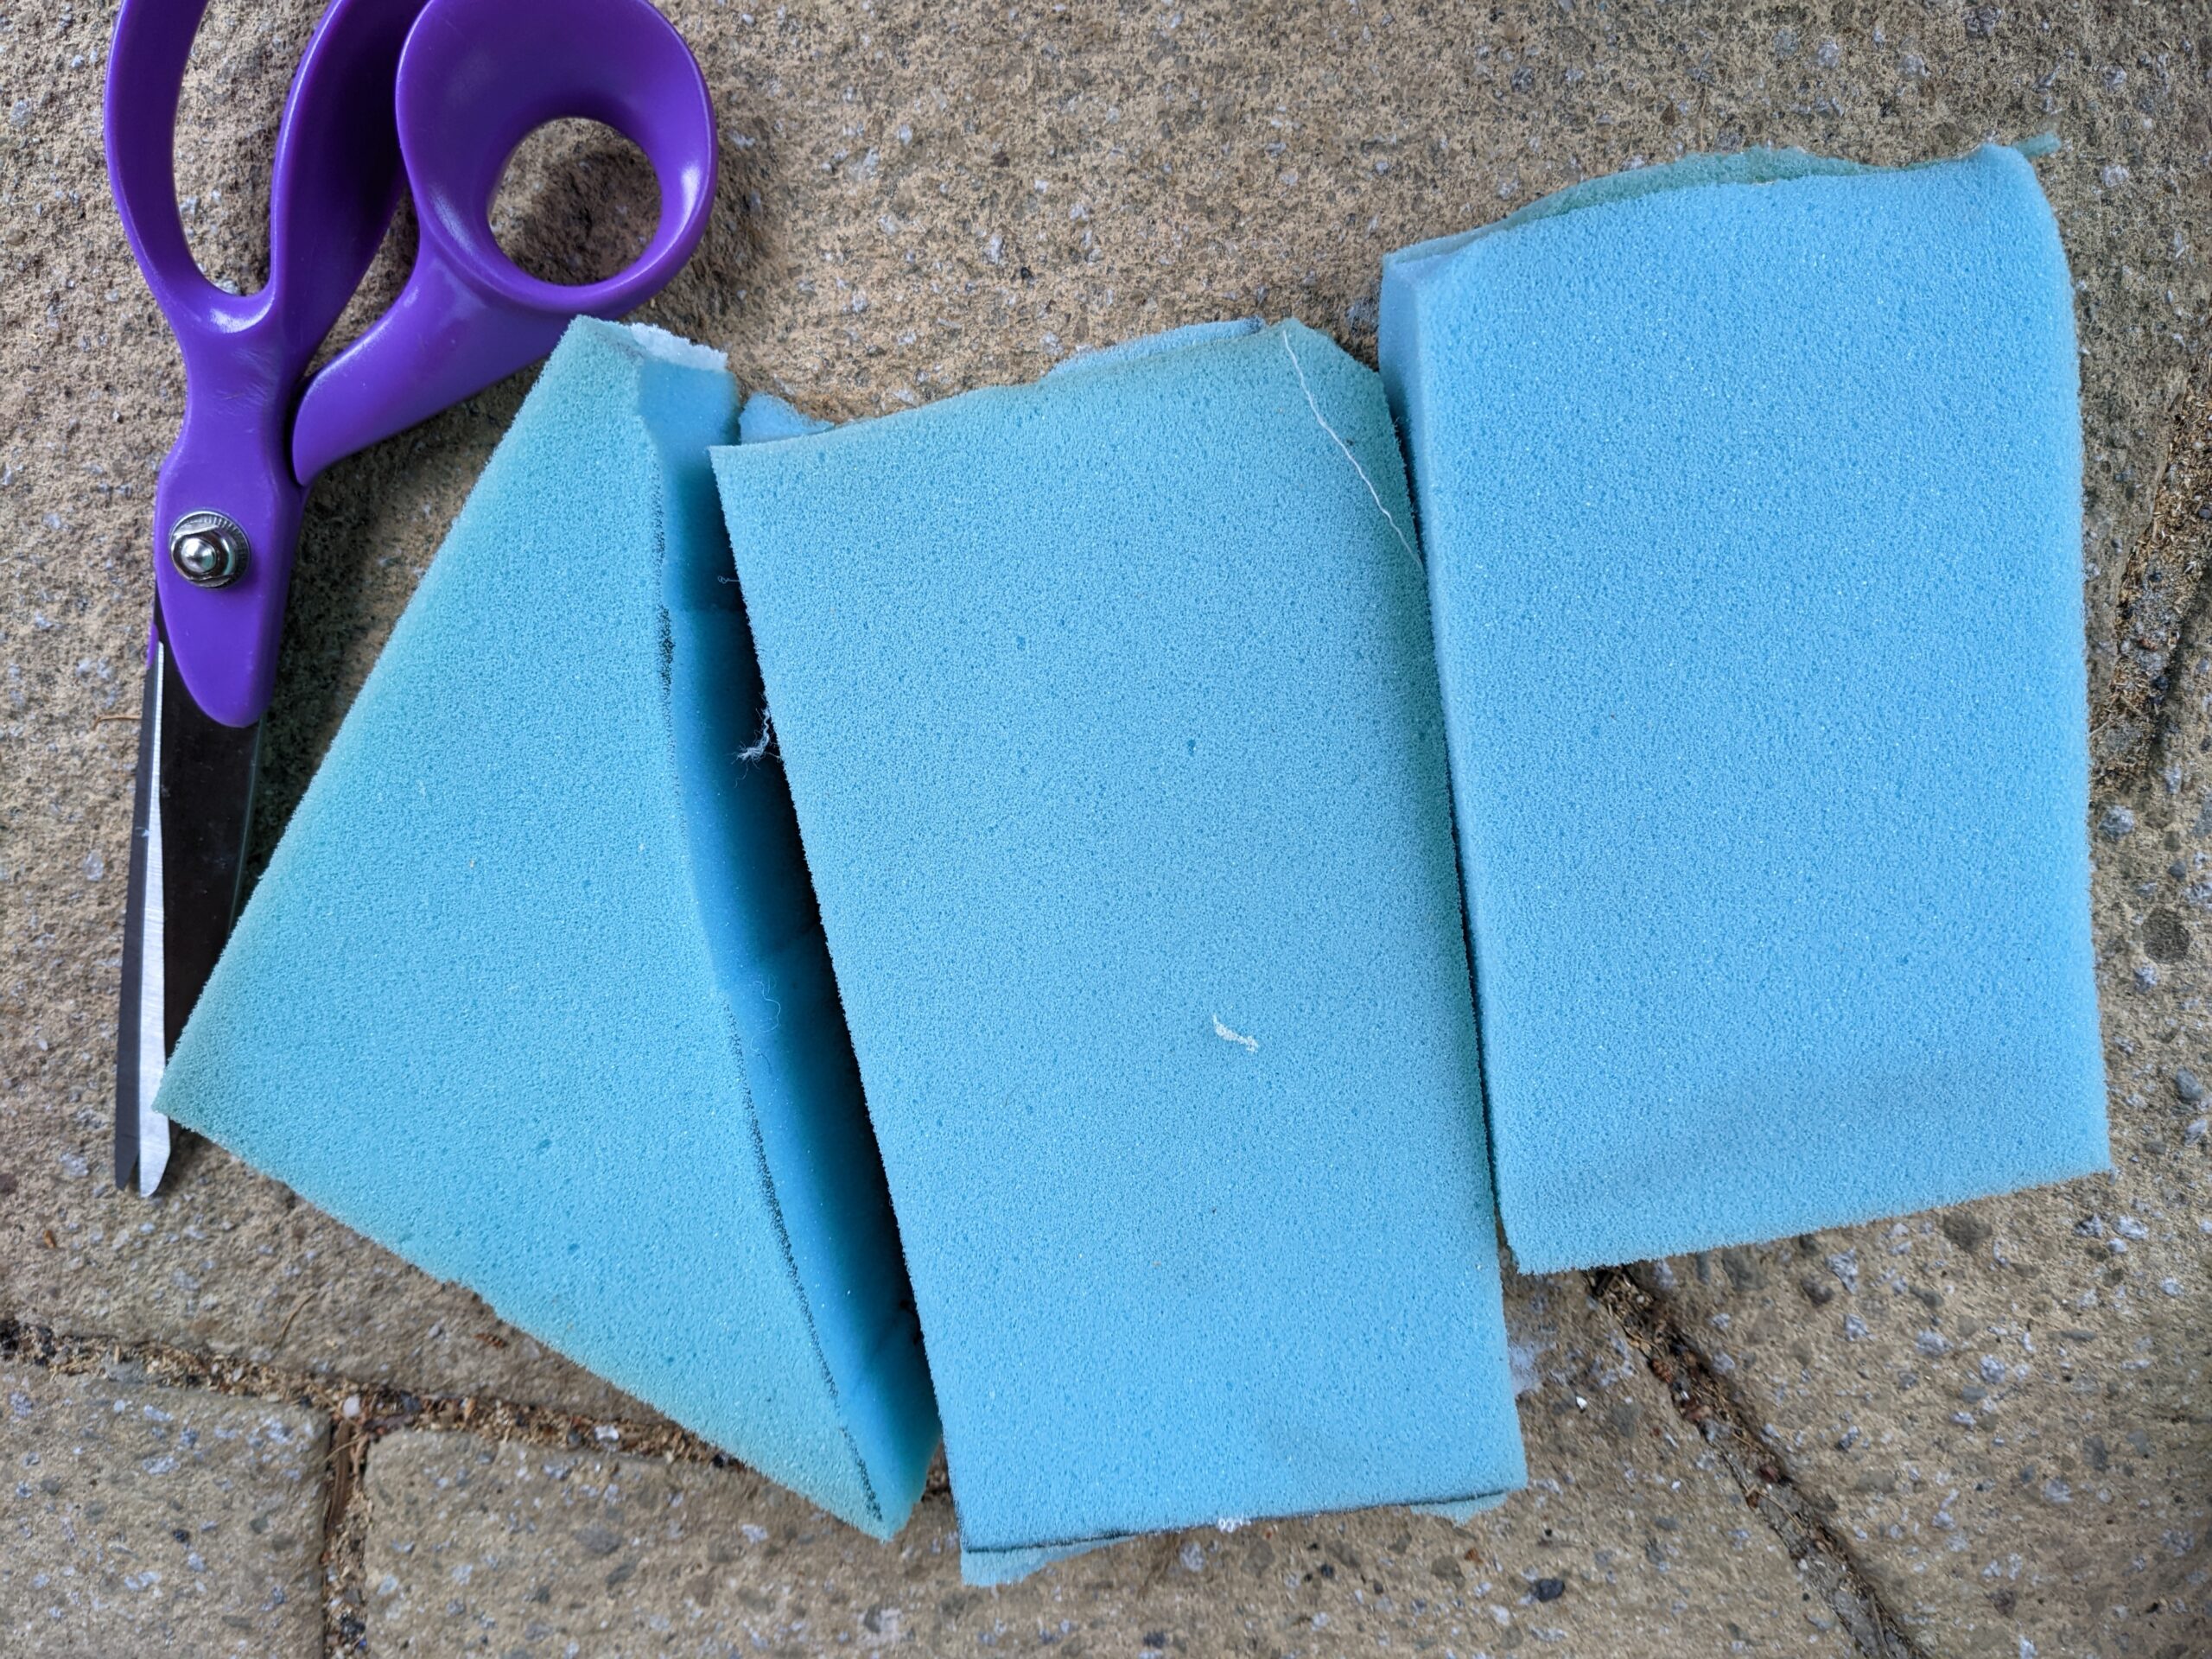
- Scissors
Instructions
- I lay out all the foam pieces to check for any pins. I also used a fabric cleaning spray to make sure all the pieces were clean.

2. Open your duvet protector and hang it somewhere so it’s open – this makes it easier to throw all the foam pieces in as you cut them.
3. I cut the foam outside – it creates lots of mess so it was easier to sweep up this way. I used a combination of tearing some pieces with my hands, using a bread knife, and scissors for thinner pieces. In terms of size, I cut them up to about the same size pieces as the length of my scissors. You can cut them smaller or larger depending on whether you want it more or less lumpy! The smaller you cut, the more foam you’ll need.
4. As I cut, I threw all the foam pieces into the zippable duvet protector. Once all the pieces are in there, zip it up!
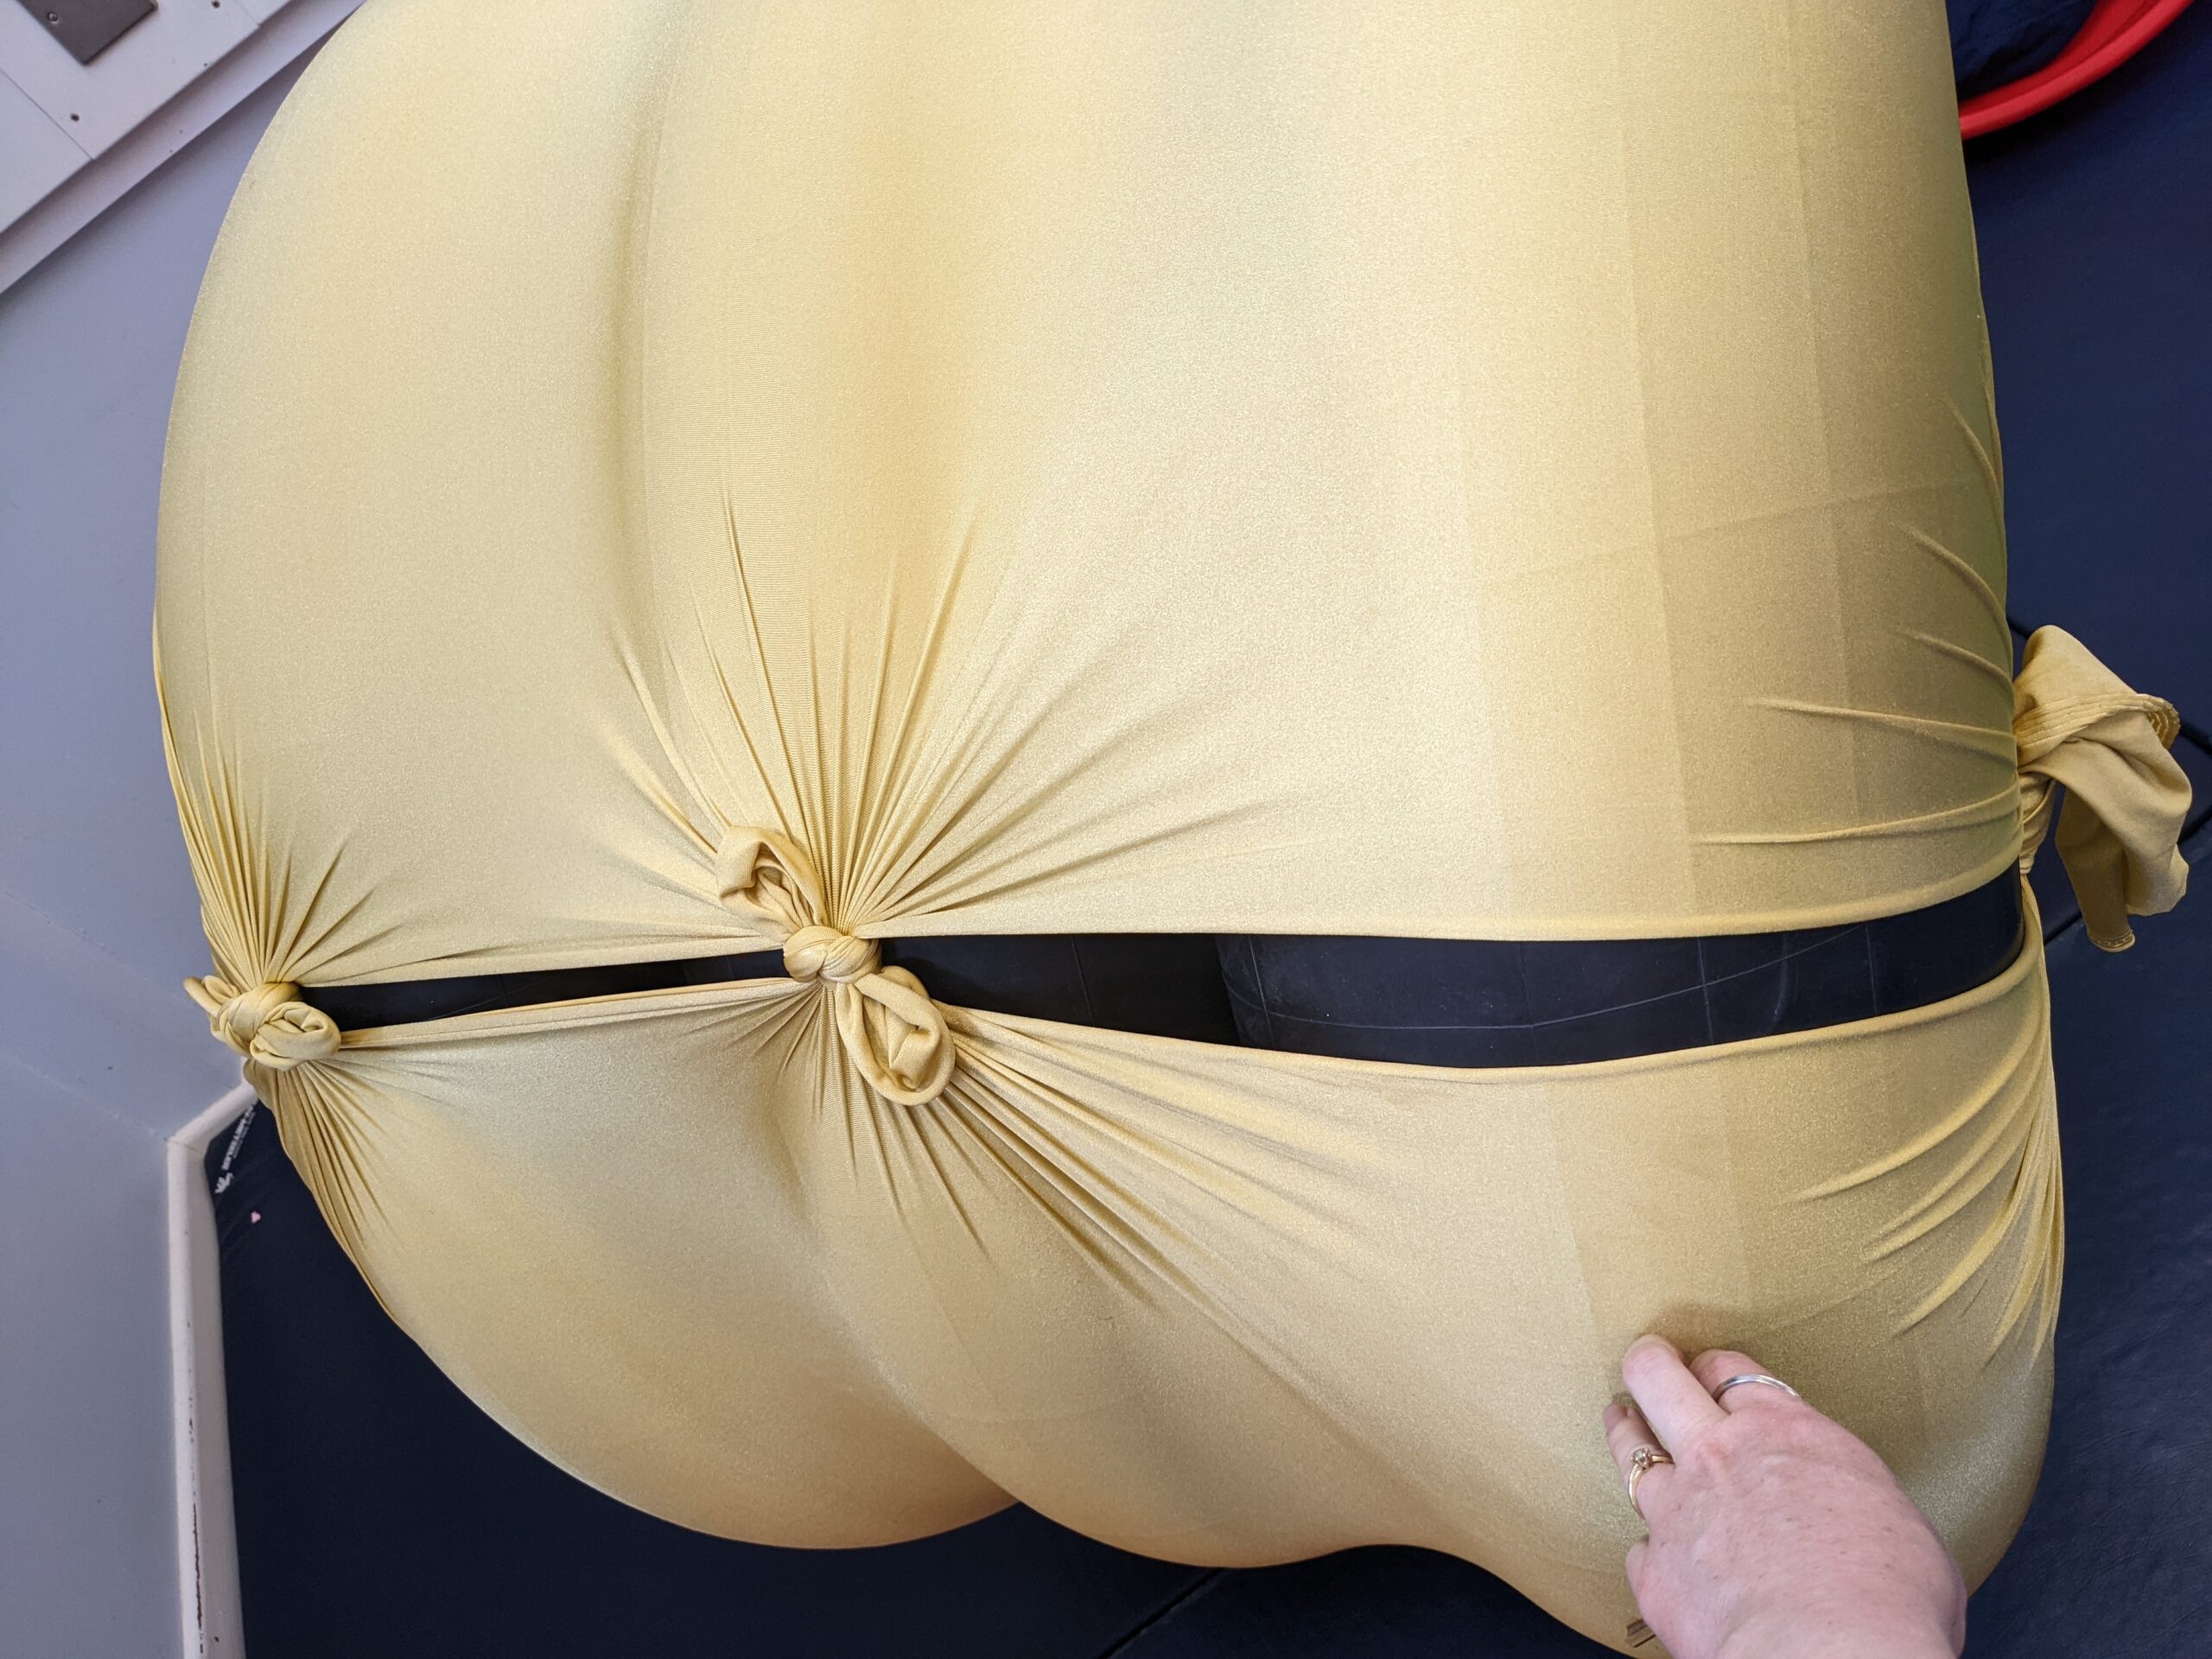
5. Now wrestle your giant crash pad into the outer duvet case – put the zipped end in first so it’s not at the end with the duvet opening (this is to prevent curious fingers unzipping the inner protector and foam going everywhere!) Ta da! You did it!