27 Jun

Thoughts From a Therapist: Movement Space Success!

Originally published on Sensory Integration Education on 21st July 2022.

I’ve just finished the Autism in Schools project I was commissioned to complete this term (and waiting to hear whether they may extend it). I wrote in June that I was about to set up a Movement Space. I decided to use this term, rather than ‘sensory room’, so that there was a clear focus on active, rather than passive, sensory experiences.

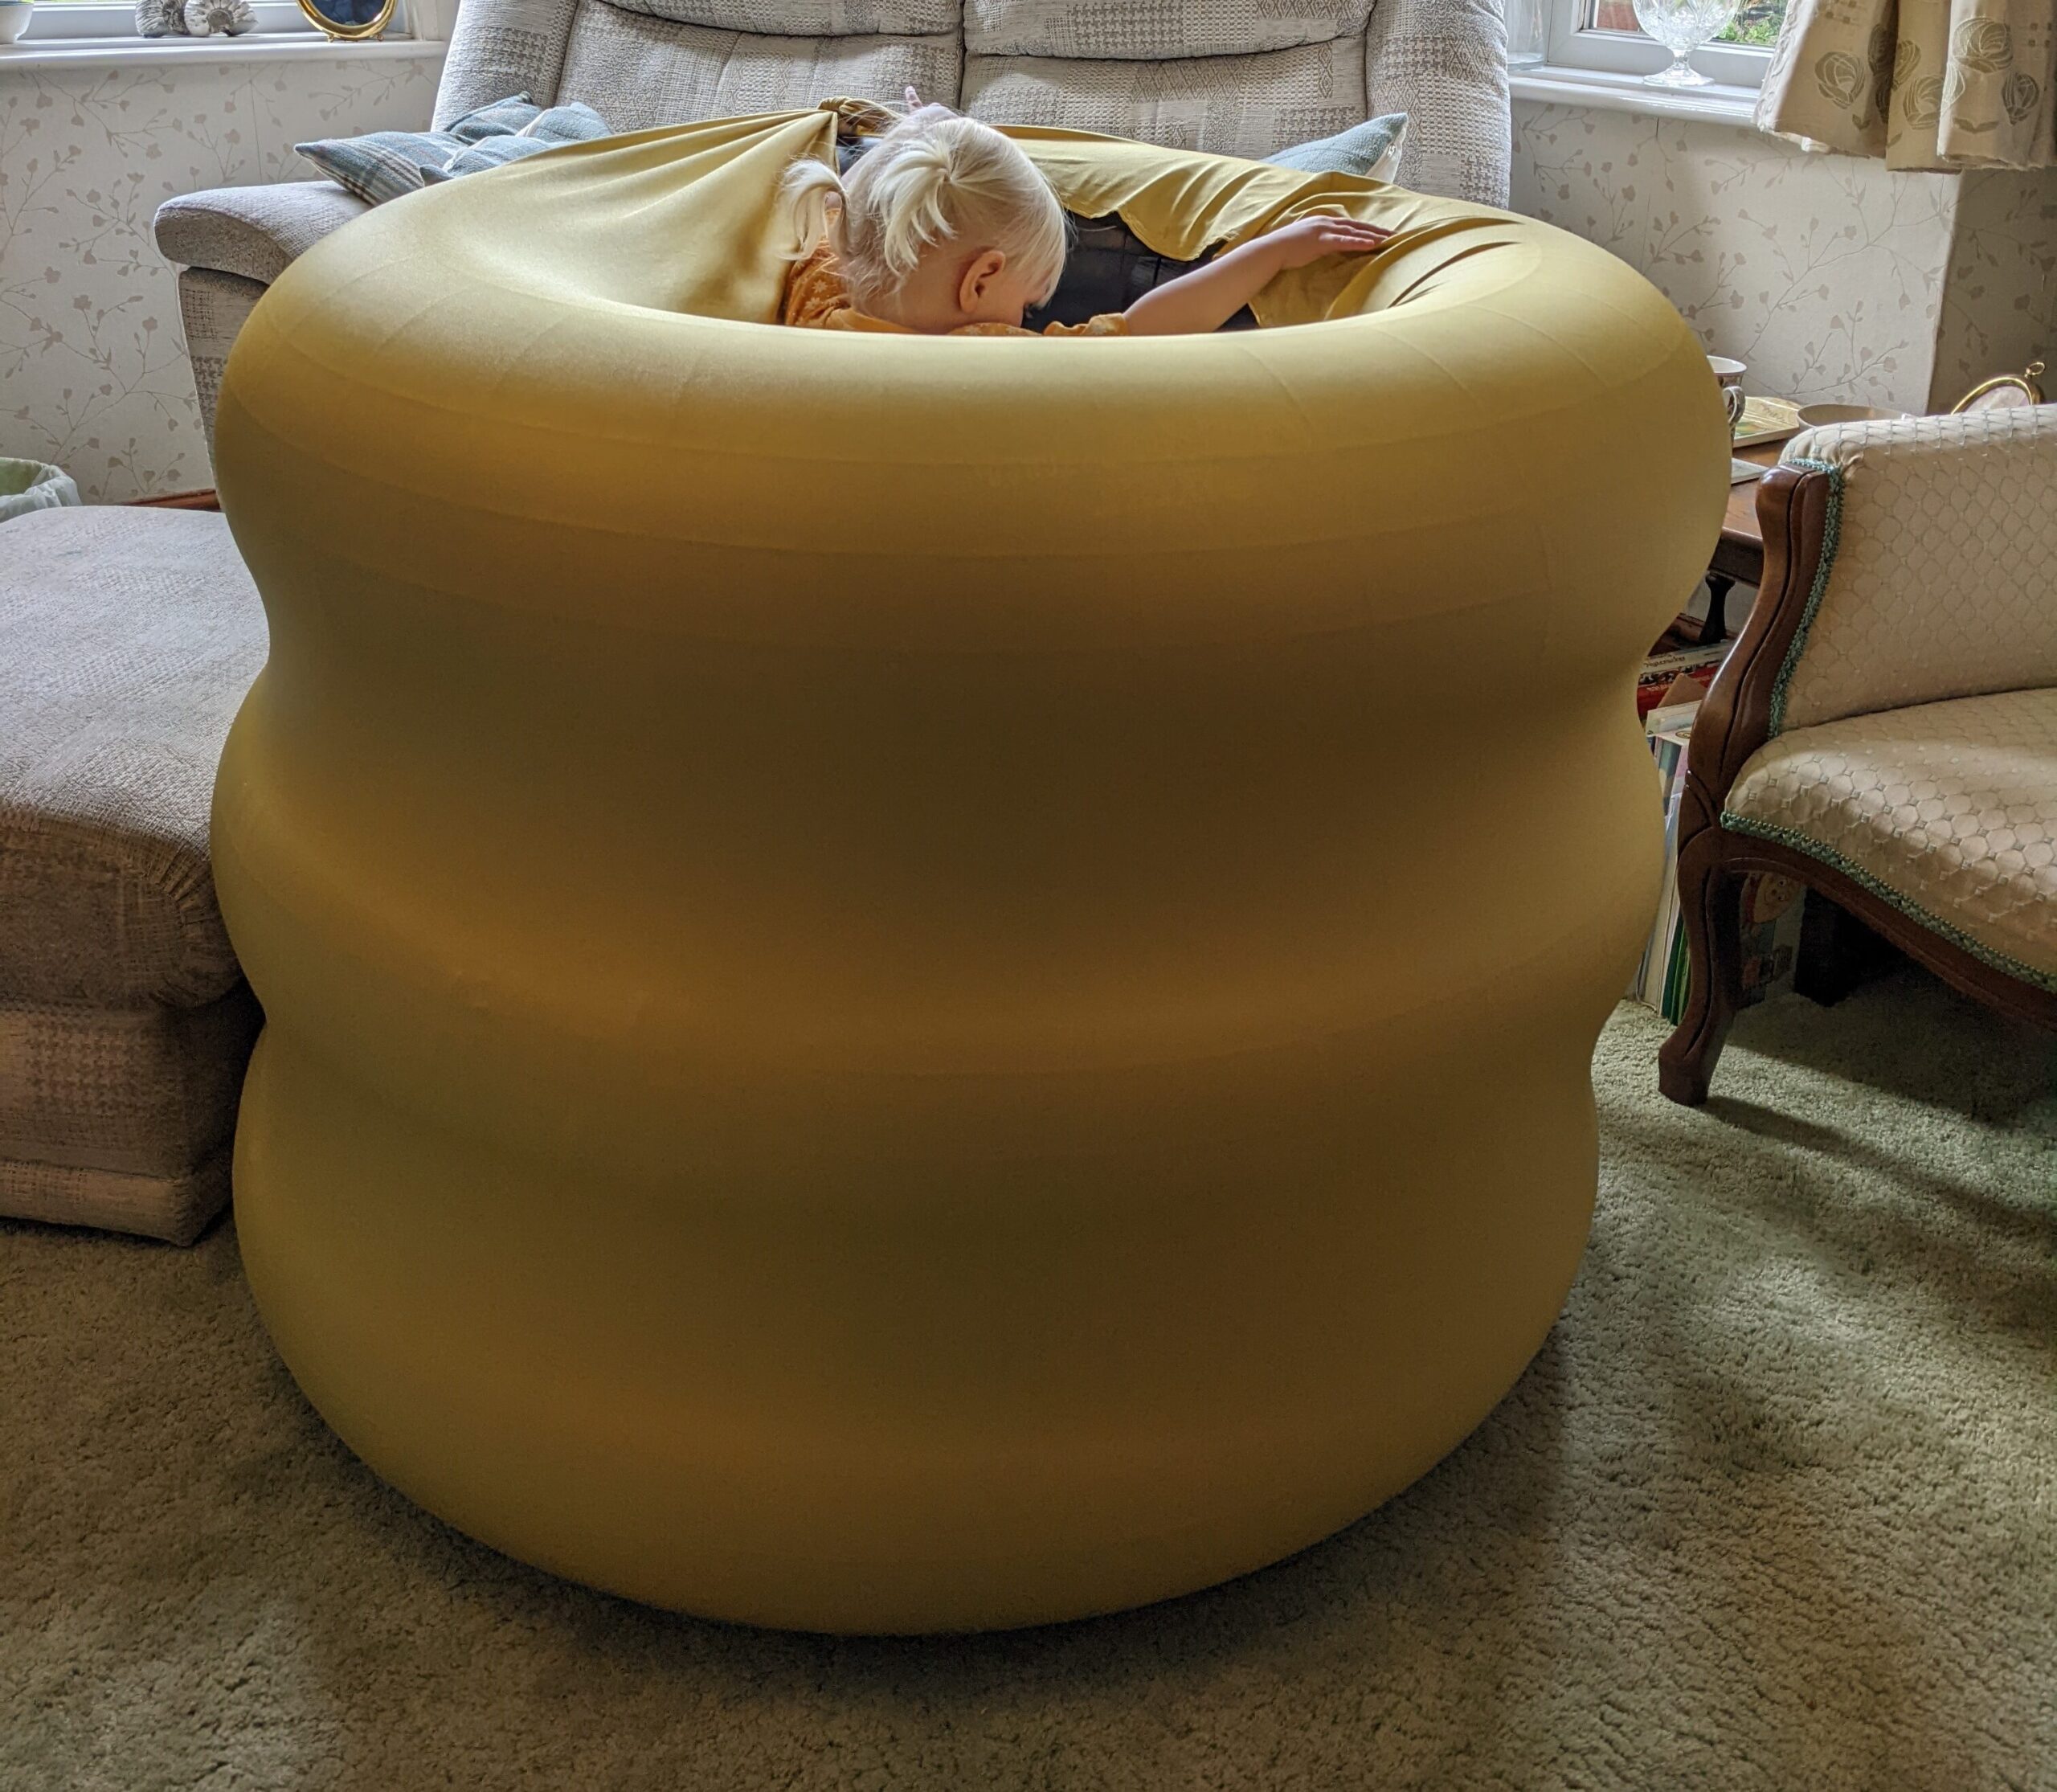
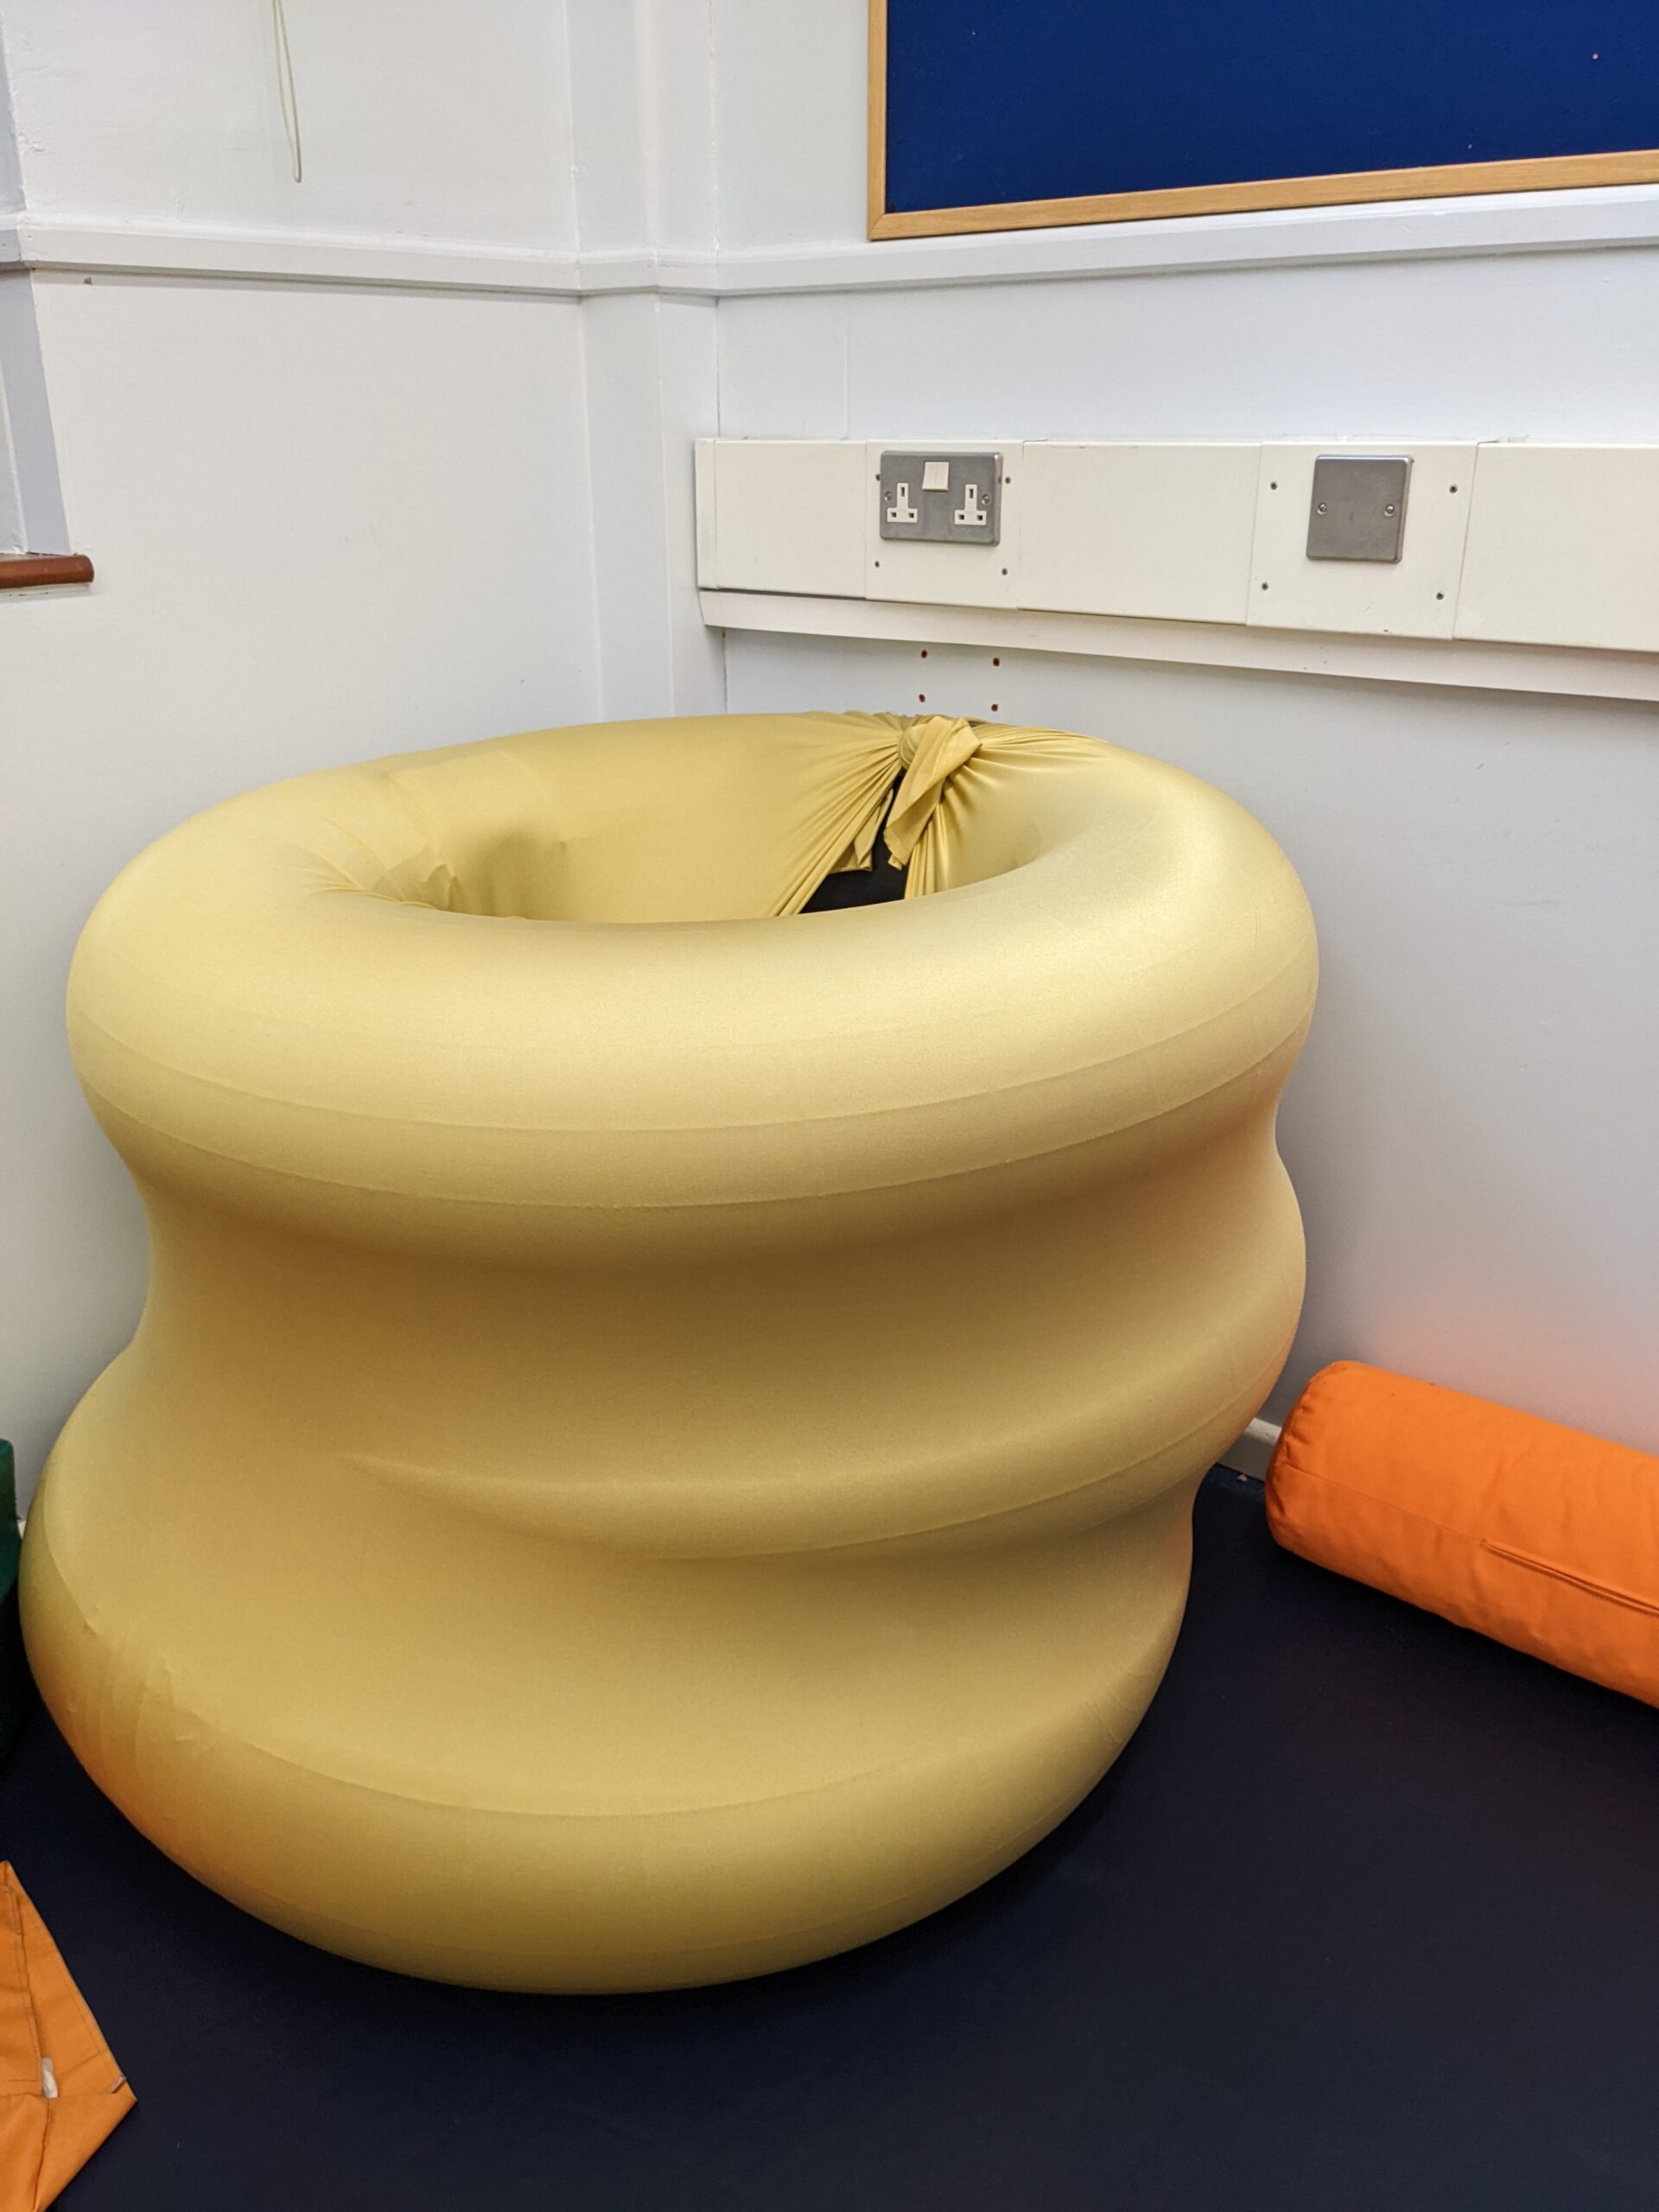
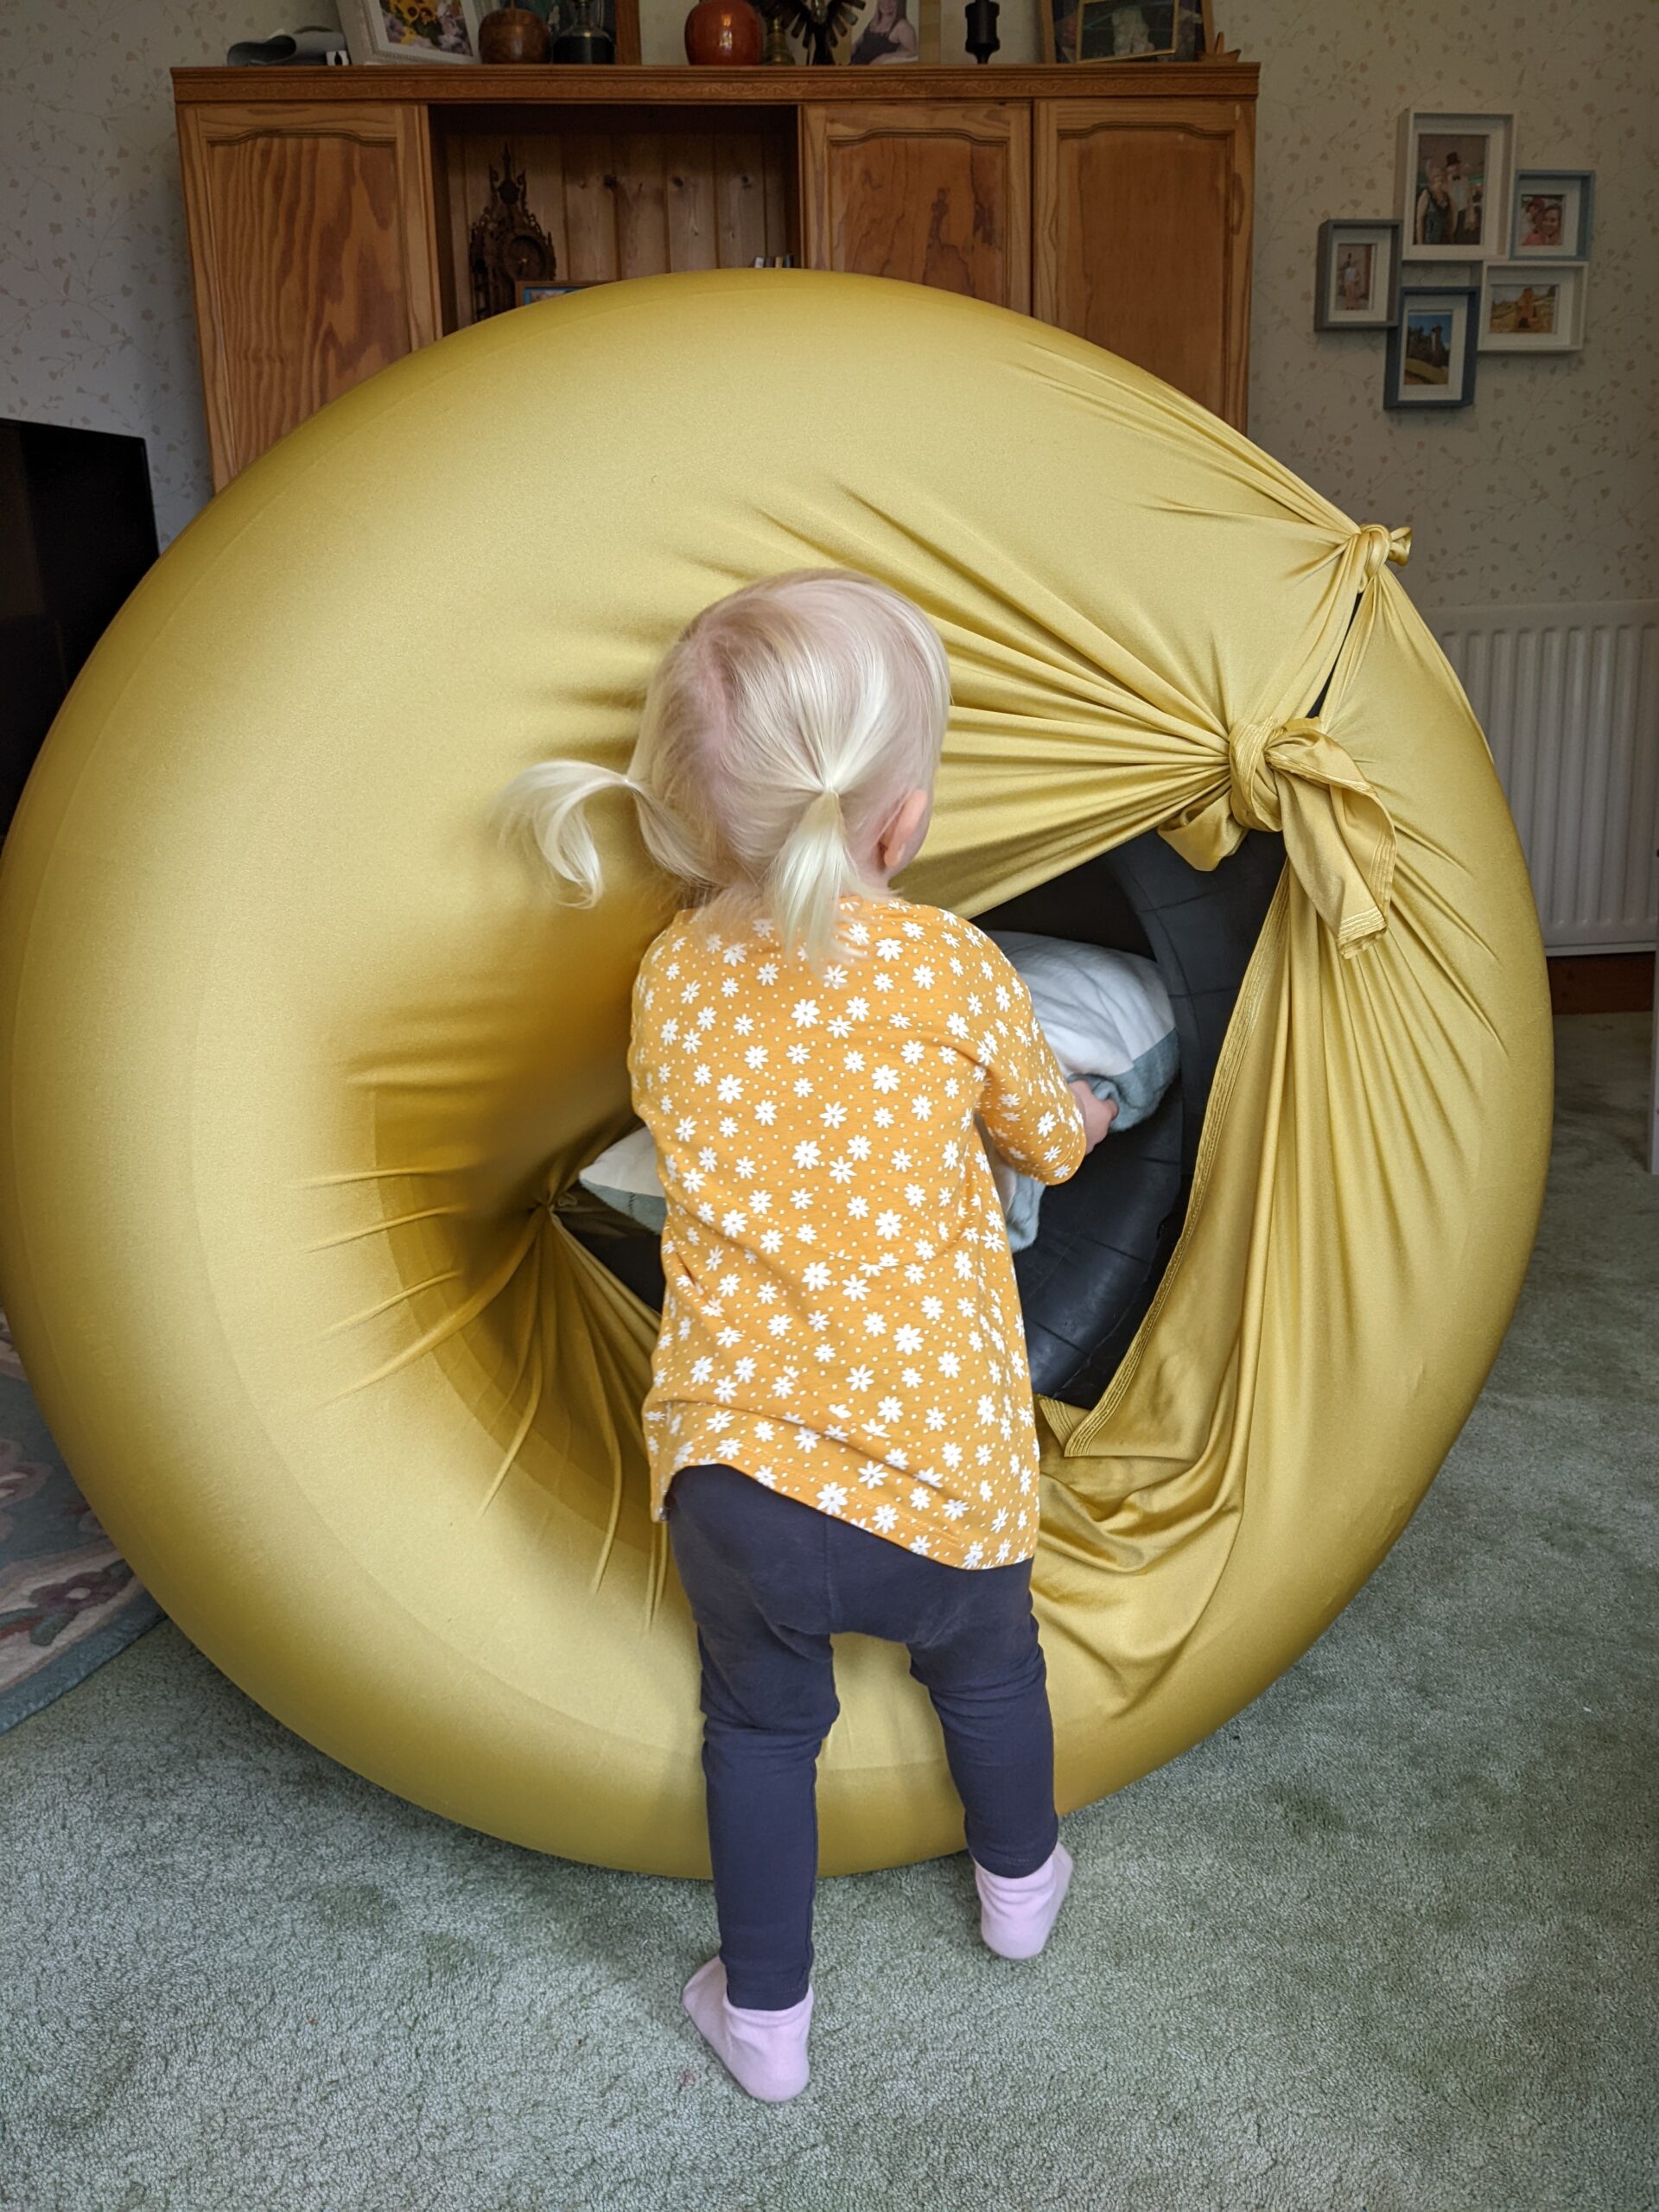
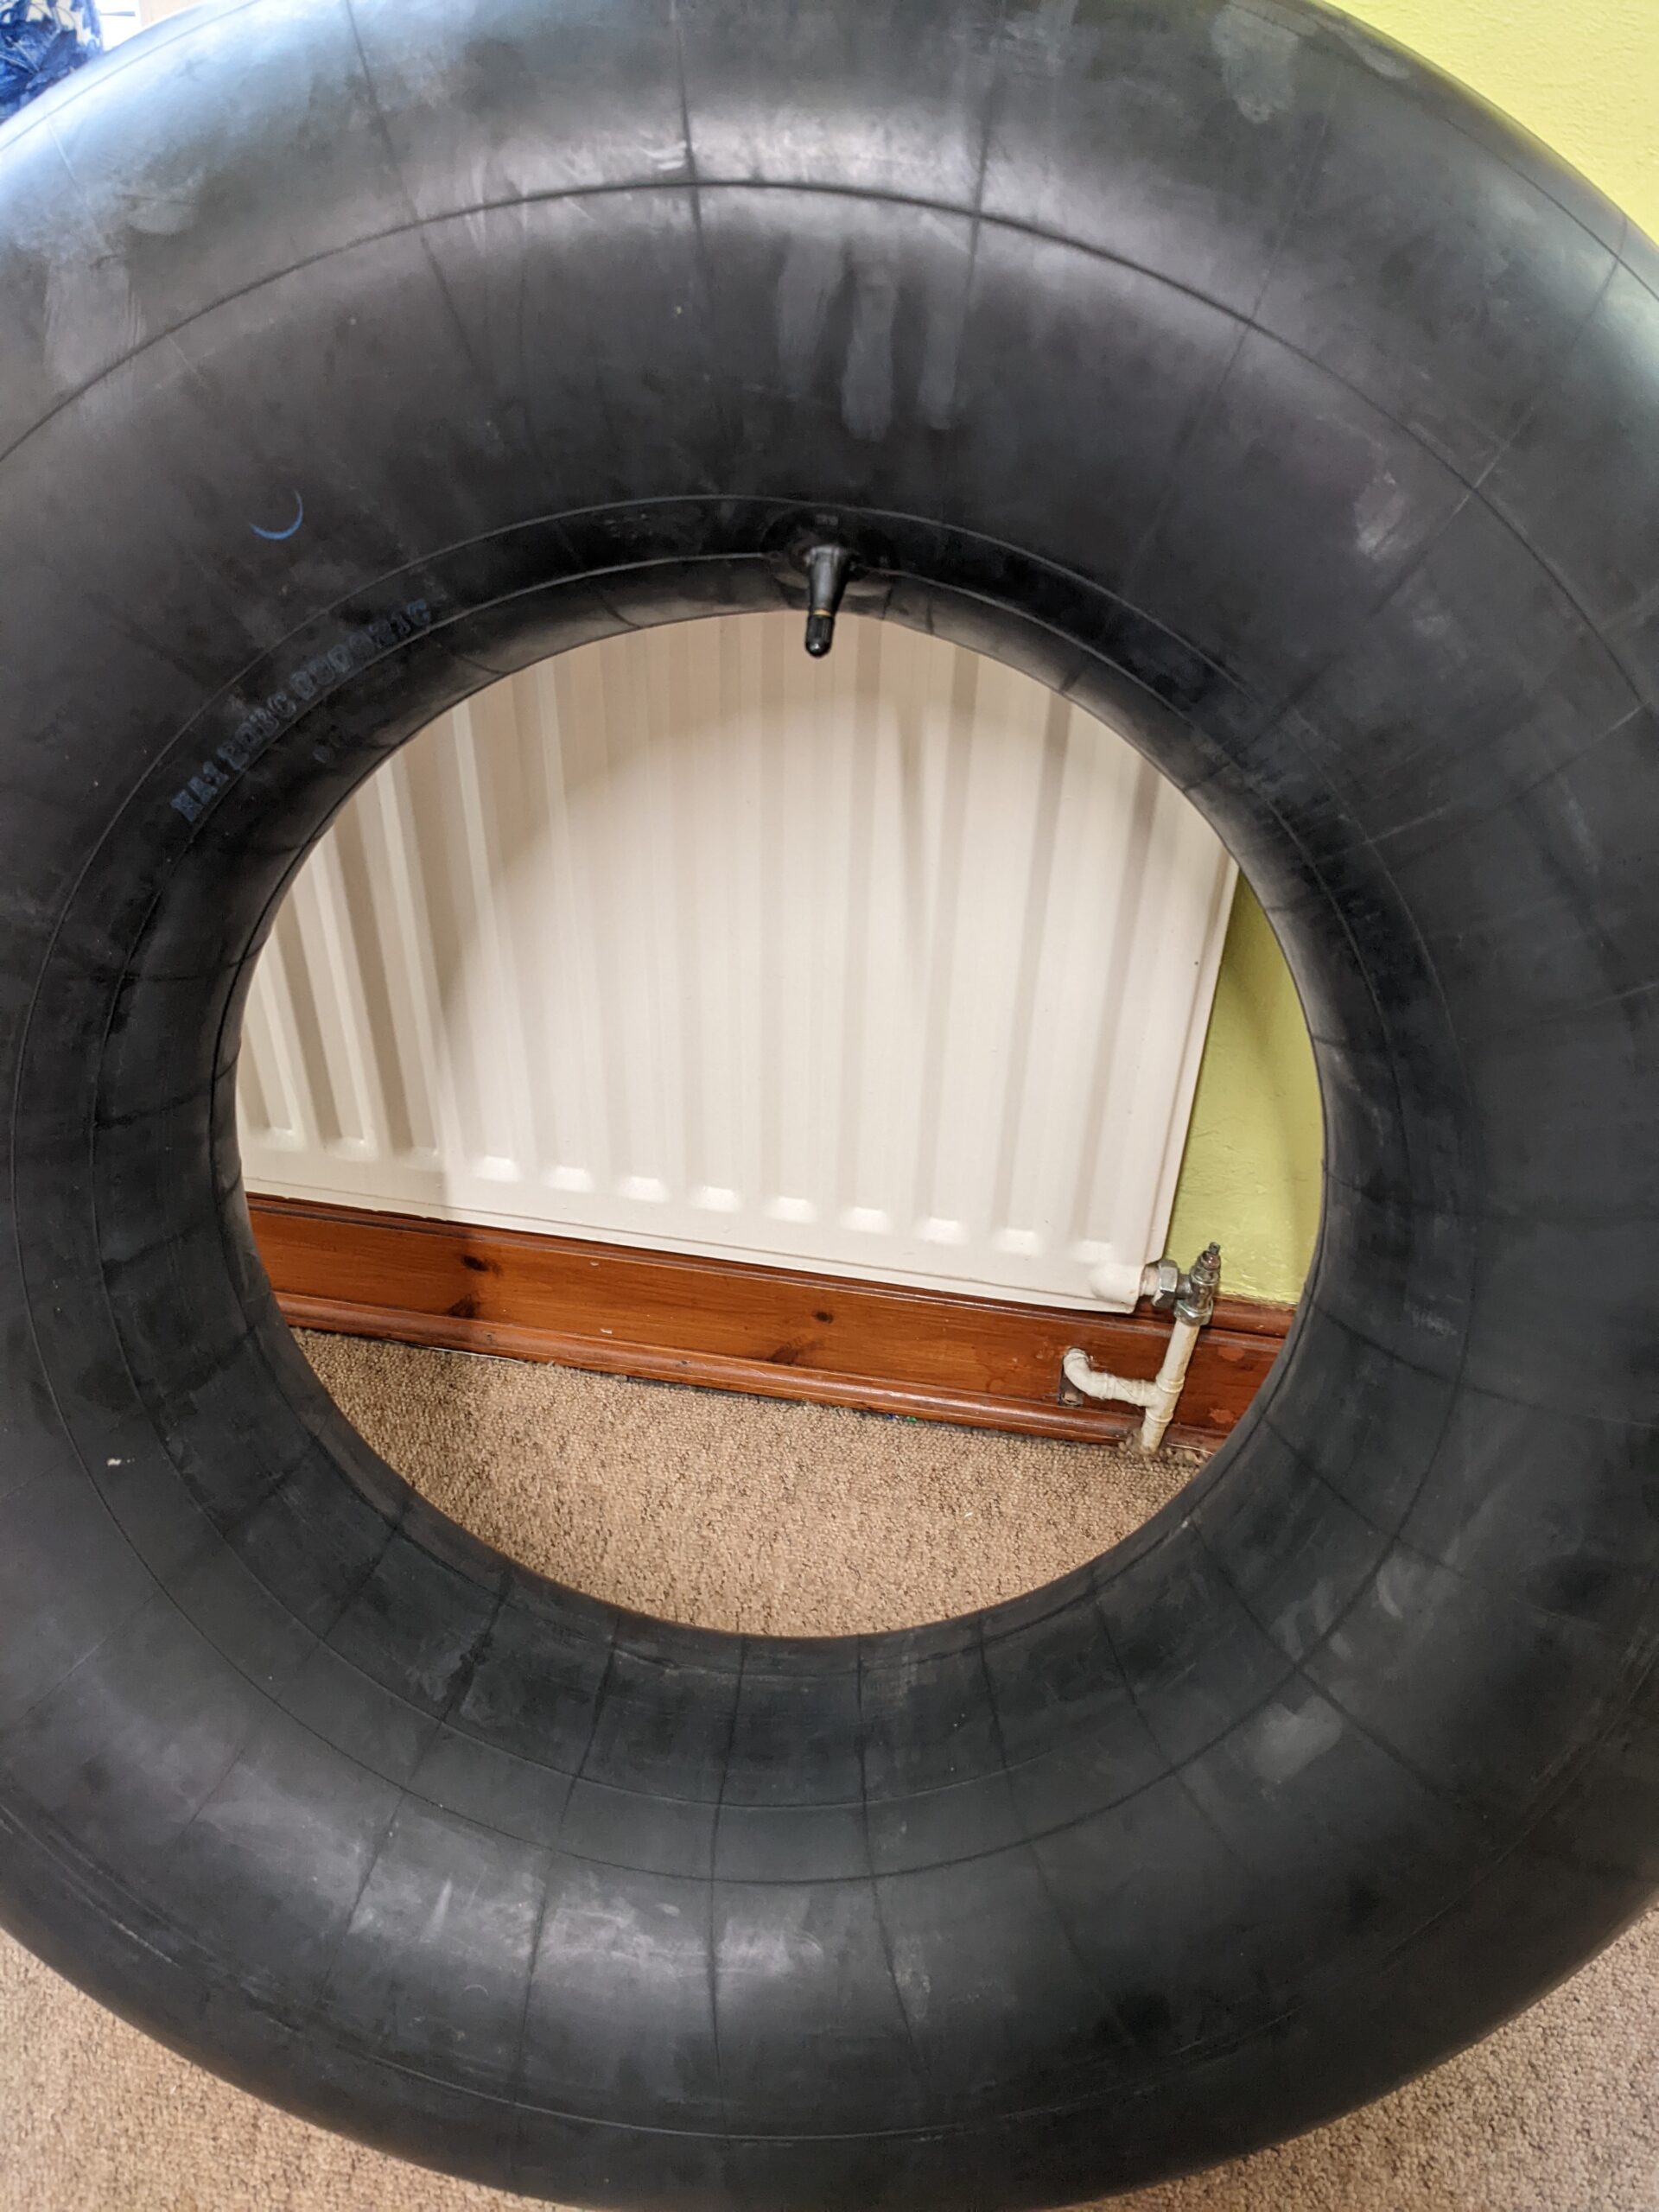
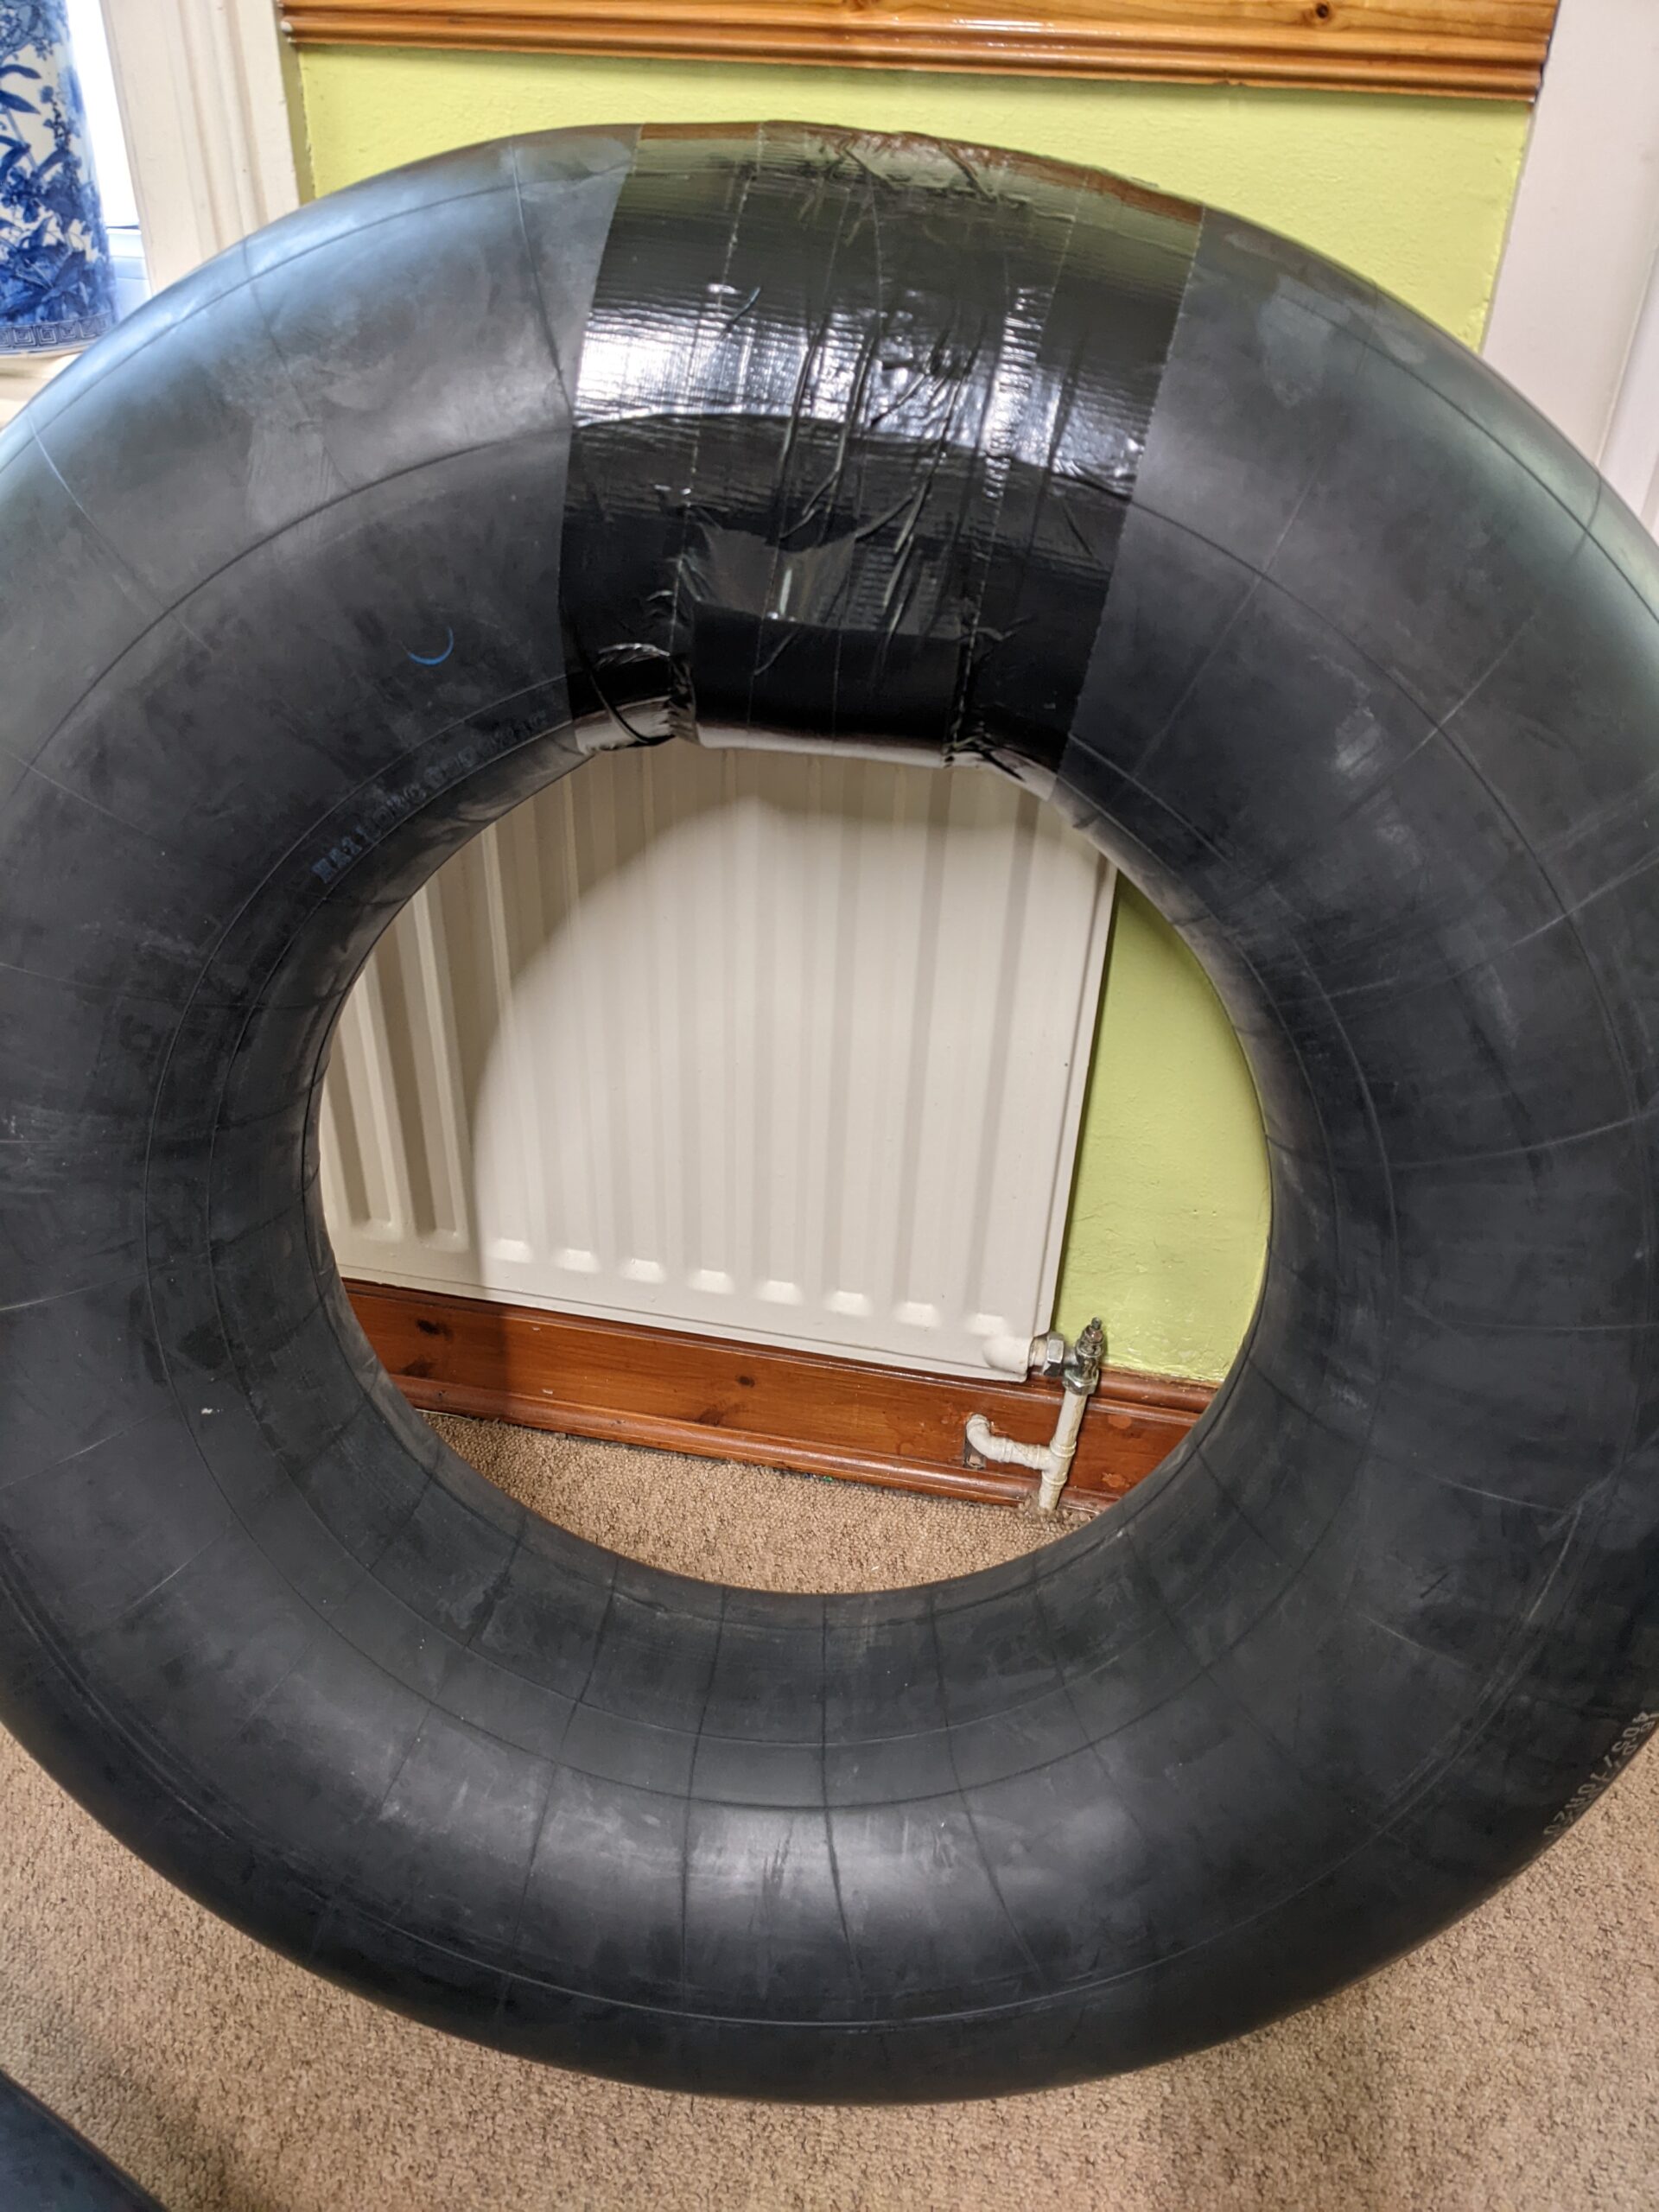
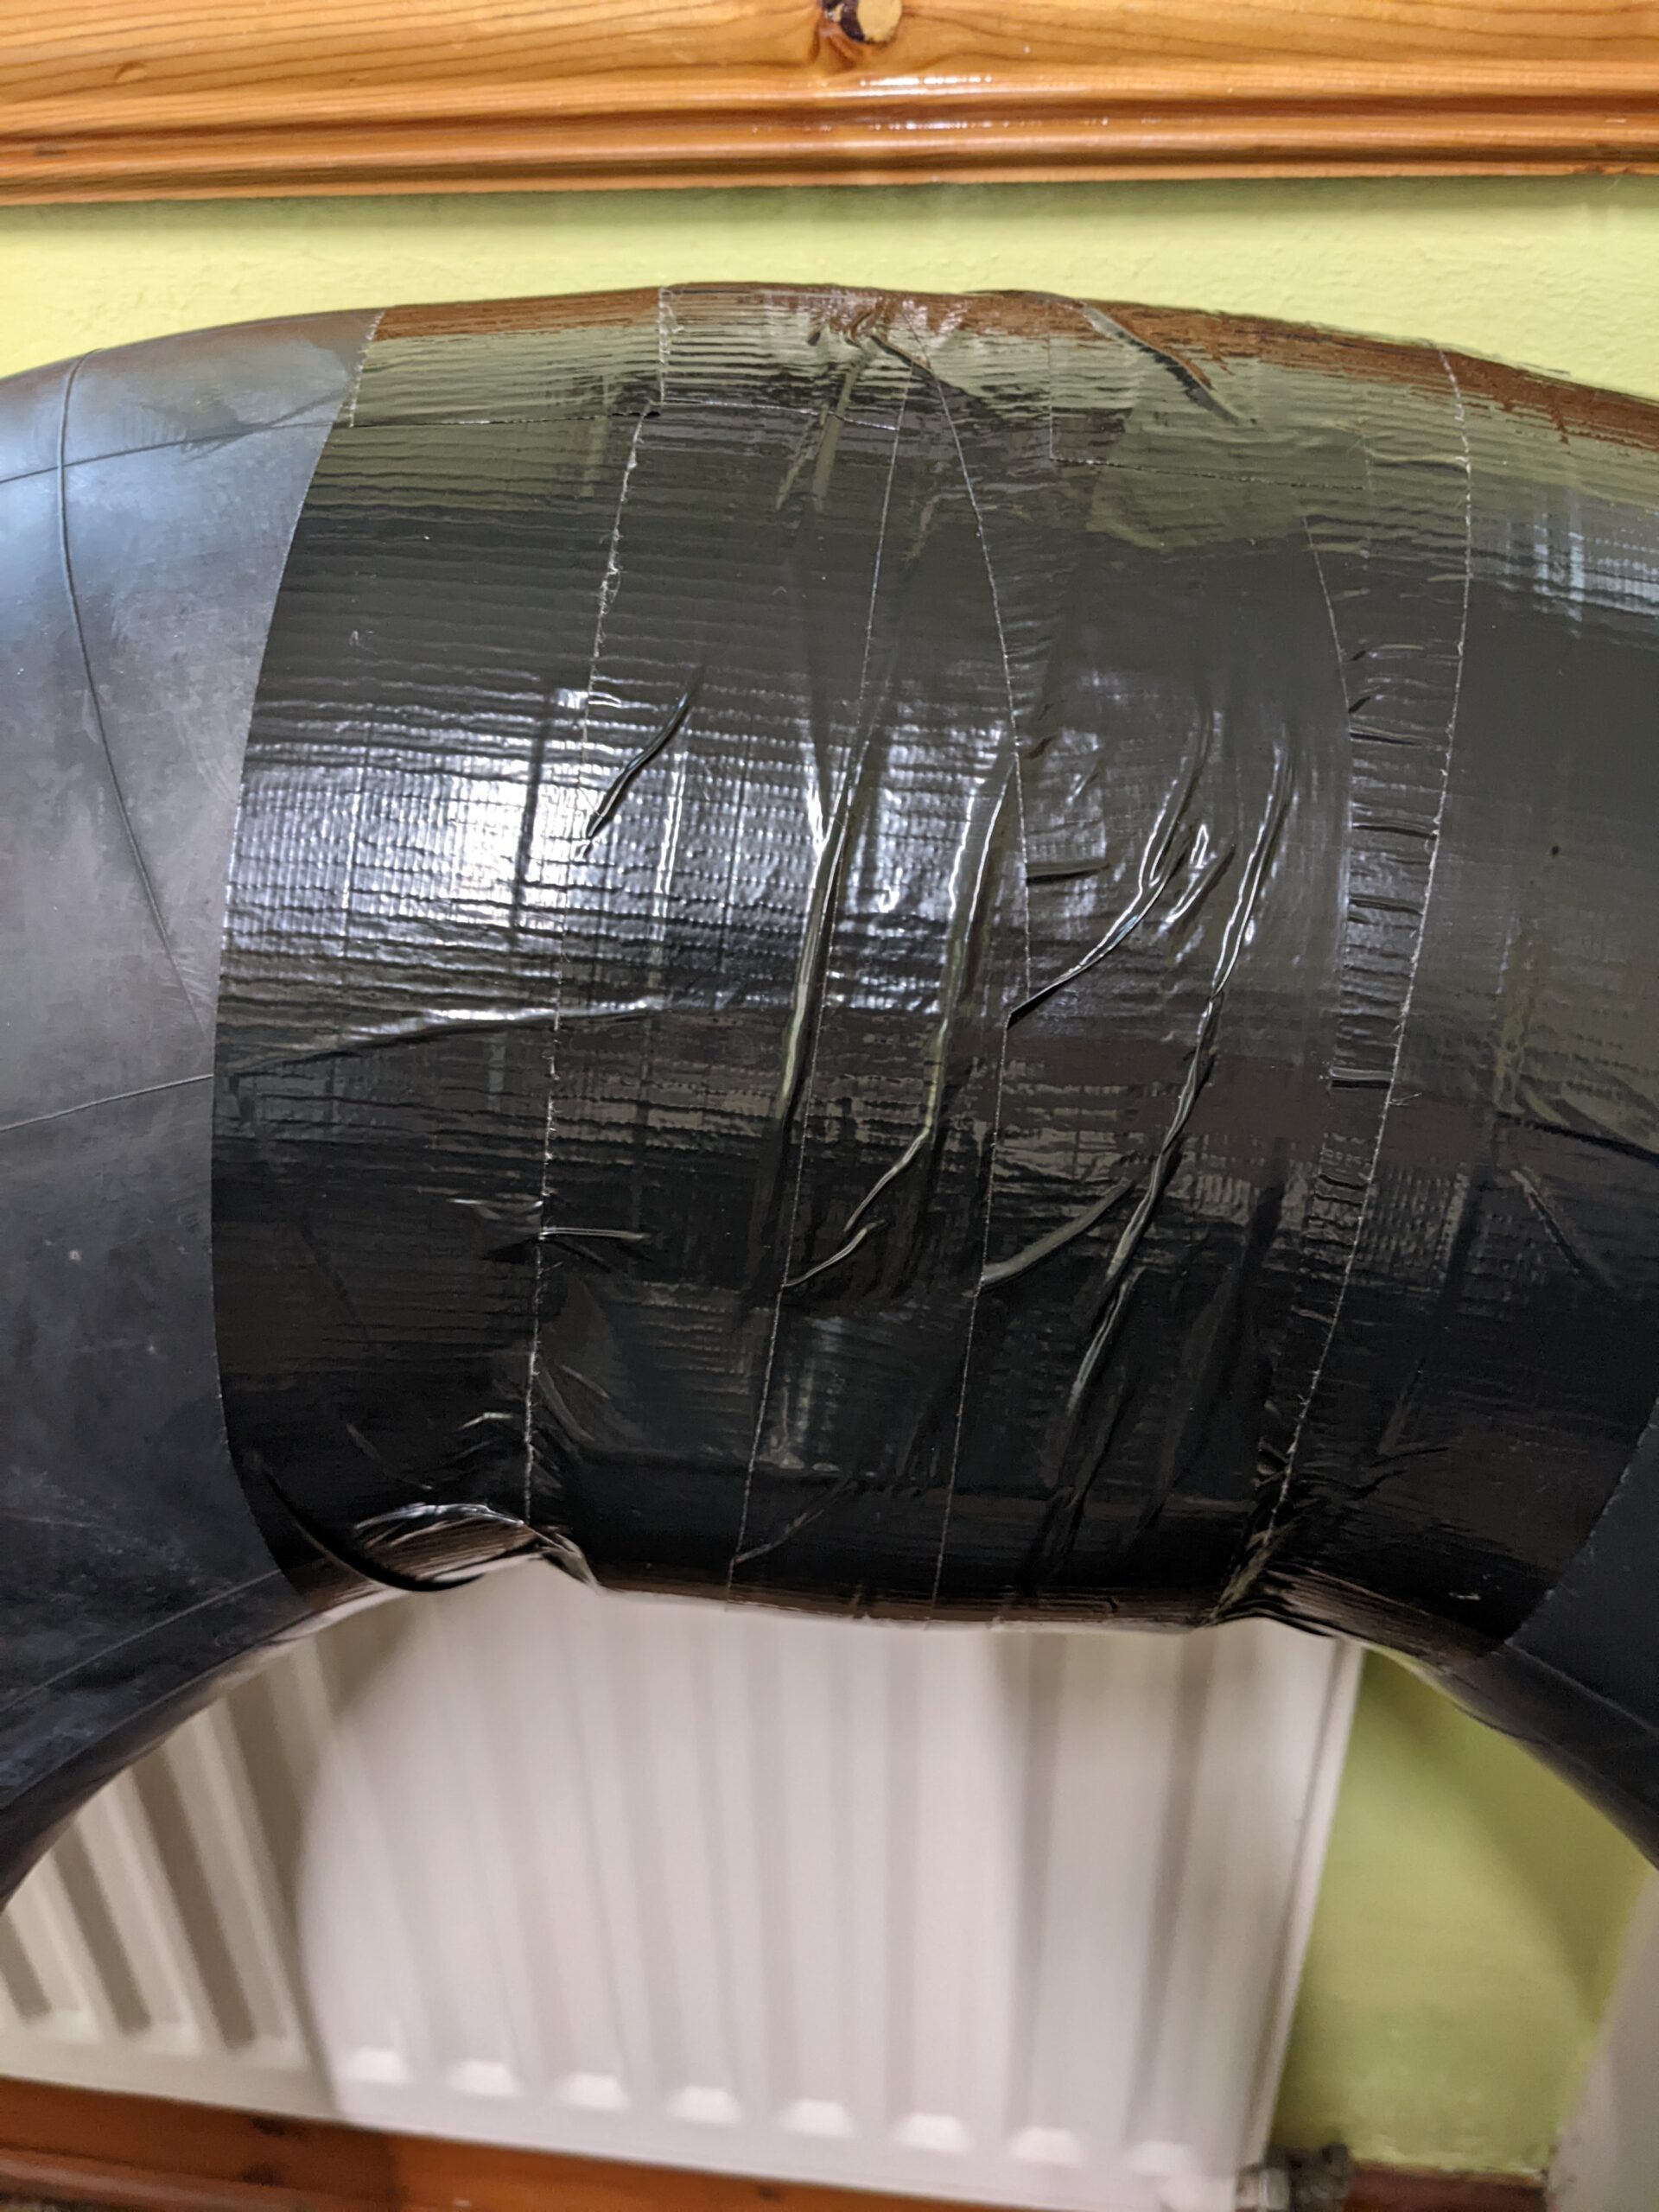
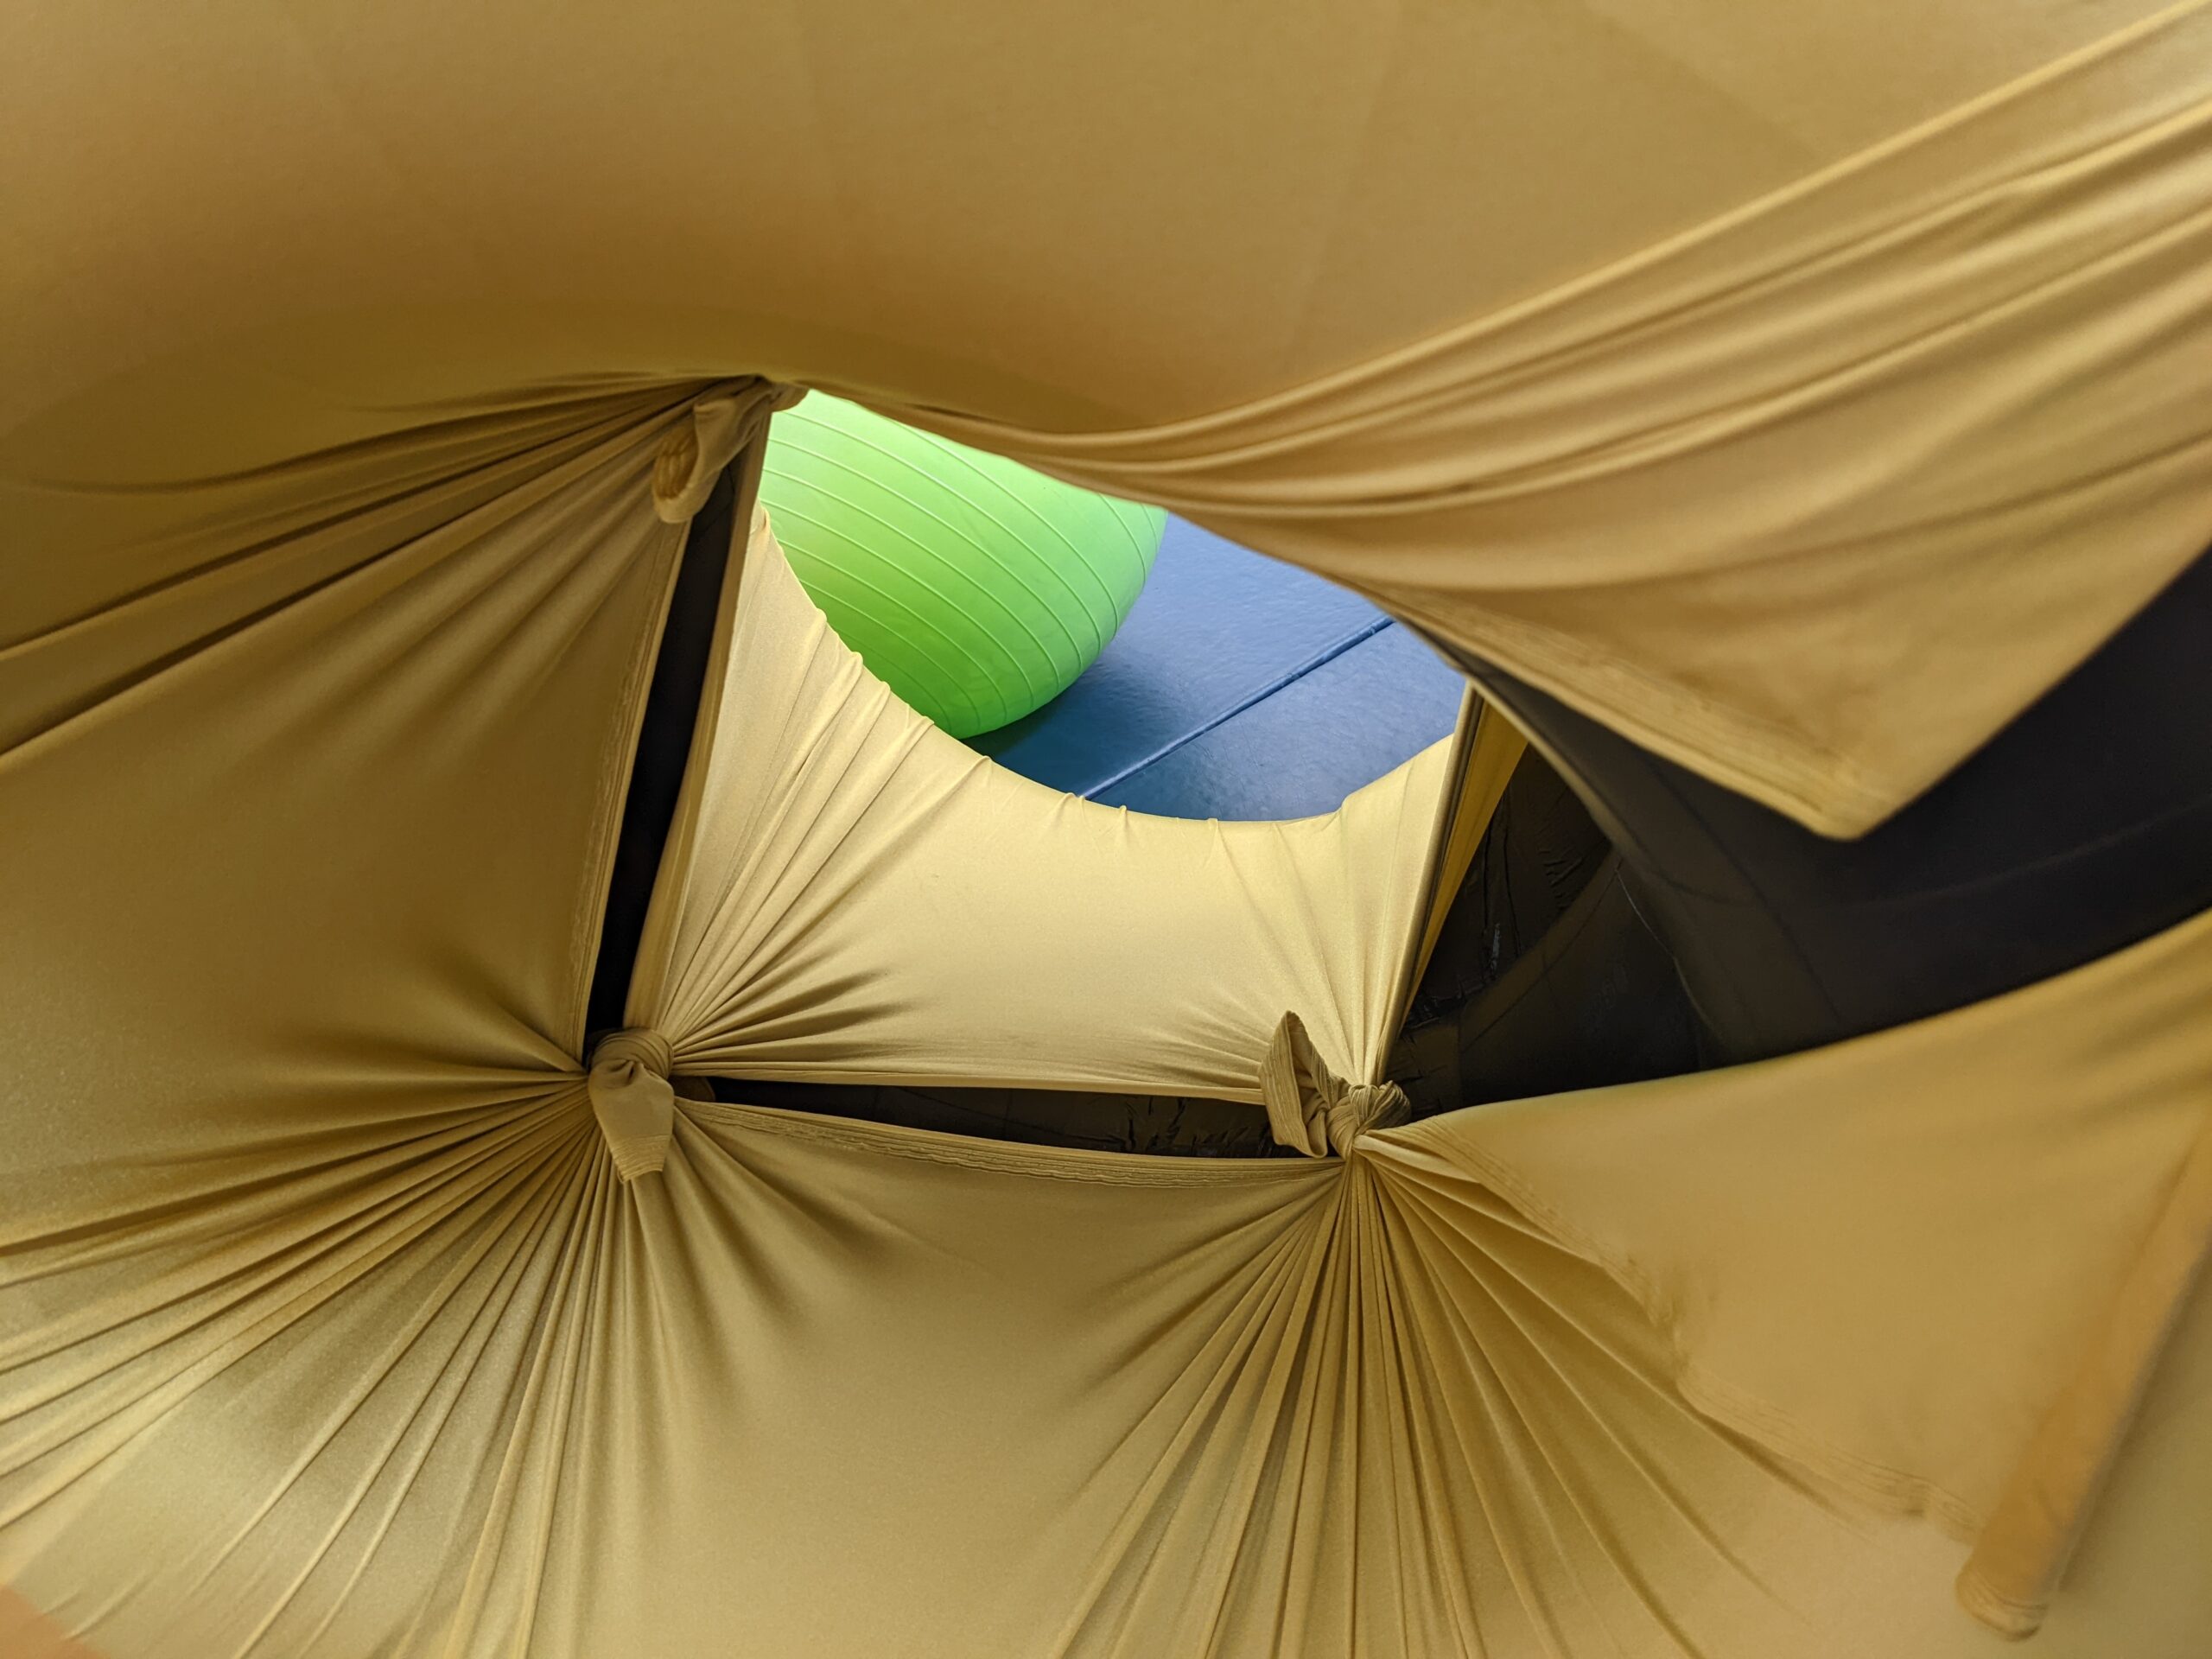
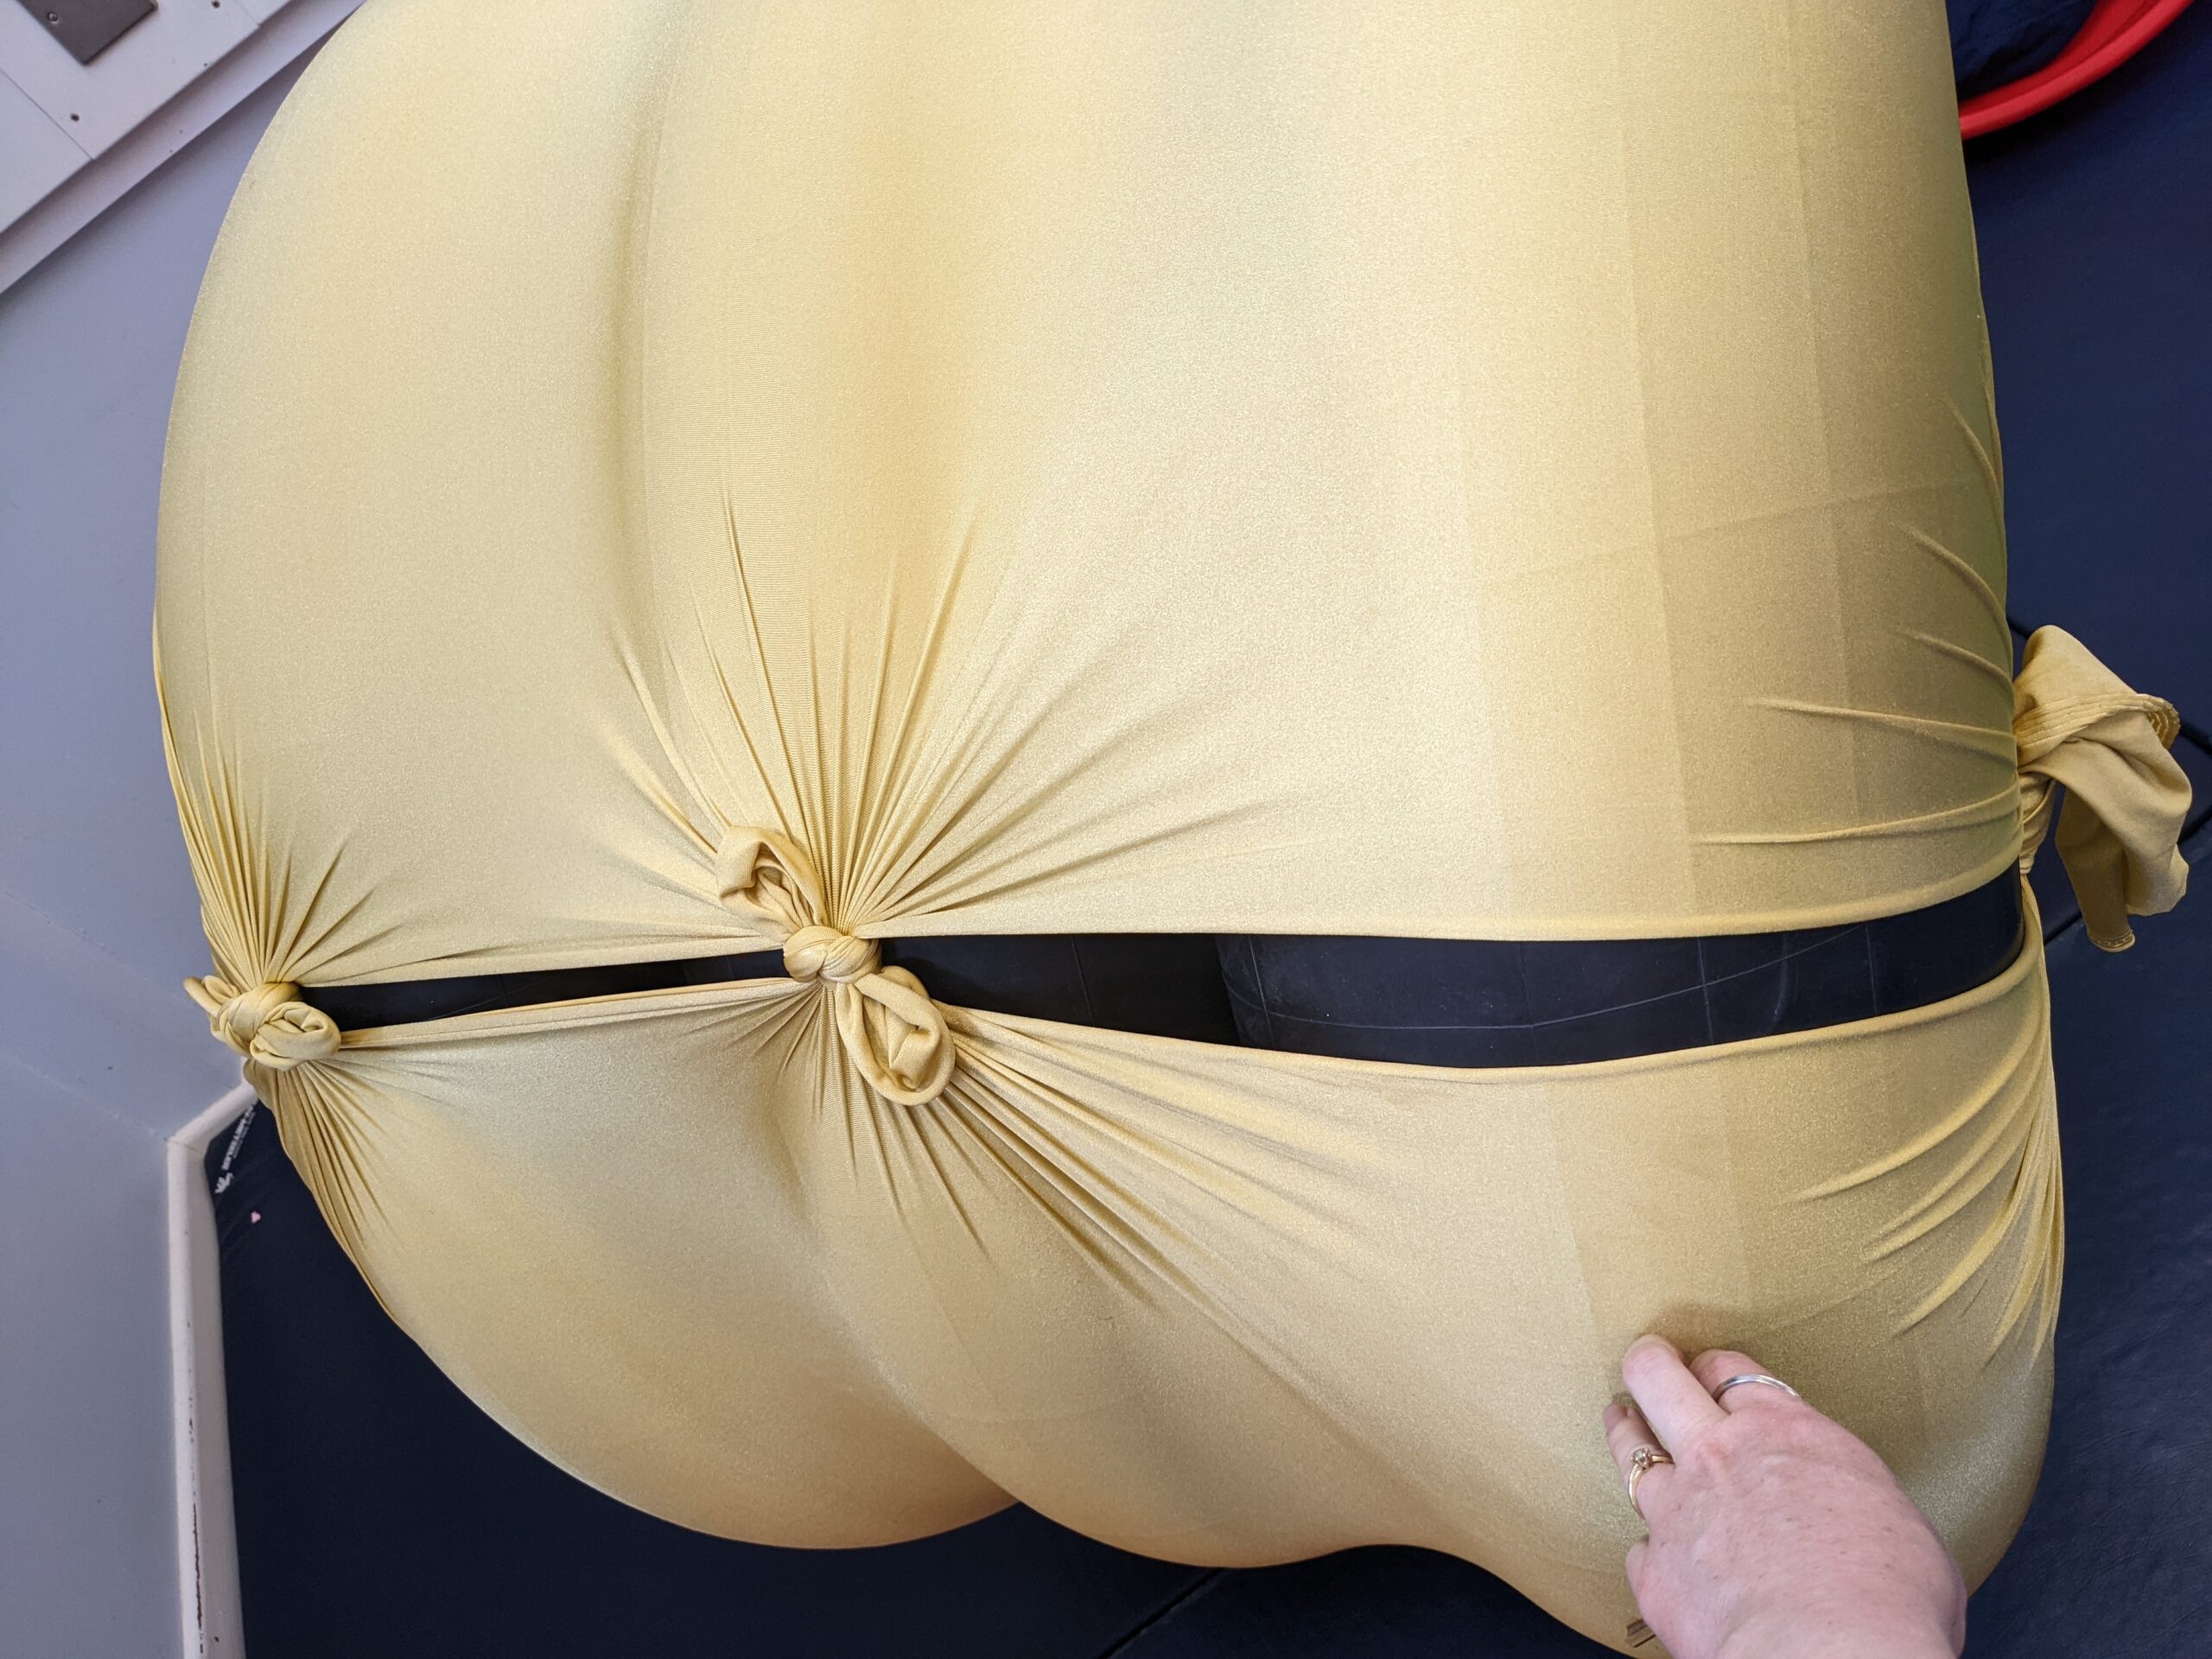
In May half-term, our SENCO and pastoral worker and I traipsed into school, dragging with us expertly manually handling equipment: some loaned from me and some borrowed from the PE cupboard. This included: an itinerant swing frame, a complete with platform swing, aerial silks, a rope ladder, a button swing and cocoon swing; a foam crash pad; a bouncy barrel; crash mats; a spinning top; a weighted blanket; stepping stones; a balance board and a whole load of other small sensory bits.

I deliberated about the safety of lending equipment that is generally used under my watchful gaze, but as children can go to a park and get similar experiences without any need for a therapist, I reassured myself it was a measured risk and I made a safety video for staff to watch before using the room (covering things like signs of over-arousal of the vestibular system, keeping children safe with mats and beanbags etc).

The movement space was a success! The school has now ordered the same equipment to continue providing movement spaces in both the infant and junior schools. The pastoral worker was absolutely key to the success of the project: her enthusiasm and knowledge of sensory needs was already excellent – and her approach gave more hesitant staff the confidence to try things out. A calmer summer term was the result, with lovely examples such as a boy just totally relaxing onto the foam crash pad after being quite upset, saying “Its just like a cloud!” and being able to go back into class successfully.

I think there’s a lot of scope for including movement rooms in mainstream schools, and the staff in charge on site are crucial to the success. Definitely something I’ll be taking forwards with me! You can see photos of the movement space here.

31 May

Bouncy Barrel

DIY Bouncy Barrel

This came about when I was trying to create a Movement Space/ Sensory Gym in a Junior school. I really wanted a soft play barrel to add to the space, but these were around £500 each which was out of the budget. 

So – this easy, no sew bouncy barrel does the job brilliantly! 

Barrels are great therapeutic tools. They give lots of proprioceptive, tactile and vestibular input. They challenge motor planning and bilateral integration and provide great escape spaces with a blanket over the top. 

Bear in mind the method below means you CANNOT access the valves easily, so don’t make this if you want to inflate and deflate your tyre barrel regularly. Unless you’re OK with the valves sticking out, but it makes them a bit unsafe for vigorous play as there’s hard pokey bits in the area you’ll be rolling around in. 

Inner tubes are also just great play objects without being made into a barrel too – they can be bounced on, into, through, stacked and used for all sorts of fun, so they can be repuprposed if needed also. 

ALLERGIES: Also, please be aware that I believe inner tubes often contain latex, so these won’t be suitable for people with latex allergies. 

Ingredients for 1 Bouncy Barrel:

3x 20” inner tubes (or around 20”) (You could also use 4 or 5 tyres to make an even bigger barrel!) 

2m Lycra

Thick foam (I used soft foam and firm foam for extra security.)

Gaffa tape

Scissors

Glue gun (optional, only if using 2 types of foam)

Instructions

  1. Inflate your tyres – you’ll probably need to take them to a garage tyre pump unless you happen to have a special pump at home. Bear in mind these tyres are BIG! So only inflate all of them if you have enough room in your car.

2. Securely Gaffa tape the valves down sideways.

Taping the valve down

3. Cut out a small square of soft foam, just bigger than the valves. Cut a larger square out of the soft foam and glue gun these together. (Or you can just use one layer of firm foam – I used two for extra safety!)

Two layers of foam

4. Gaffa tape the foam over the top of the valves securely. You’ll want to use lots – I completely covered the foam so it didn’t look like a tempting thing to try and access!

5. When you’ve got all the valves securely covered, stack them on top of each other. Get your Lycra and wrap it round the tyres. Tie two sides of the fabric together at the top and the bottom, leaving some spare fabric before the corners. As you tie the knots, pull the fabric taut around the tyres so it holds them together. Tie the fabric together in the middle where there will now be a gap also. You can now put the corners through the centre of the tyres and tie the top to the bottom so there’s some lycra covering the inside also.
This is just a guide to how I knotted it – but anything that holds the tyres together is fine!

6. Enjoy playing in your new bouncy barrel!

Roooolll!