DIY Body Sock Tutorial
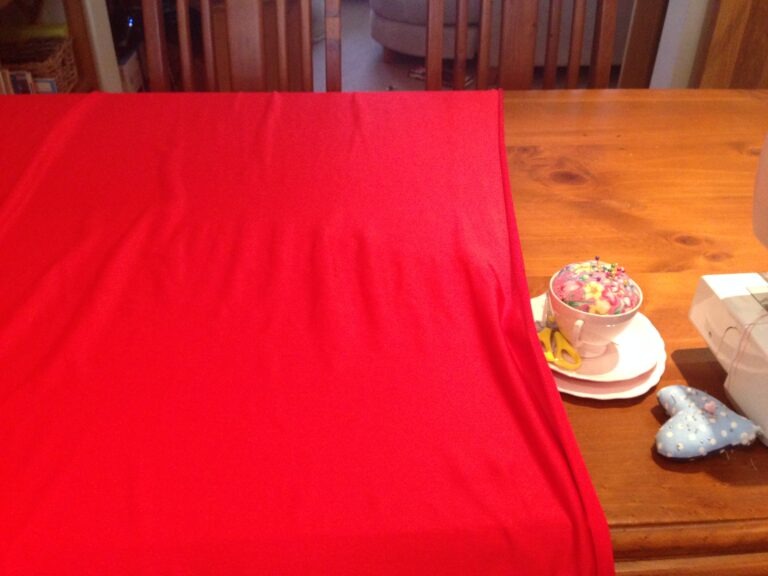
A few weeks ago, I bought some red lycra. In the world of sensory equipment – lycra is my friend! It stretches, it’s silky soft, it comes in lots of colours and it’s easy to get hold of and, best of all, it’s cheap. I bought 1 meter of this lycra from Fabricland.
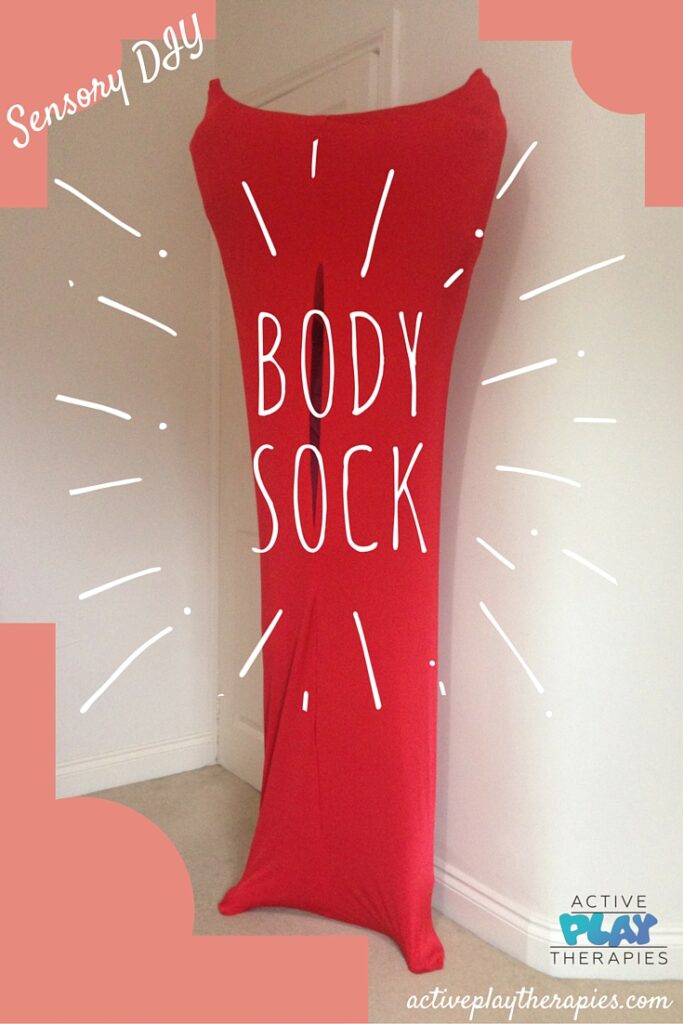
The body sock is a great sensory tool – it provides a space to stretch against resistance (proprioception), a snug place to hide to minimise visual input and a great motor planning activity to get into and see how you can move your body. For children who struggle to have good body awareness, it can help them know where their body ends, and proprioceptive input such as this is often calming for those with and without sensory integration difficulties.
The body sock I made is adult sized as we want some equipment for parents to try out. You can make this smaller to your child’s height. This body sock can fit me (4’10″…arguably child sized according to multiple clothes shops!) and my other half (6’2″) due to the wonderful stretchy properties of the lycra!
I didn’t cut the lycra at all, and went with how it was cut to a meter in the shop.
So – to turn this rectangle into a body sock requires some fiddling around but if I can manage it, that means any level of basic sewing will get you by! Don’t aim for it to be perfect, it just needs to be securely sewn and roughly in a rectangle shape. I just used standard thread but it may be worth getting some more heavy duty thread for children who really like to push and stretch.
- Decide which is the outside of your fabric. I’m sure there’s some rule for this, but I just looked at both sides and decided which size I liked better – this side is your ‘right side’.
- Fold your fabric rectangle in half length ways, right sides together.
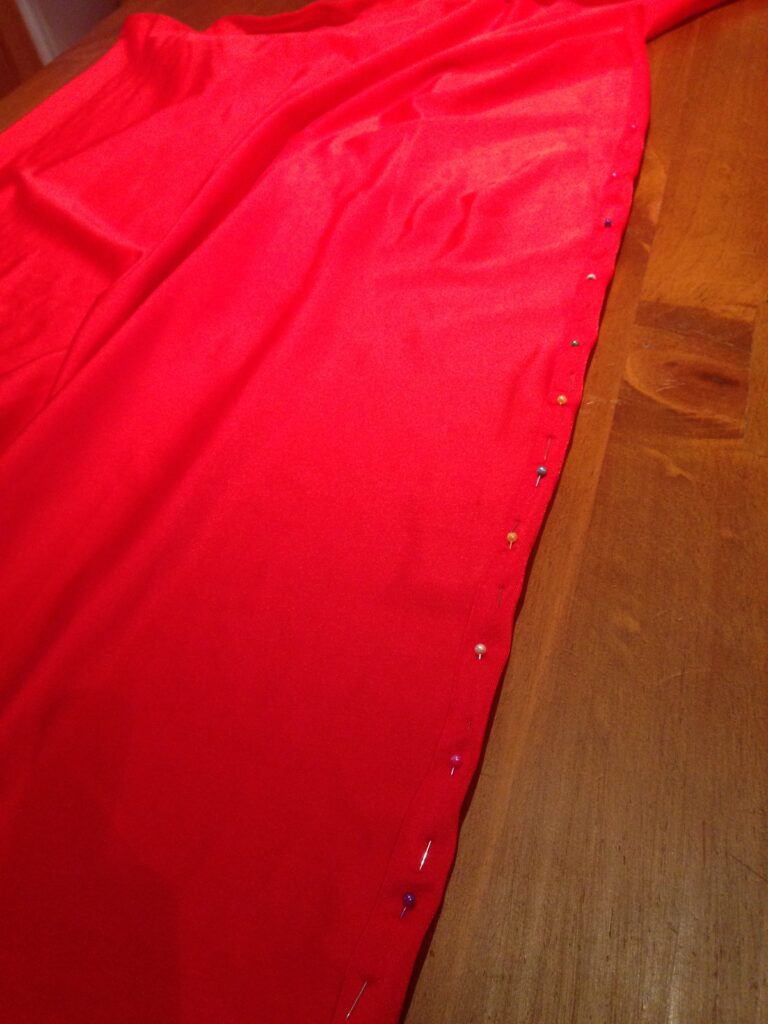
- To make a neat edge for your opening where you will climb into the body sock from, about a quarter of the way down, pin a neat hem – I pinned for about 50 cm but this is for a 10year old – adult sized one. I would imagine 30cm would be fine for a 5 year old. (This was fiddly as the lycra rolled itself in on itself).
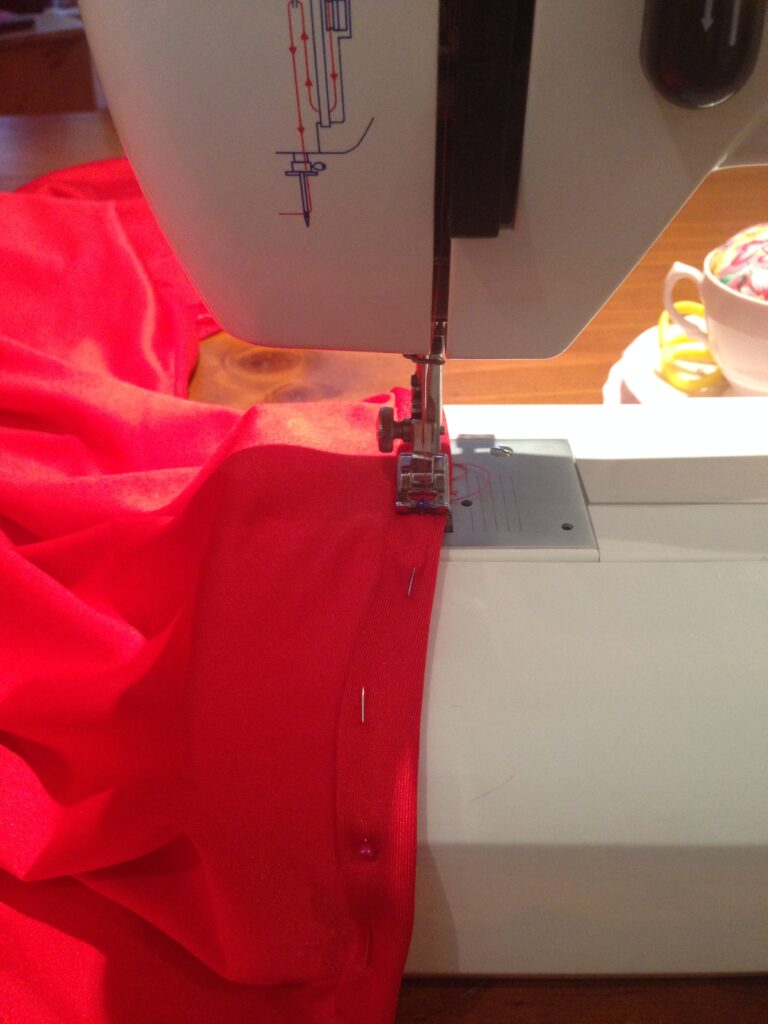
- Sew down the pinned section, making sure to double stitch the ends as this will get a lot of stretching! Repeat on the other side of the fabric so there is a mirror image hem that side too.
- With your fabric right sides folded together still, pin either side of the opening then pin both sides of the fabric together, leaving the neatly hemmed opening unpinned. Sew up these seams either side.
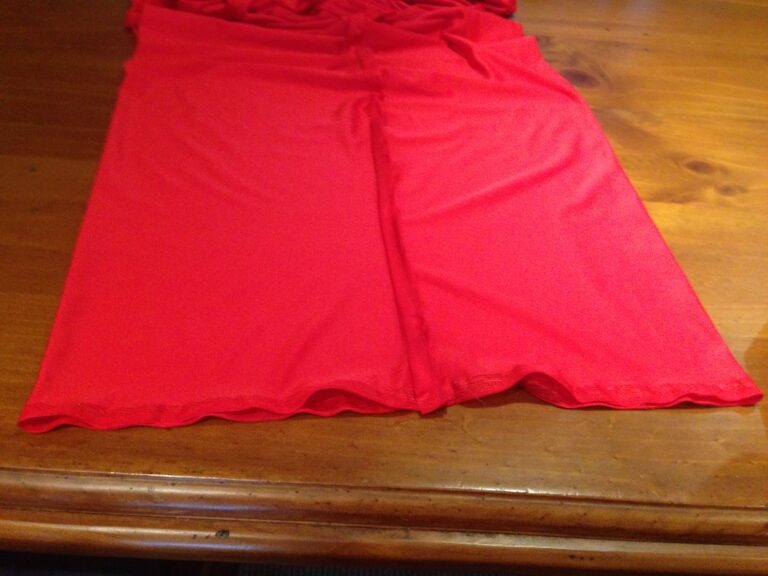
- Now you should have a long tube (with a neatly hemmed opening!) Lay the fabric flat on a surface and get the sewn seam in the middle – as per this photo:
- Sew up top and bottom seams (you can pin first if you want but I just attacked this with my sewing machine – its not an exact art and doesn’t need to be perfect – just a sack to stretch around in!) Again, I double stitched over all of these to make sure it could take some stretching.
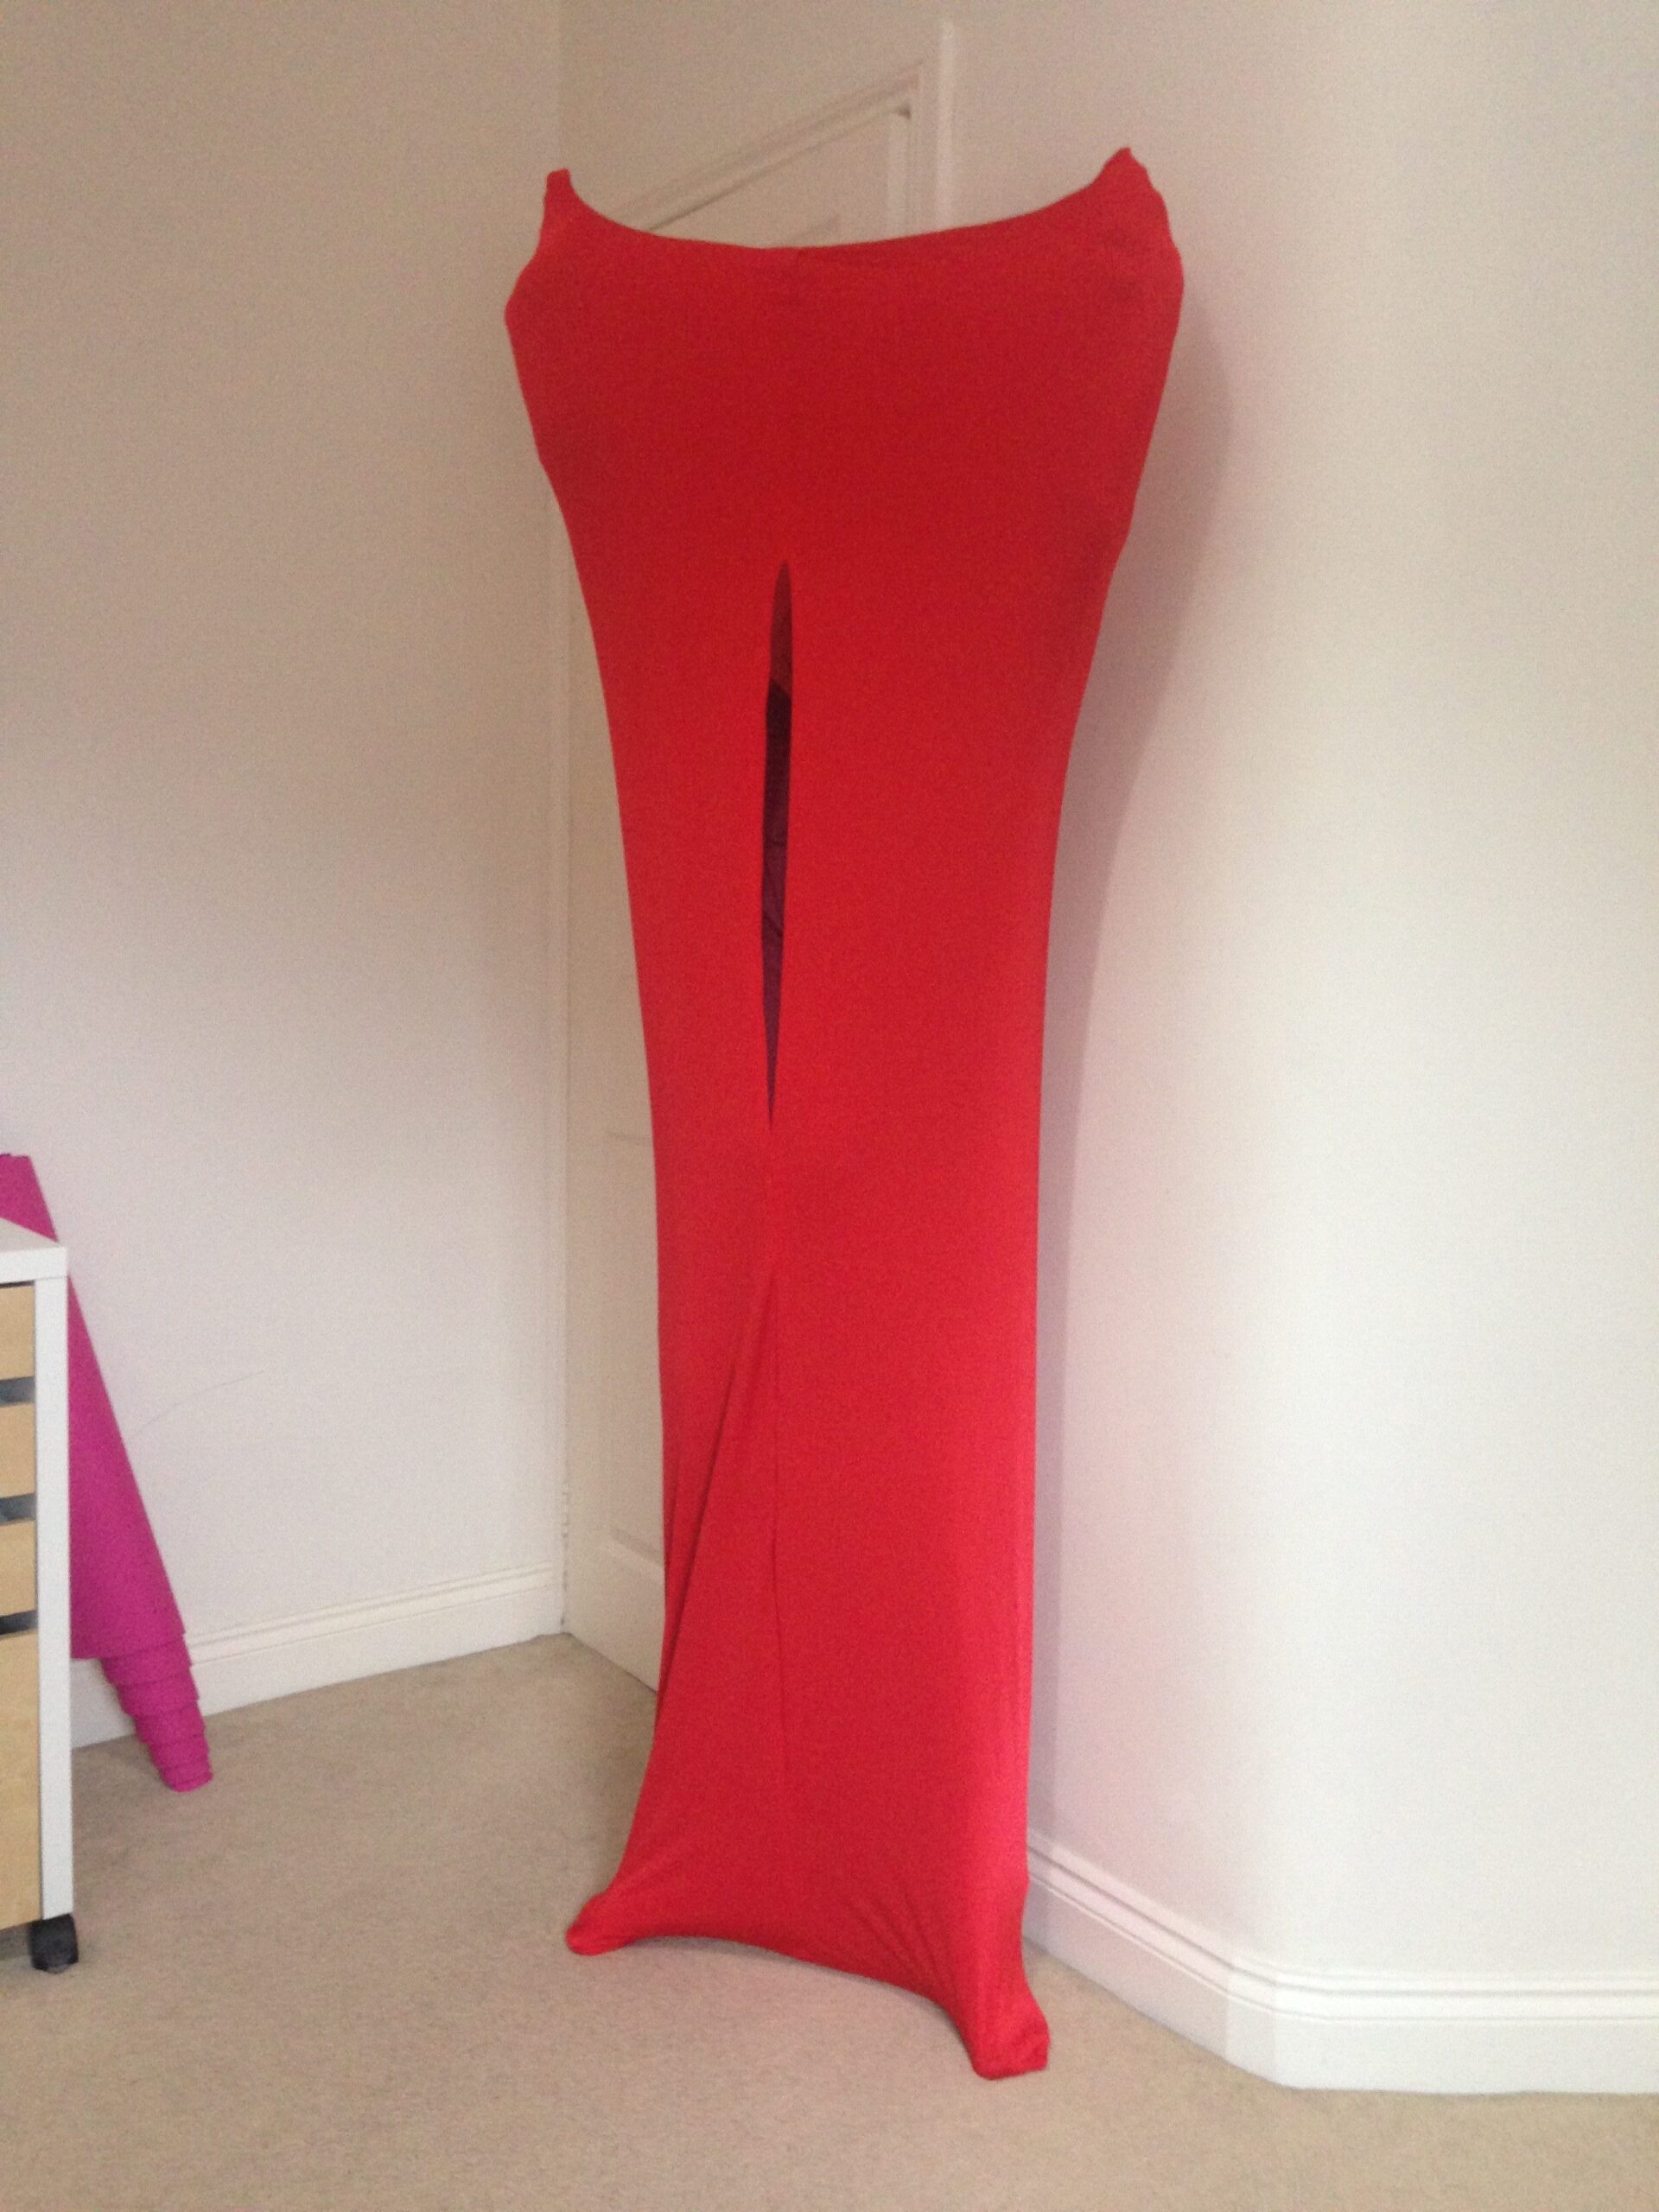
- Ta da! Your body sock is ready! You can add velcro up the hemmed edges if you want, but I’ve left mine open as the velcro can sometimes add in an irritating tactile and noise element. Some children prefer velcro-ing themselves in though – its all a matter of personal body sock preference!
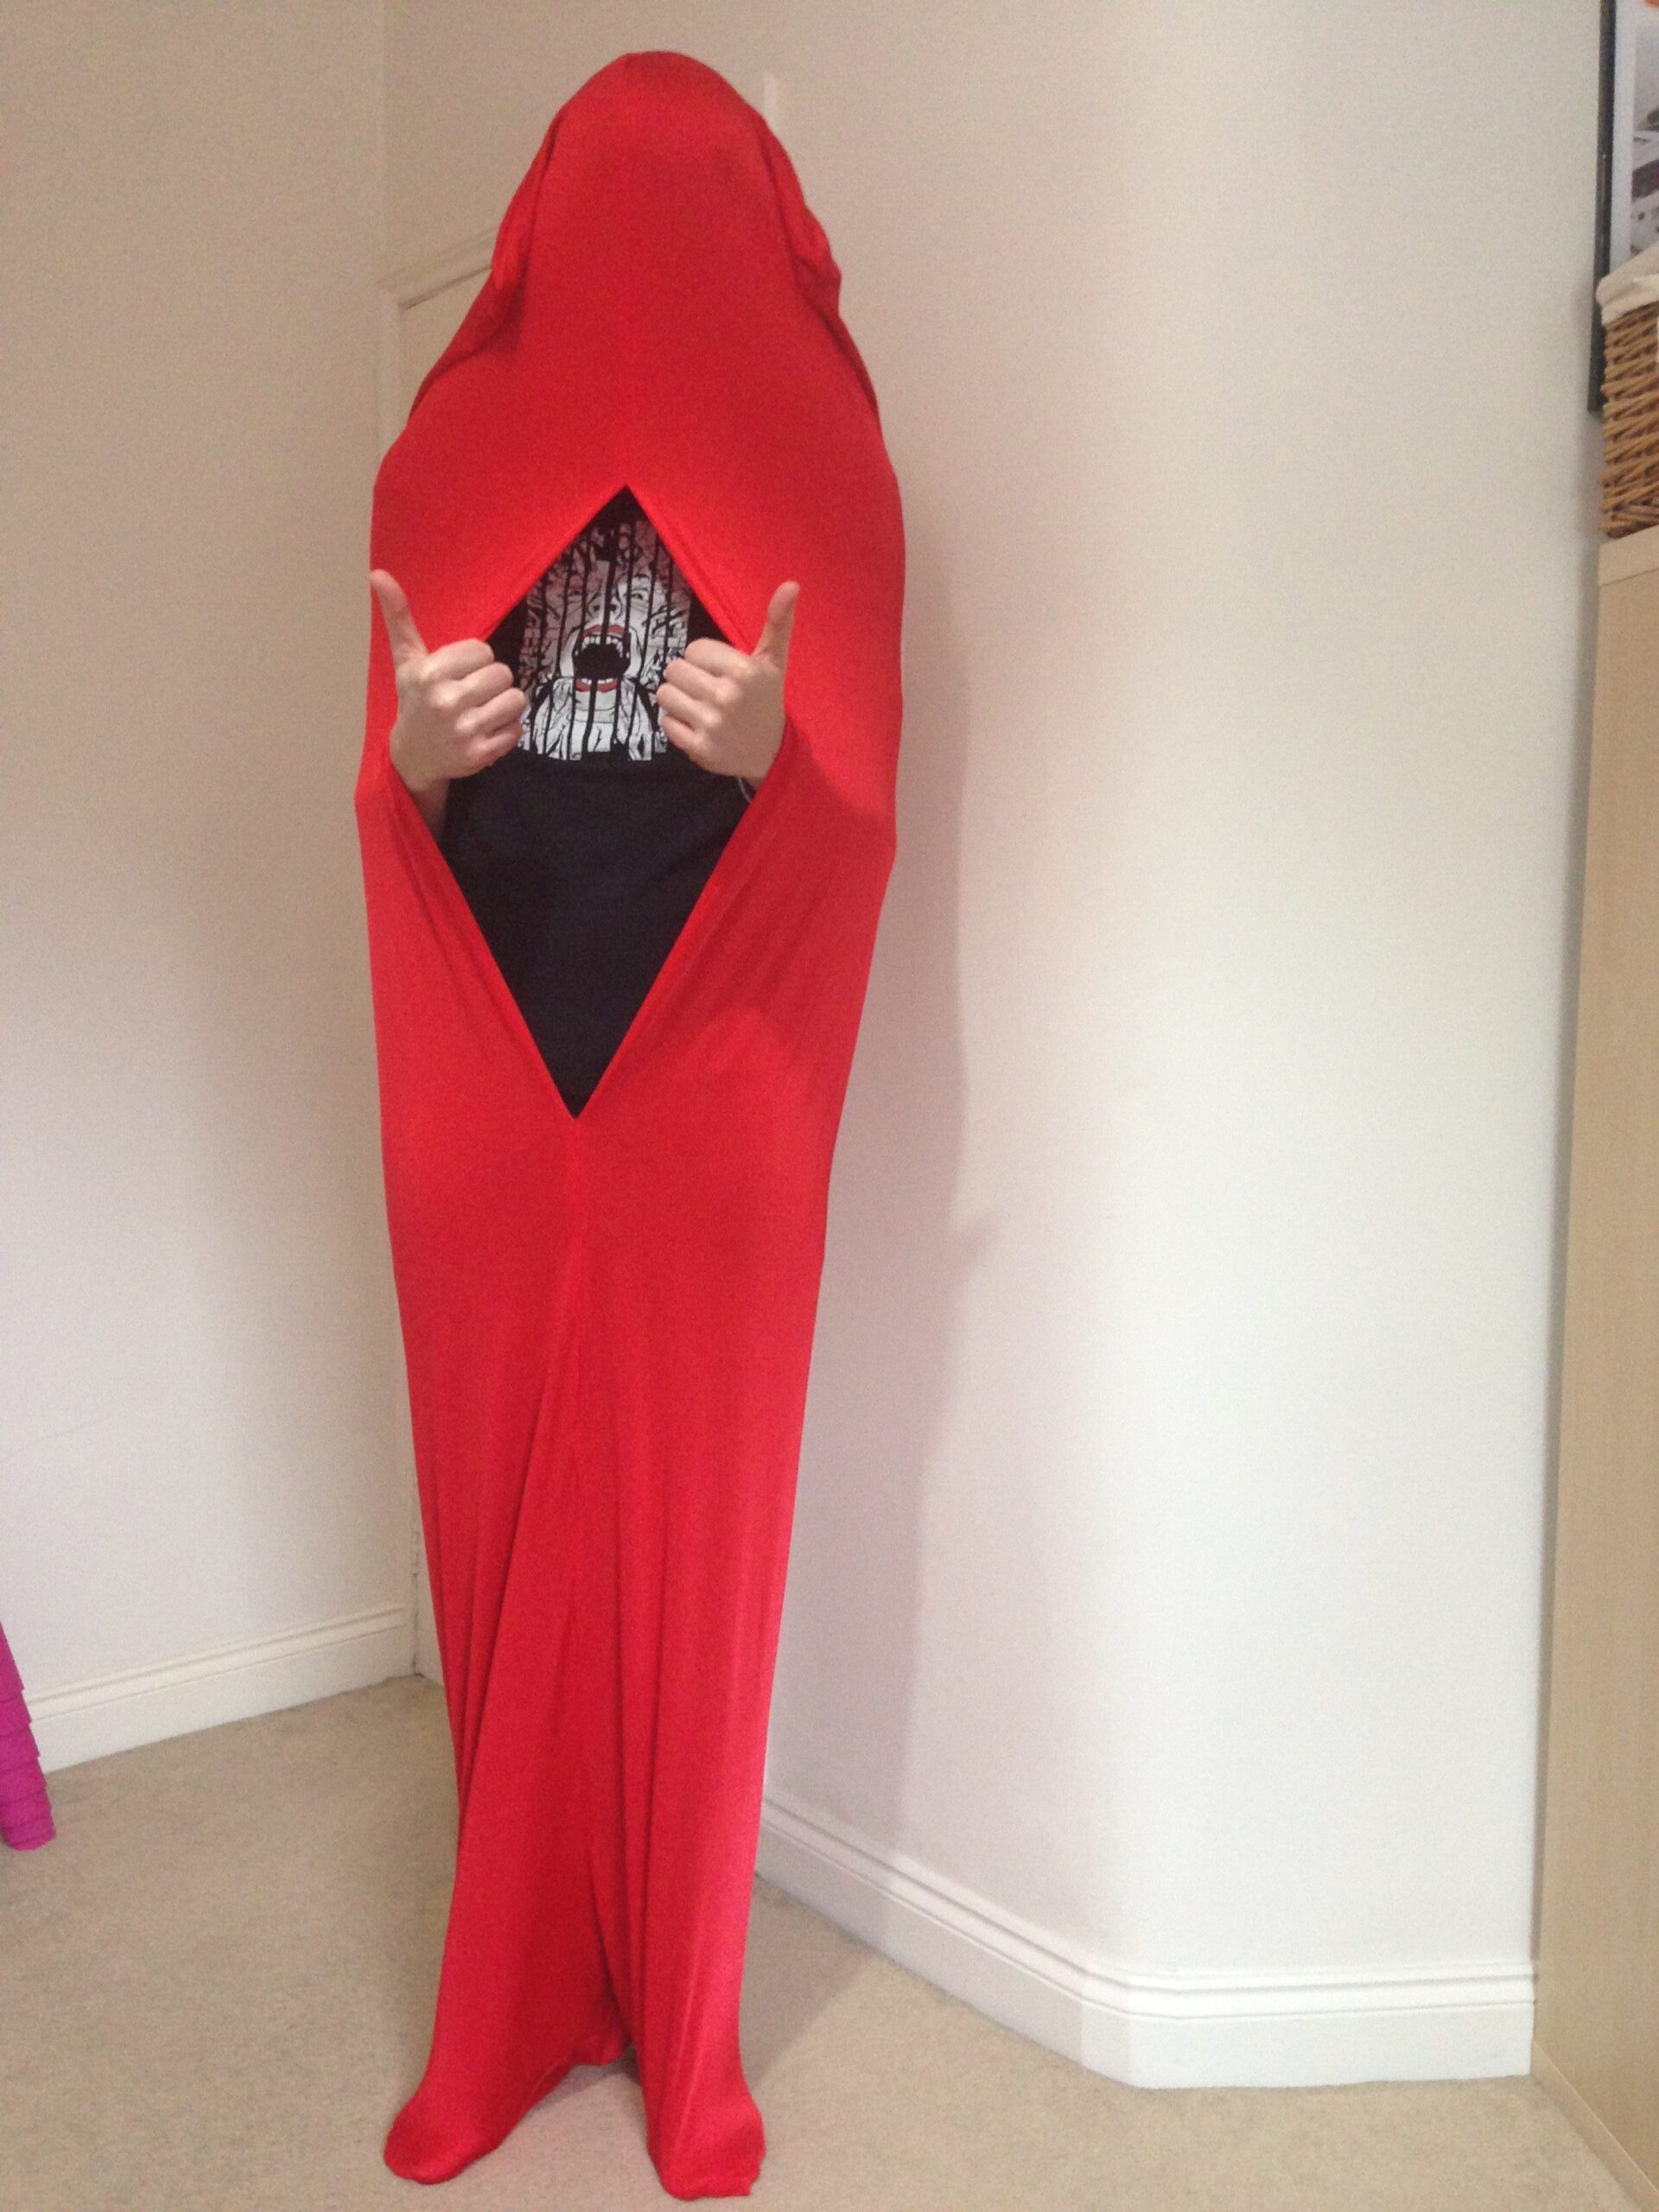
- Here’s a photo of the finished product – one with me in and one with other half modelling – the scary face on the t-shirt adds to the overall effect I think!
Hope you enjoyed this – do let us know how you get on if you attempt the body sock and what your children/ recipients think of them! We run regular parent courses on sensory integration topics, and provide sensory assessments to children and adults in Dorset. Do give us an email if you’d like to get in contact. Happy sewing!