31 May

DIY Crash Pad

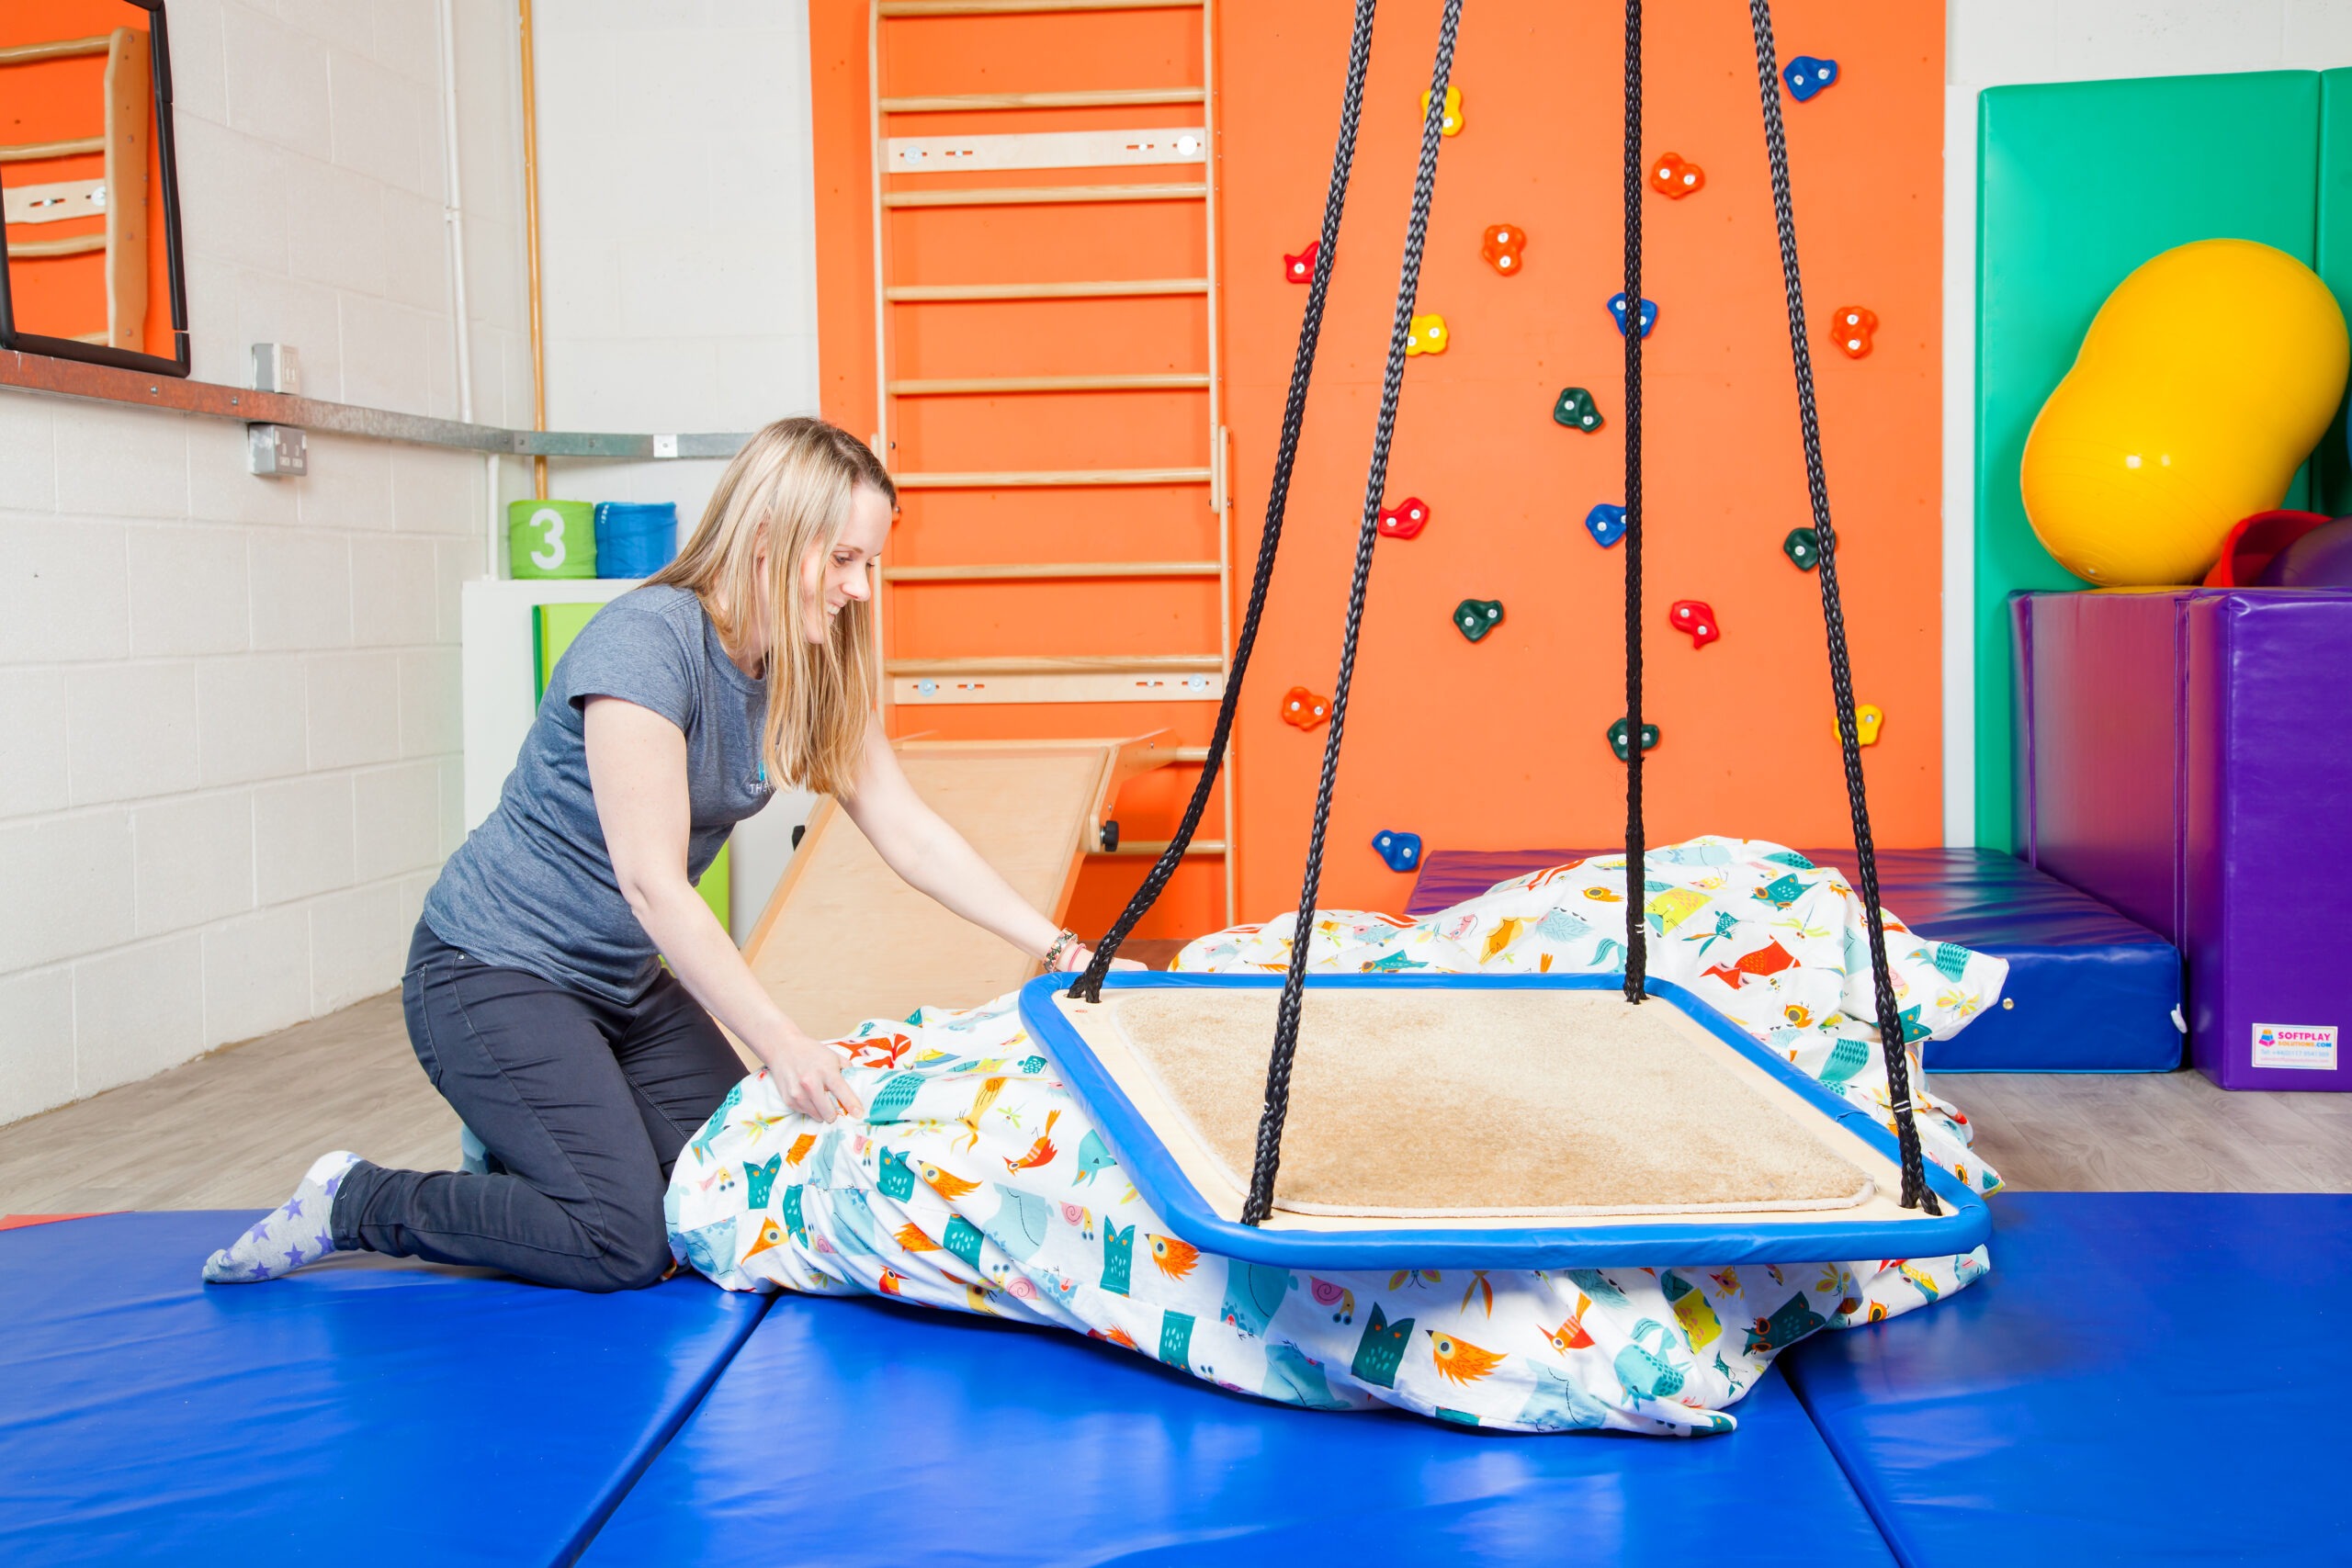
This soft, lumpy crash pad is an absolute hero of rough and tumble play. Got a little one who likes to leap off high places? The crash pad is here to help. It helps challenge balance, it’s an interesting tactile experience and it provides a rustle-free crash landing (unlike beanbags that tend to make quite a noise! As well as not being that soft to land on when the fabric is at it’s maximum stretch).
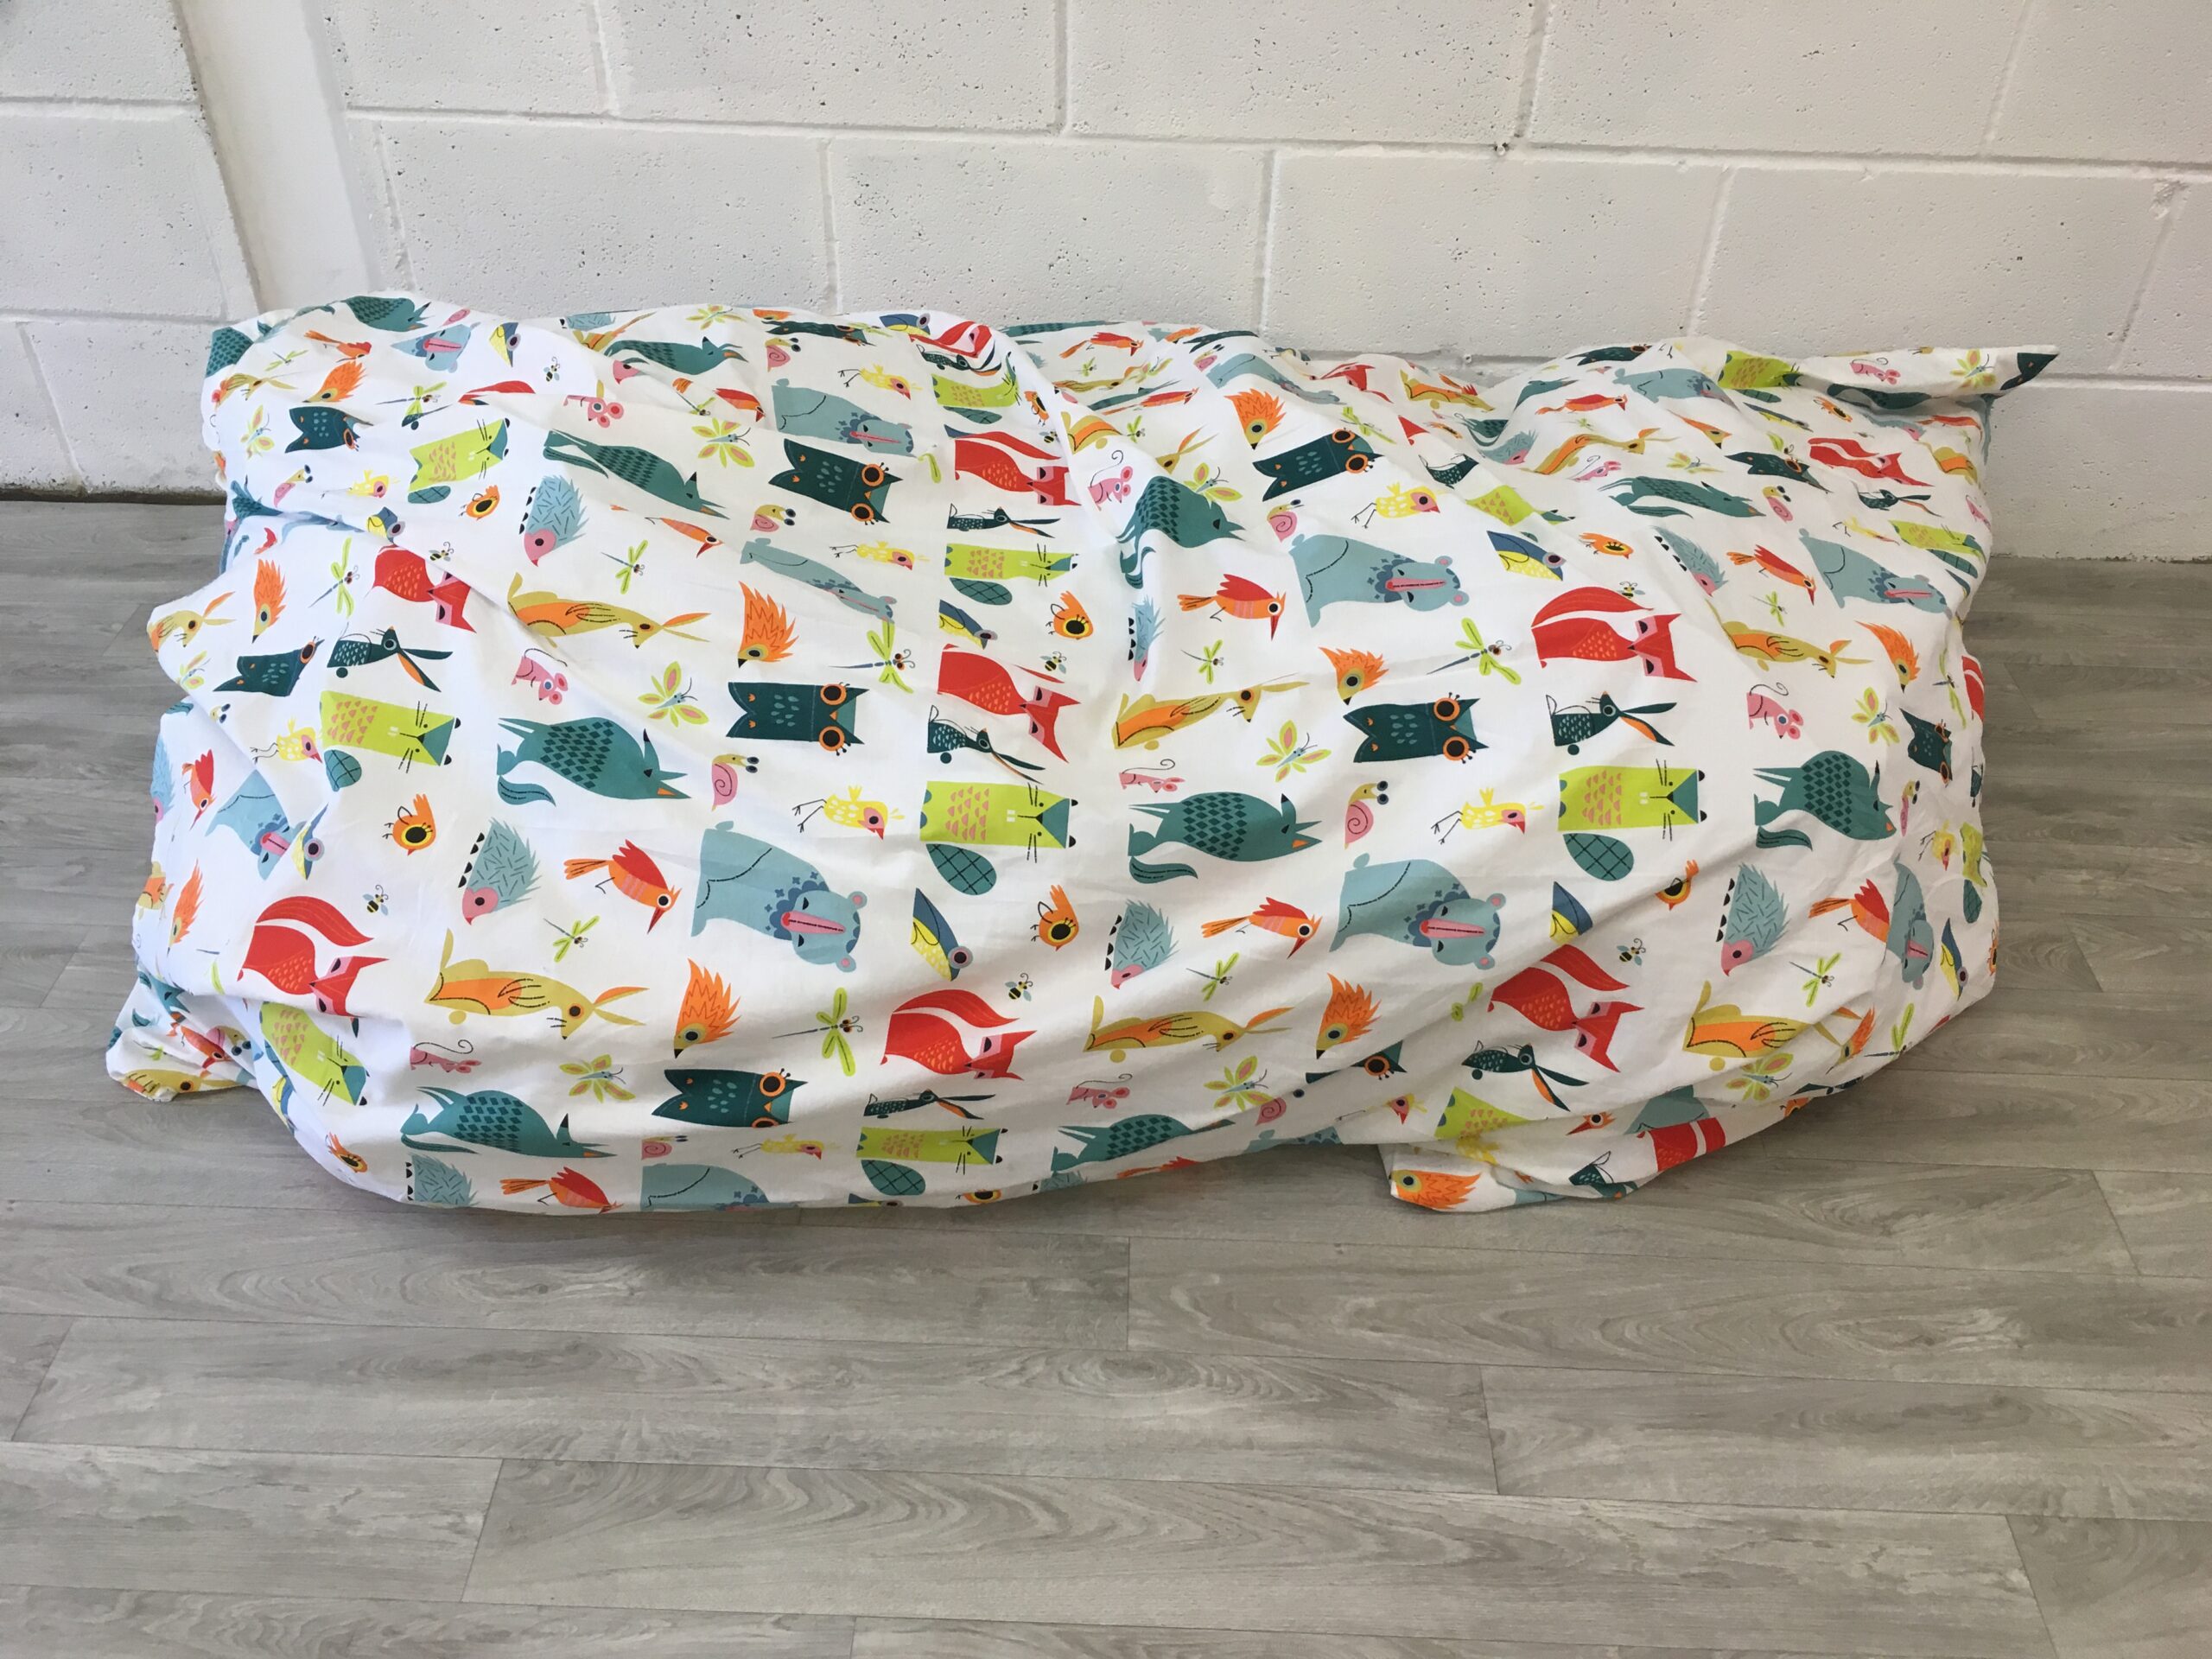
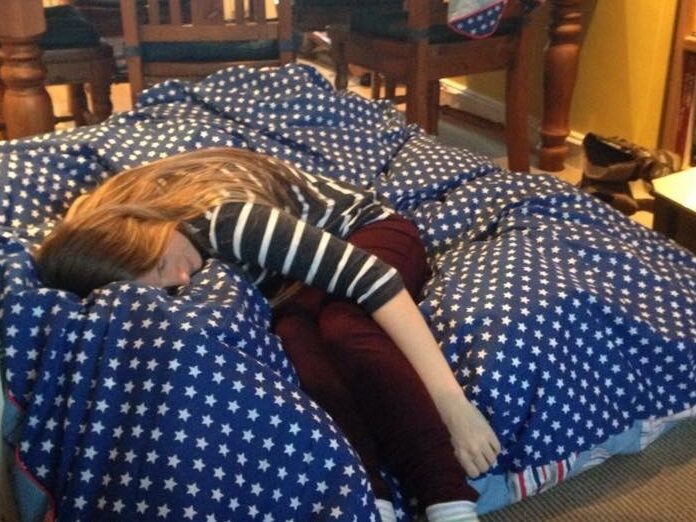
So… To make the crash pad you will need:

  • Zippable allergy duvet protector (single duvet is fine but double if you want to go giant!) (Link as an example) Zipped is key! Don’t get one with buttons or poppers – you need the zip to hold all the foam in.
  • Duvet cover (in whatever colours and patterns you/ your little person likes) – in whatever size your duvet protector is.
  • Lots of foam offcuts (I sourced some for free from a local Upholstery business – they often have offcuts they would like to go to use)
  • Bread knife
  • Scissors

Instructions

  1. I lay out all the foam pieces to check for any pins. I also used a fabric cleaning spray to make sure all the pieces were clean.
Cleaning spray

2. Open your duvet protector and hang it somewhere so it’s open – this makes it easier to throw all the foam pieces in as you cut them.

3. I cut the foam outside – it creates lots of mess so it was easier to sweep up this way. I used a combination of tearing some pieces with my hands, using a bread knife, and scissors for thinner pieces. In terms of size, I cut them up to about the same size pieces as the length of my scissors. You can cut them smaller or larger depending on whether you want it more or less lumpy! The smaller you cut, the more foam you’ll need.
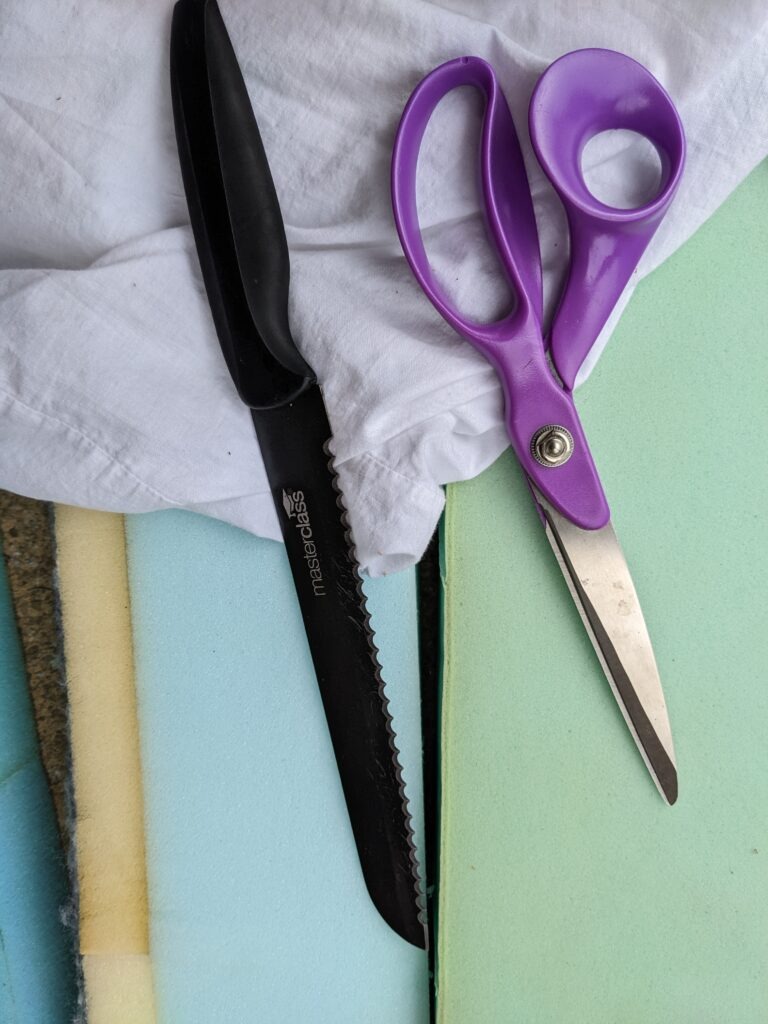
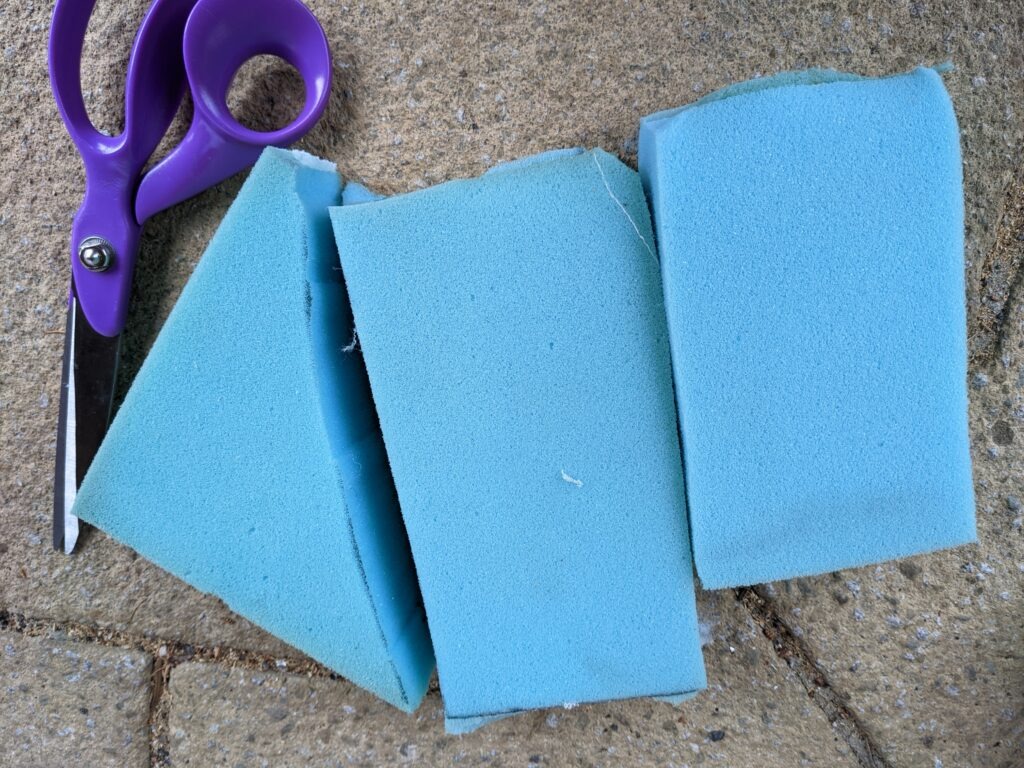
4. As I cut, I threw all the foam pieces into the zippable duvet protector. Once all the pieces are in there, zip it up!
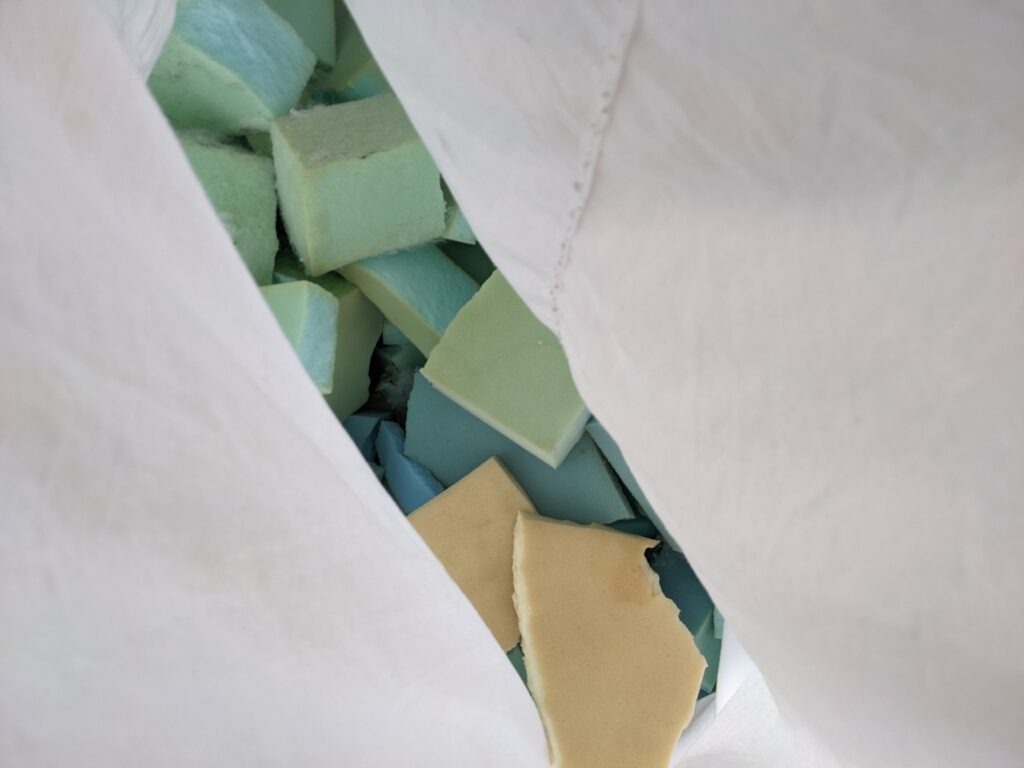
Foam pieces in the duvet protector

5. Now wrestle your giant crash pad into the outer duvet case – put the zipped end in first so it’s not at the end with the duvet opening (this is to prevent curious fingers unzipping the inner protector and foam going everywhere!) Ta da! You did it!

Yay! A crash pad!

31 May

Bouncy Barrel

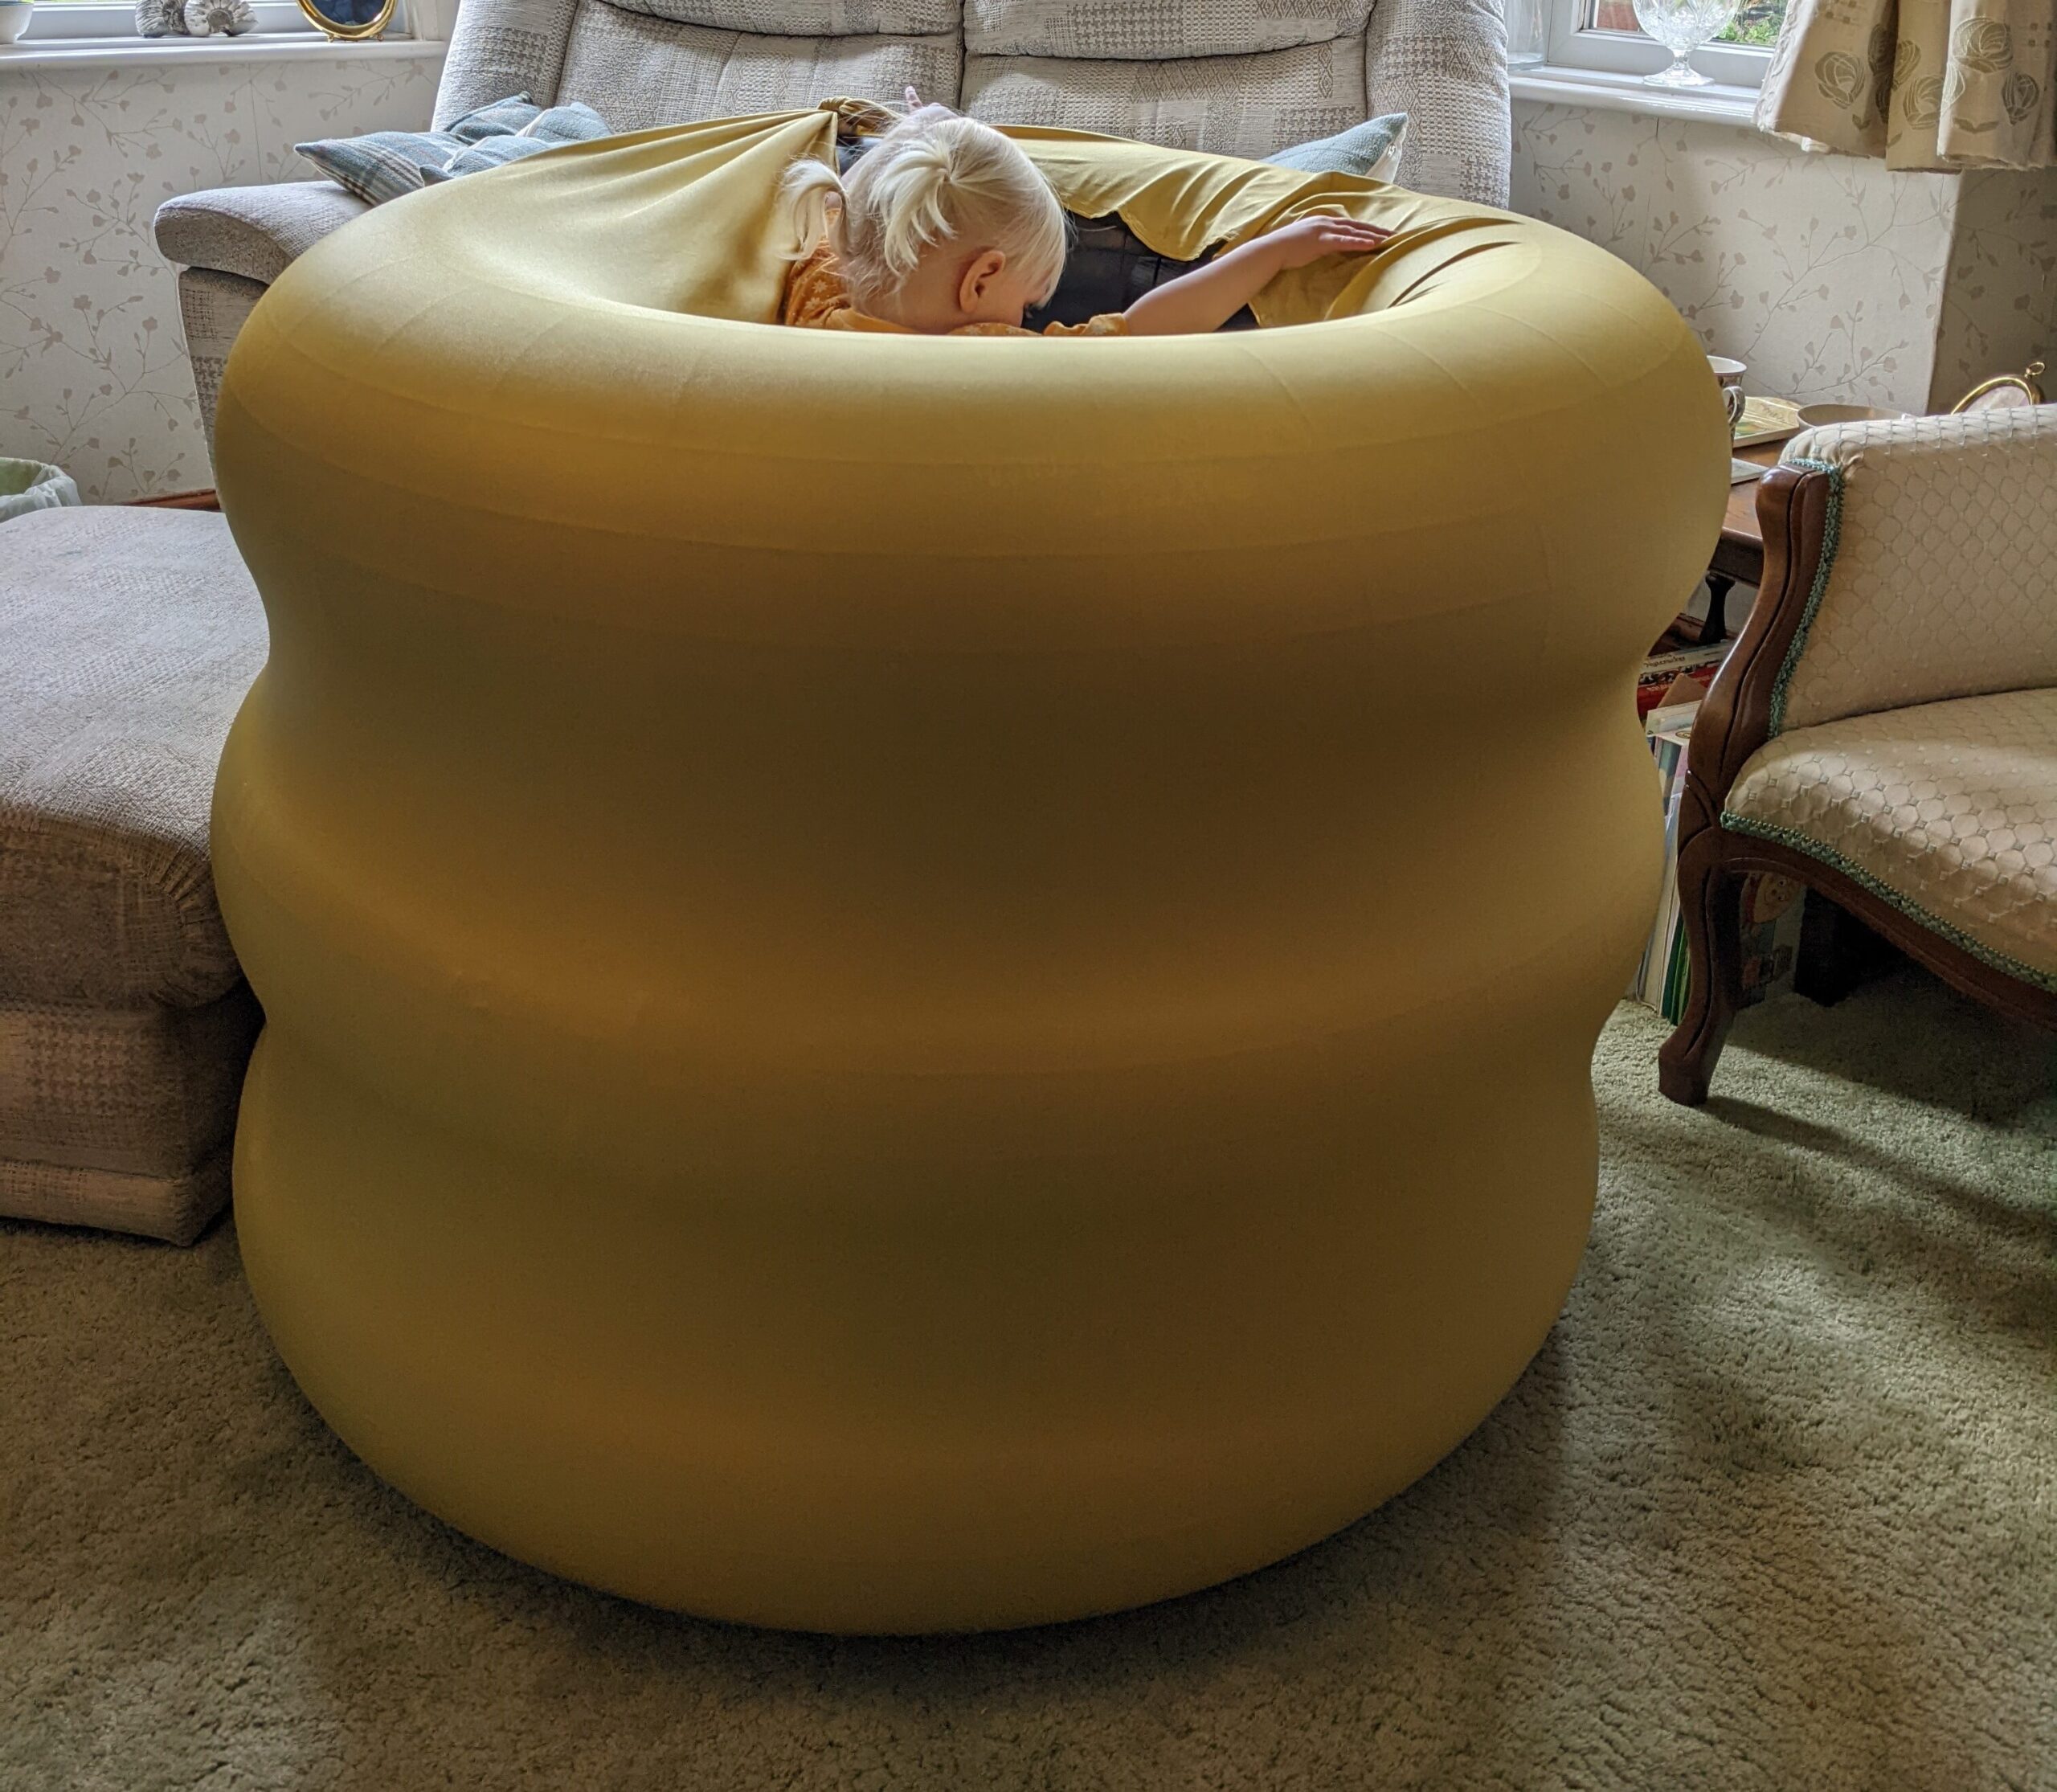
DIY Bouncy Barrel

This came about when I was trying to create a Movement Space/ Sensory Gym in a Junior school. I really wanted a soft play barrel to add to the space, but these were around £500 each which was out of the budget. 

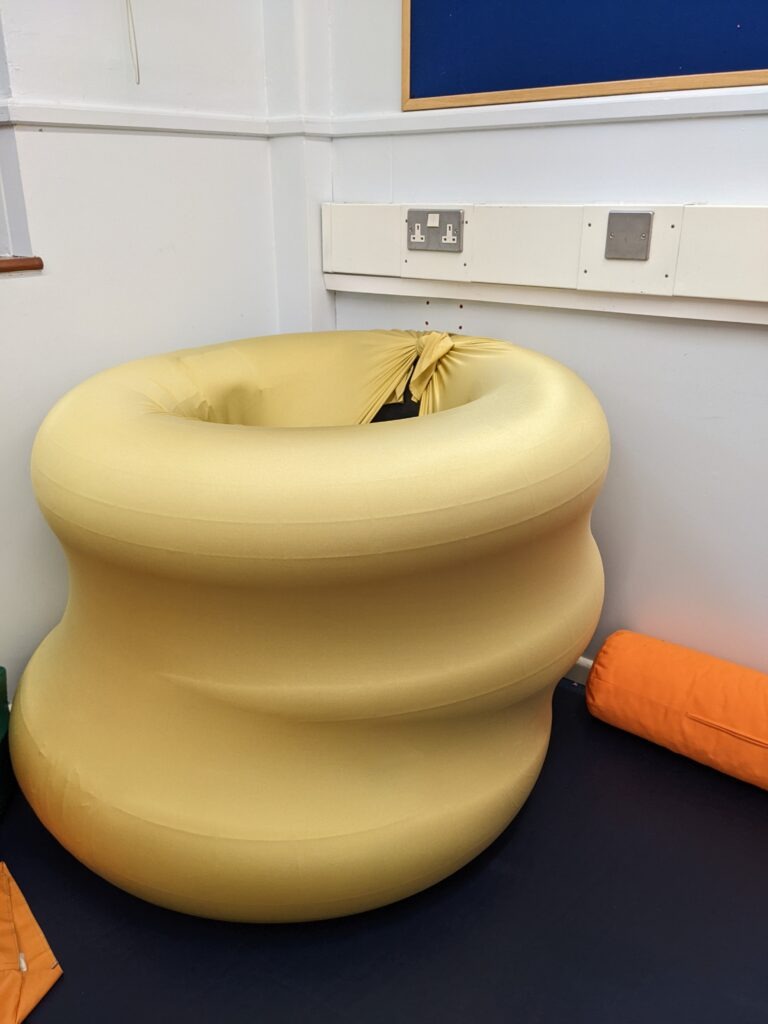
So – this easy, no sew bouncy barrel does the job brilliantly! 

Barrels are great therapeutic tools. They give lots of proprioceptive, tactile and vestibular input. They challenge motor planning and bilateral integration and provide great escape spaces with a blanket over the top. 

Bear in mind the method below means you CANNOT access the valves easily, so don’t make this if you want to inflate and deflate your tyre barrel regularly. Unless you’re OK with the valves sticking out, but it makes them a bit unsafe for vigorous play as there’s hard pokey bits in the area you’ll be rolling around in. 

Inner tubes are also just great play objects without being made into a barrel too – they can be bounced on, into, through, stacked and used for all sorts of fun, so they can be repuprposed if needed also. 

ALLERGIES: Also, please be aware that I believe inner tubes often contain latex, so these won’t be suitable for people with latex allergies. 

Ingredients for 1 Bouncy Barrel:

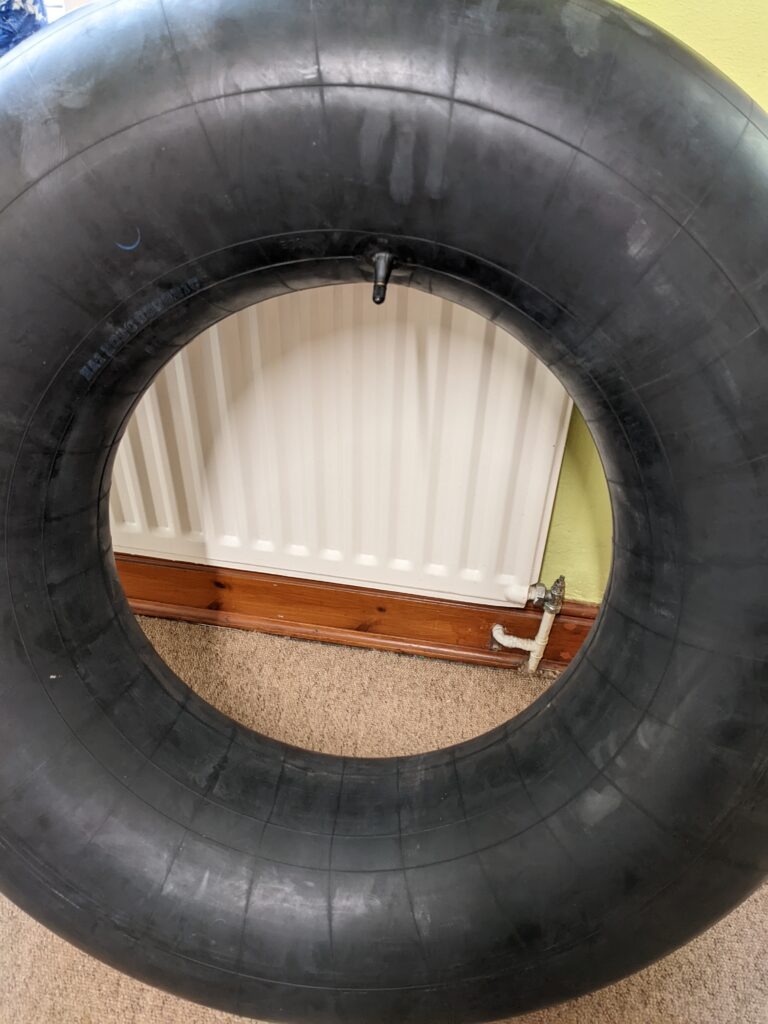
3x 20” inner tubes (or around 20”) (You could also use 4 or 5 tyres to make an even bigger barrel!) 

2m Lycra

Thick foam (I used soft foam and firm foam for extra security.)

Gaffa tape

Scissors

Glue gun (optional, only if using 2 types of foam)

Instructions

  1. Inflate your tyres – you’ll probably need to take them to a garage tyre pump unless you happen to have a special pump at home. Bear in mind these tyres are BIG! So only inflate all of them if you have enough room in your car.

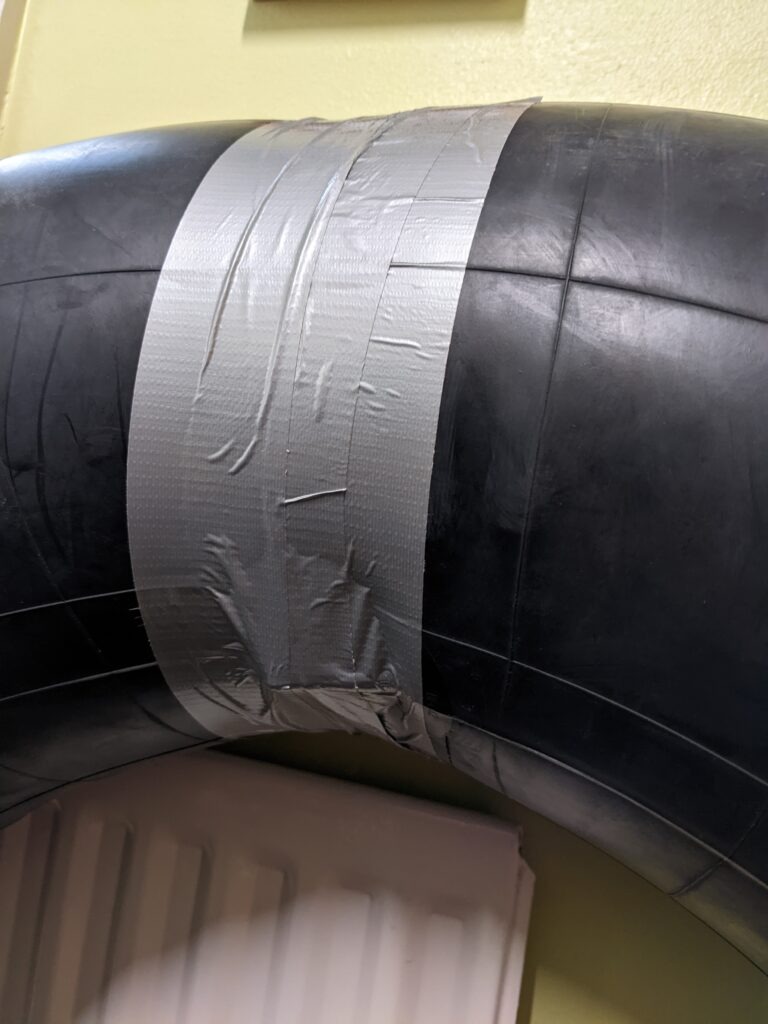
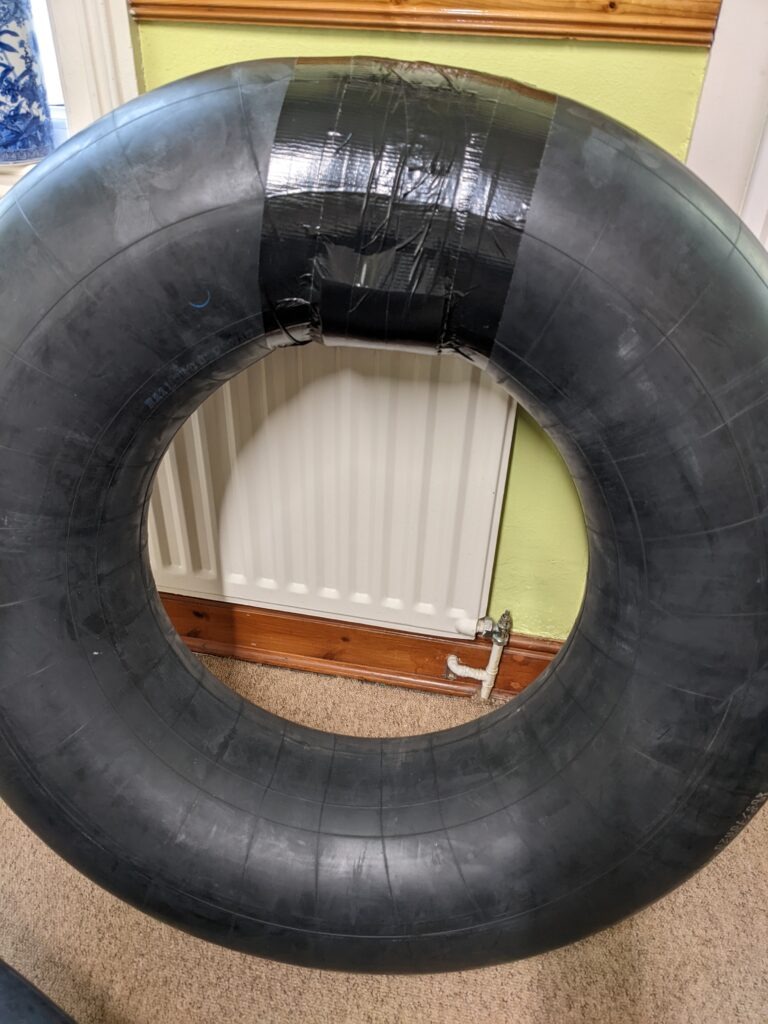
2. Securely Gaffa tape the valves down sideways.

Taping the valve down

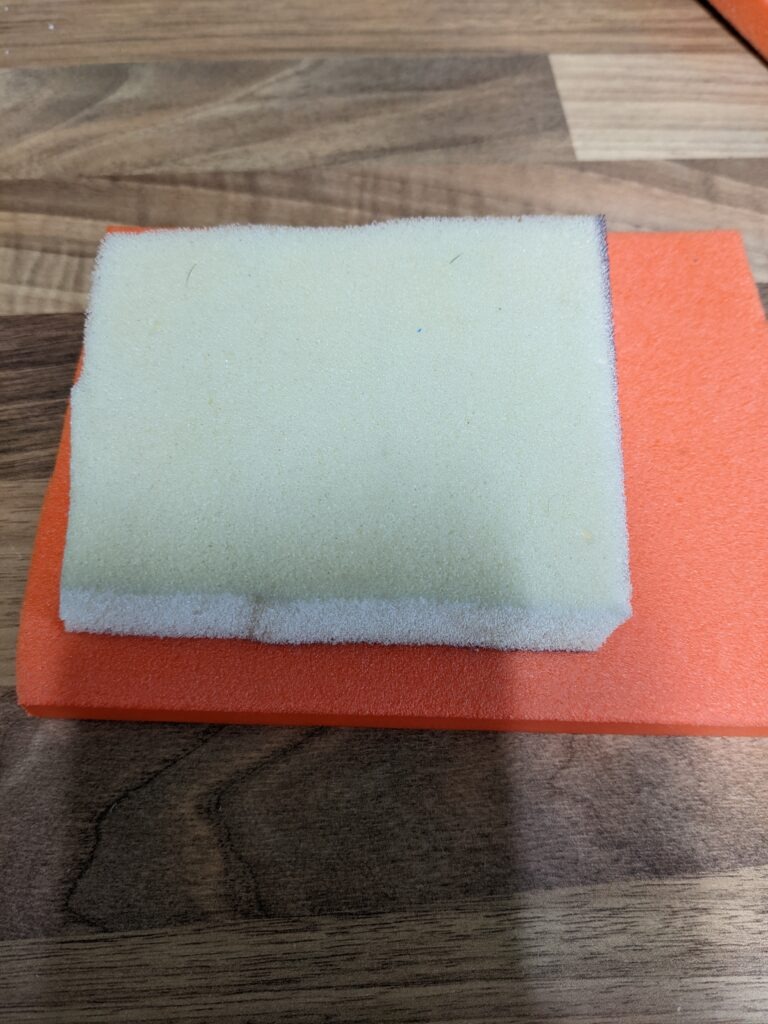
3. Cut out a small square of soft foam, just bigger than the valves. Cut a larger square out of the soft foam and glue gun these together. (Or you can just use one layer of firm foam – I used two for extra safety!)

Two layers of foam

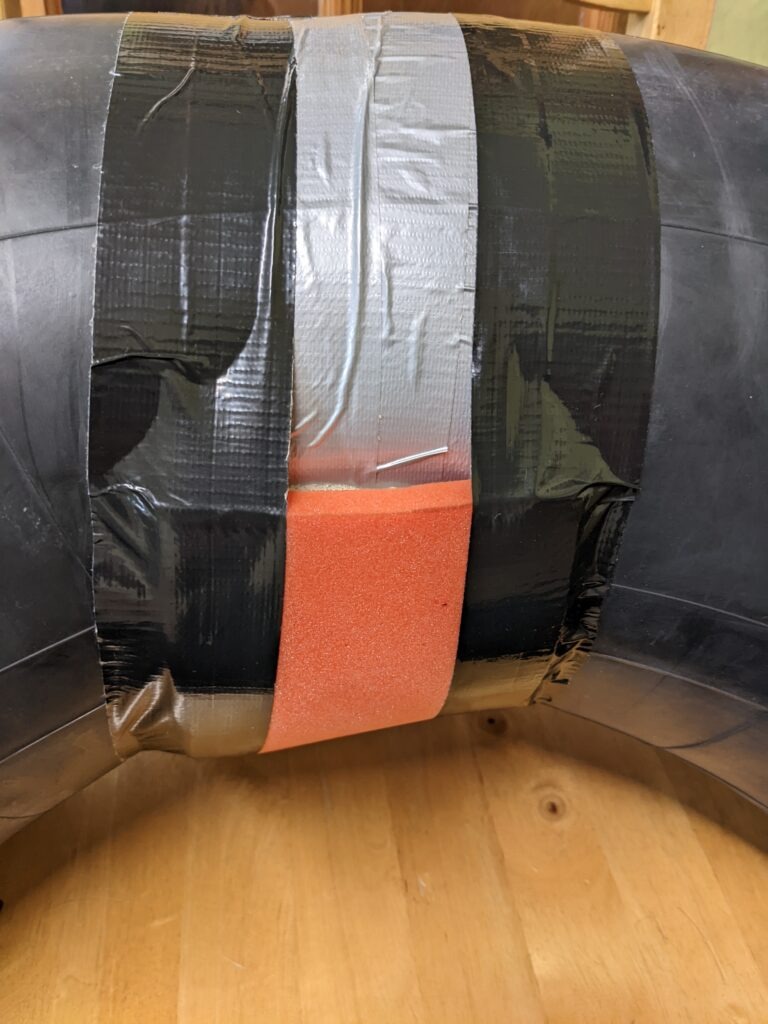
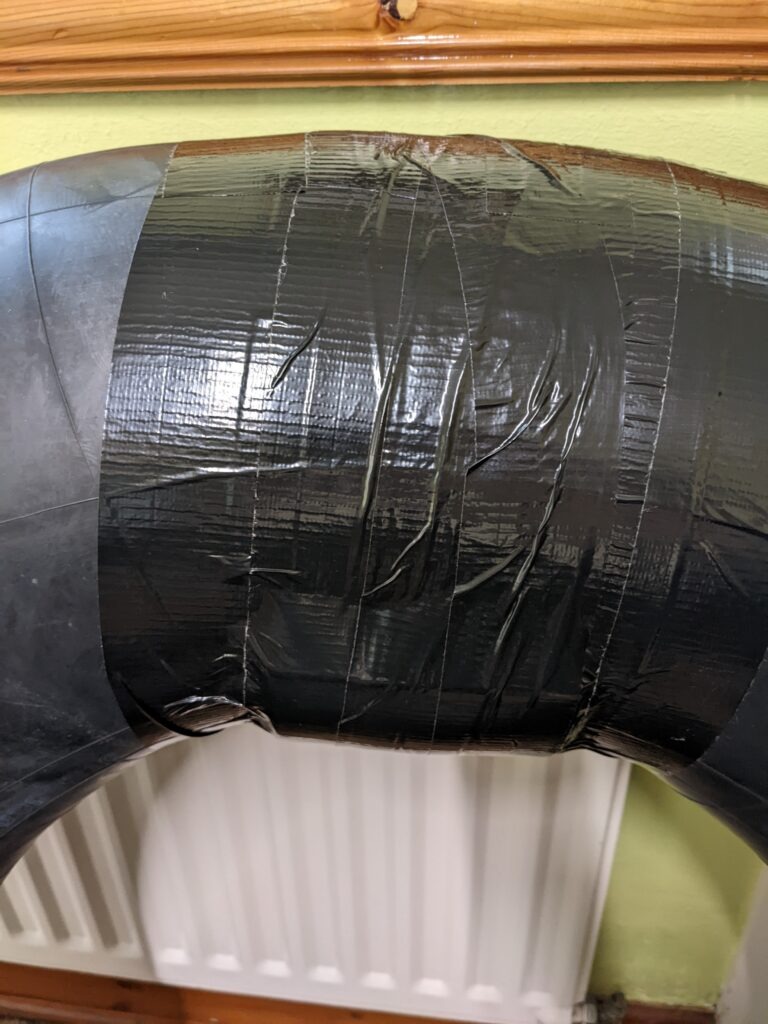
4. Gaffa tape the foam over the top of the valves securely. You’ll want to use lots – I completely covered the foam so it didn’t look like a tempting thing to try and access!

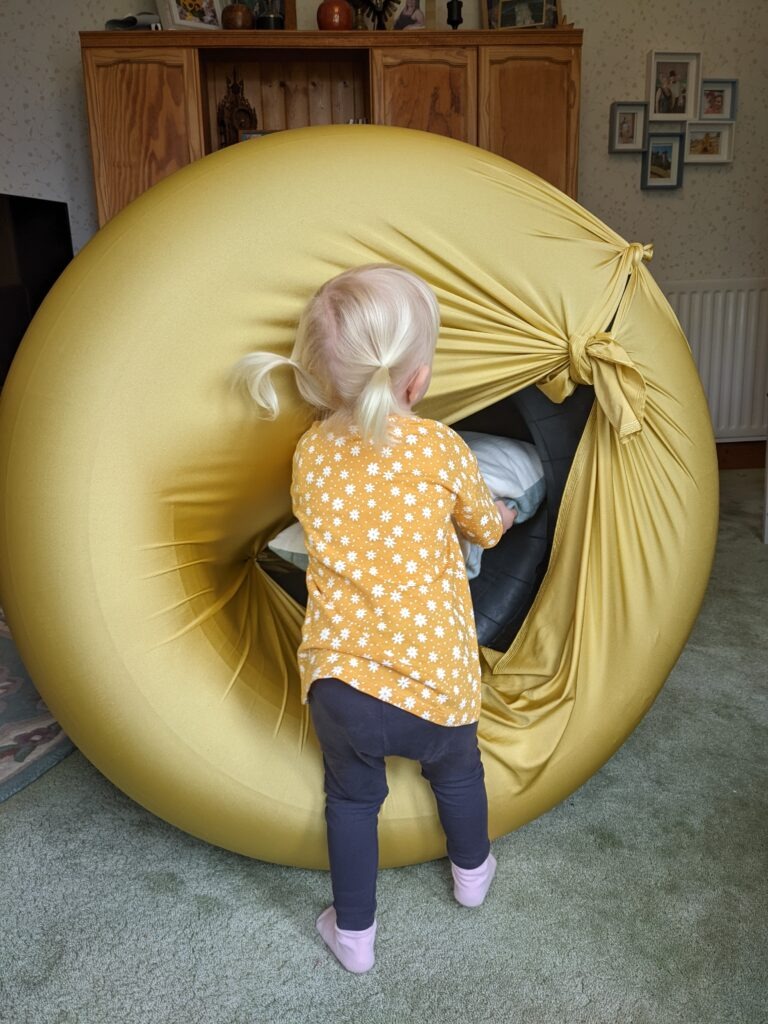
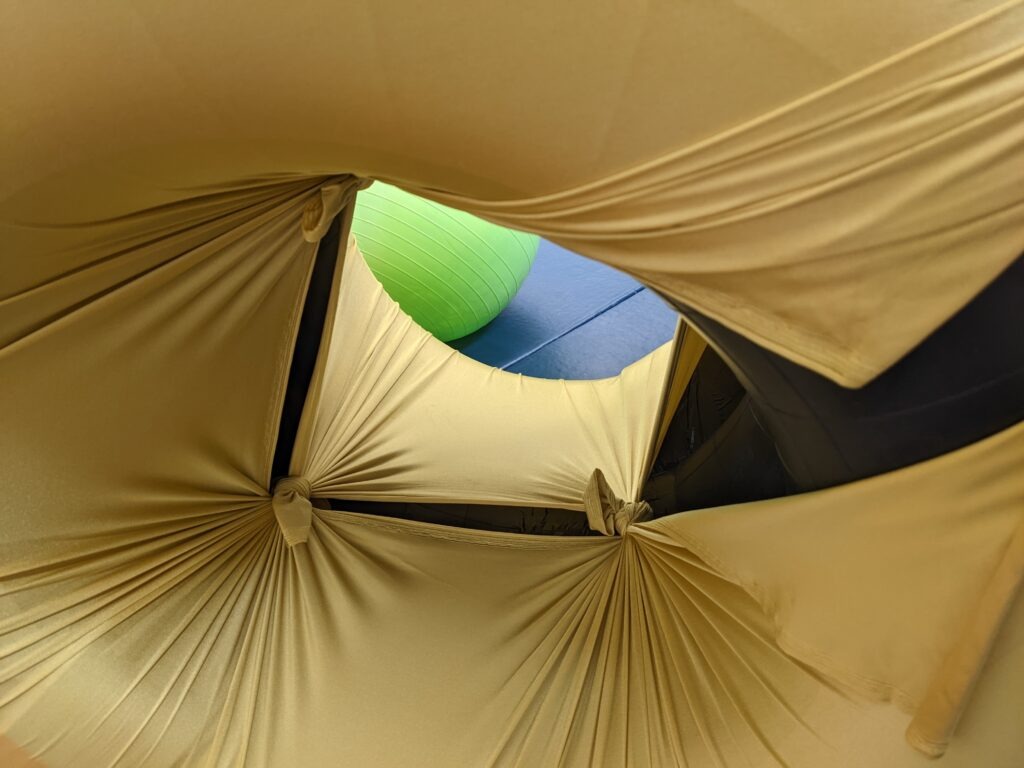
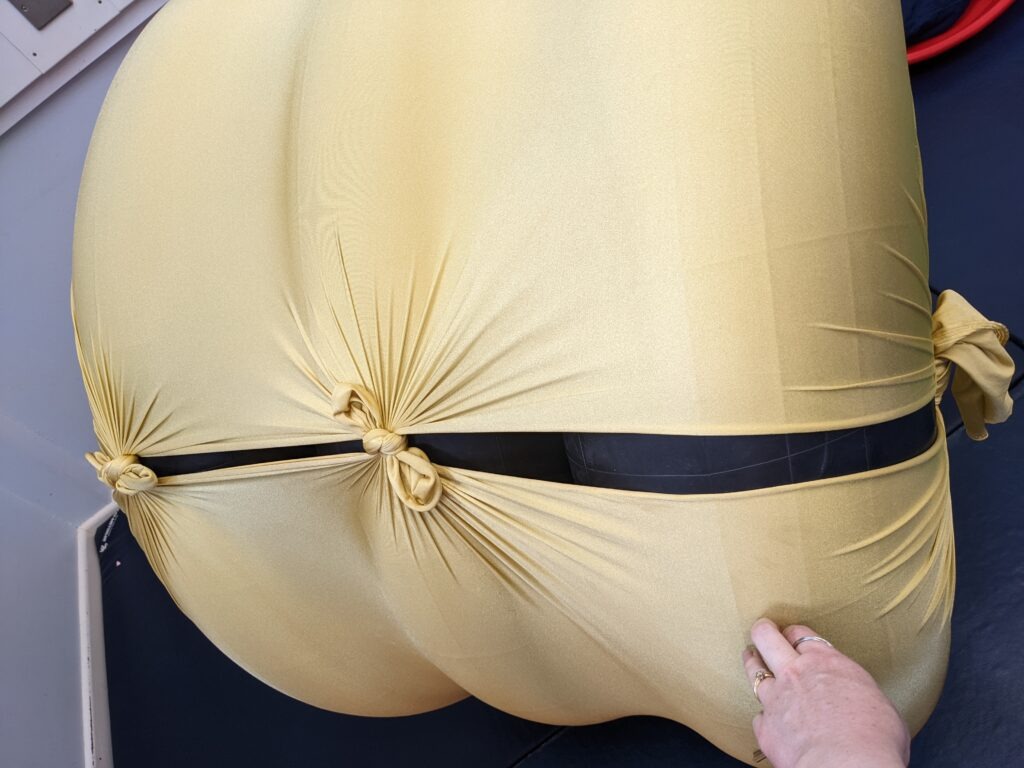
5. When you’ve got all the valves securely covered, stack them on top of each other. Get your Lycra and wrap it round the tyres. Tie two sides of the fabric together at the top and the bottom, leaving some spare fabric before the corners. As you tie the knots, pull the fabric taut around the tyres so it holds them together. Tie the fabric together in the middle where there will now be a gap also. You can now put the corners through the centre of the tyres and tie the top to the bottom so there’s some lycra covering the inside also.
This is just a guide to how I knotted it – but anything that holds the tyres together is fine!

6. Enjoy playing in your new bouncy barrel!

Roooolll!